


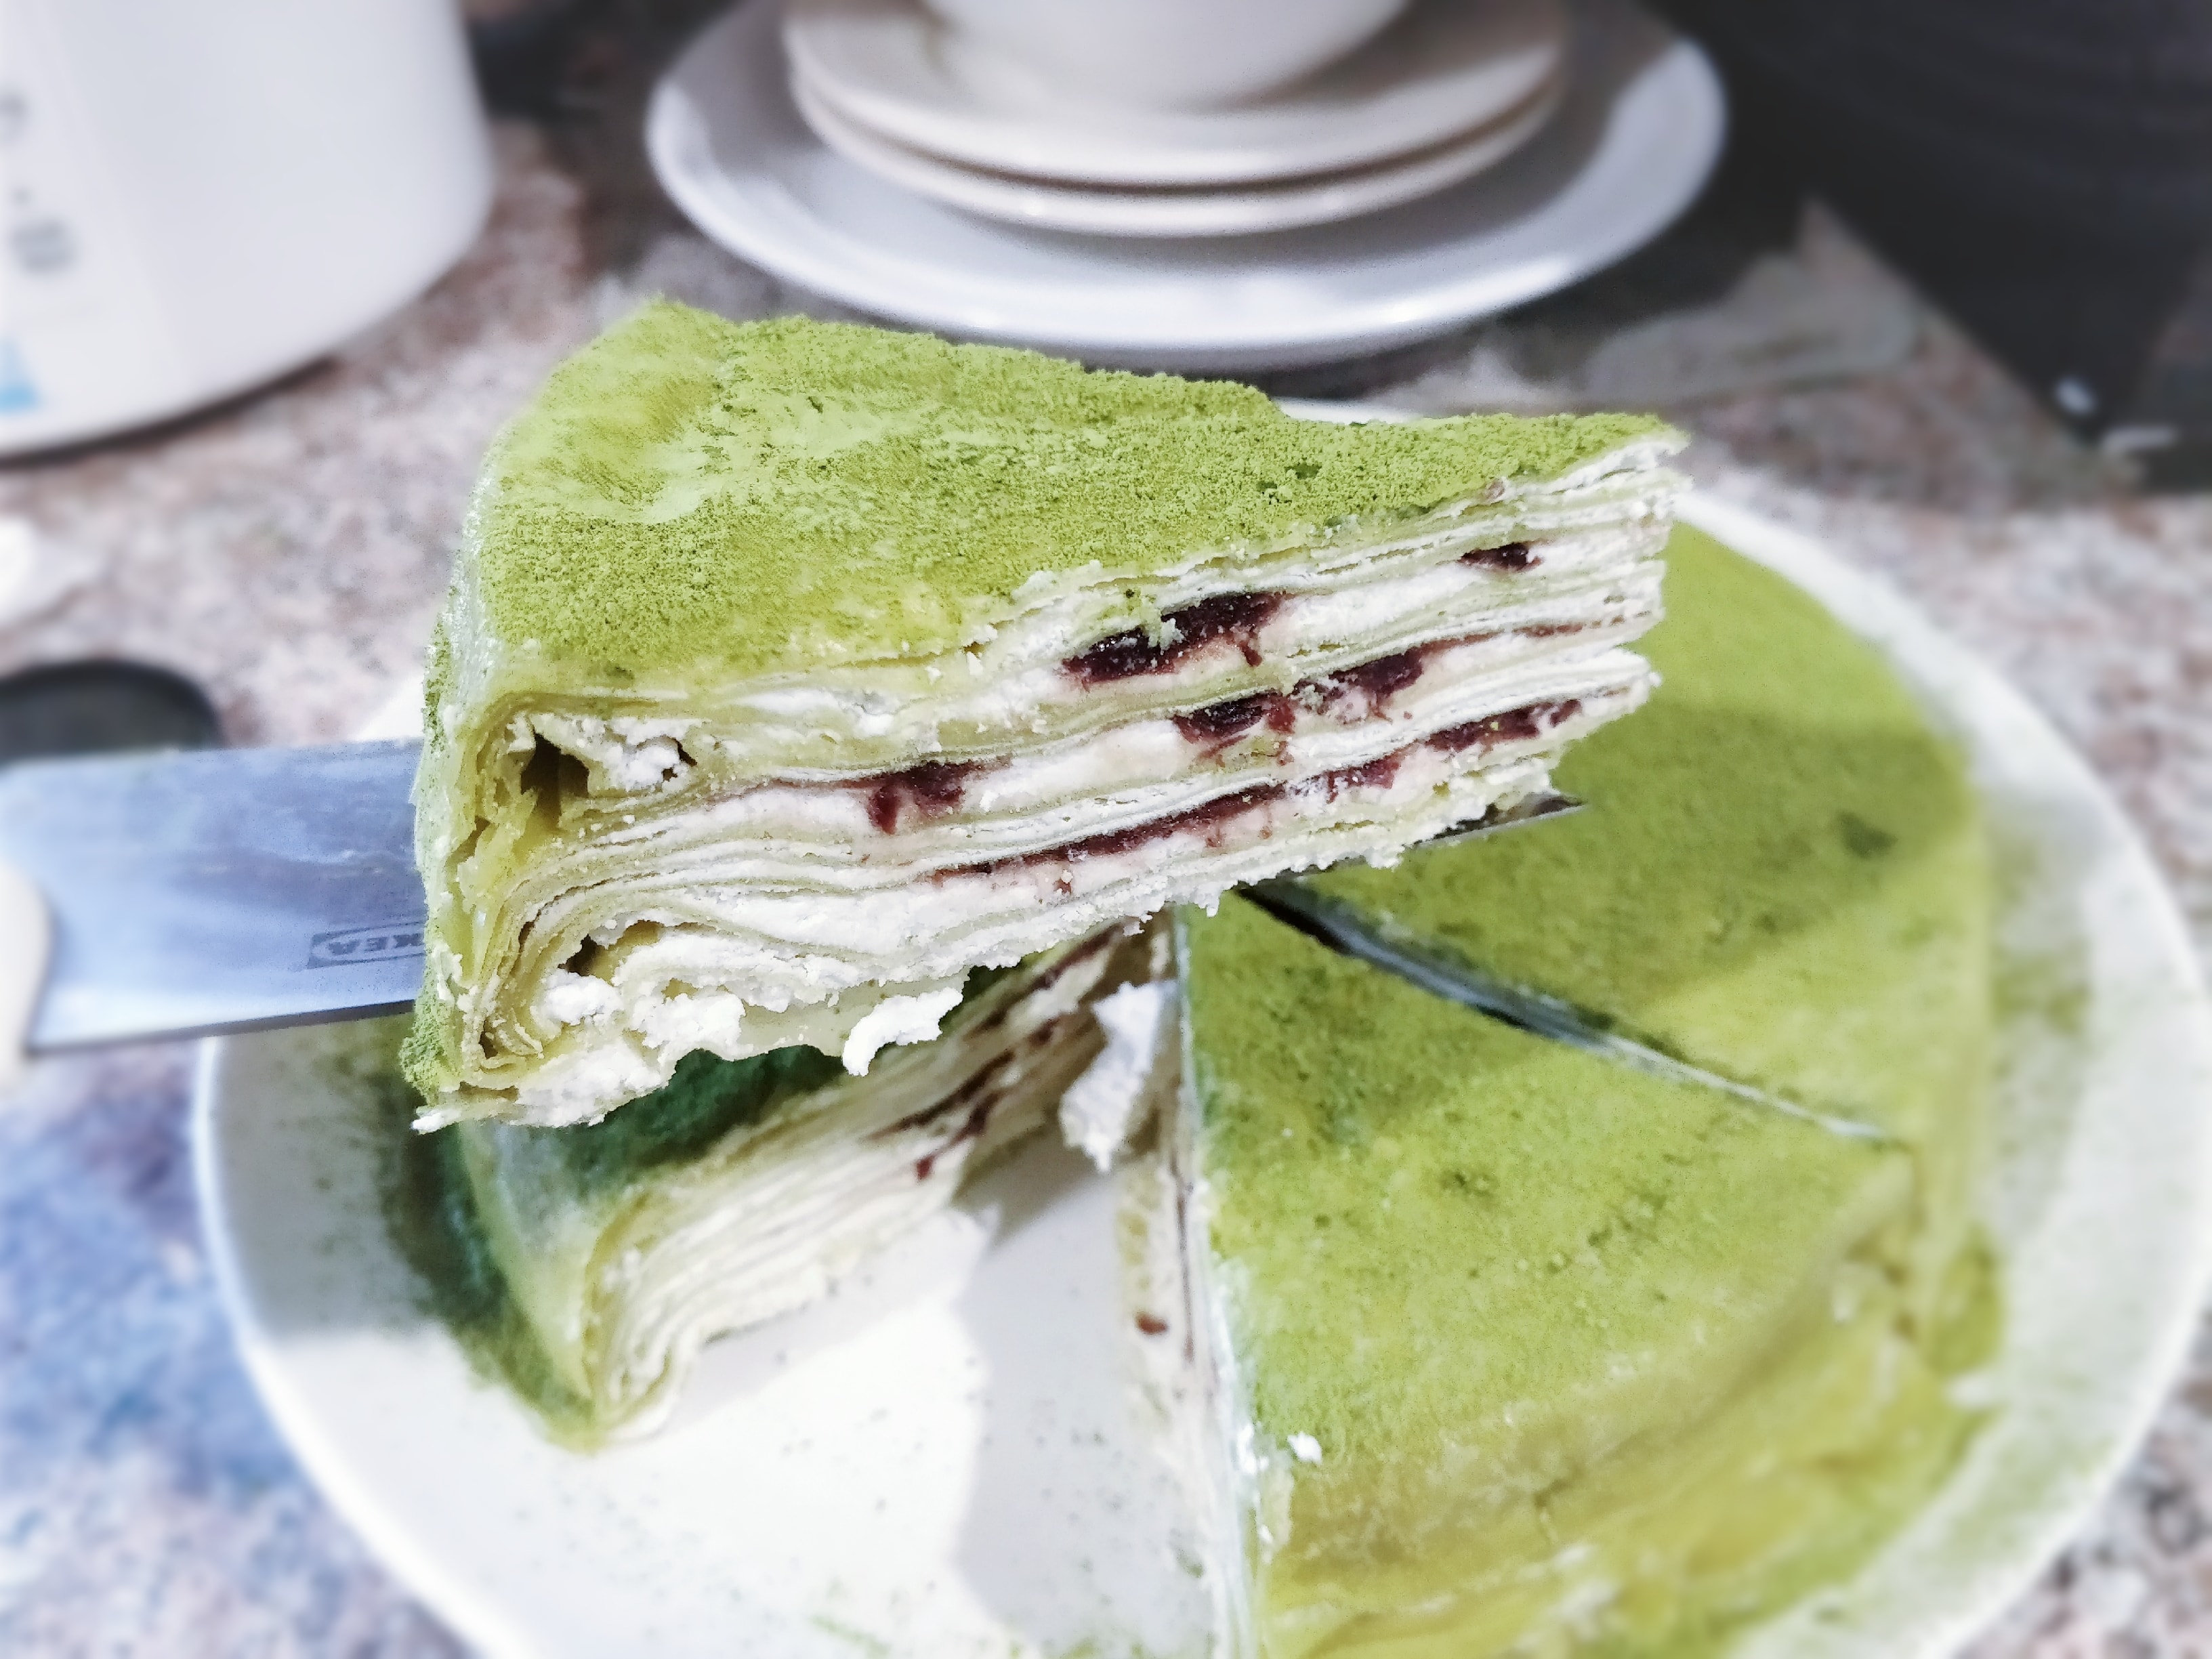
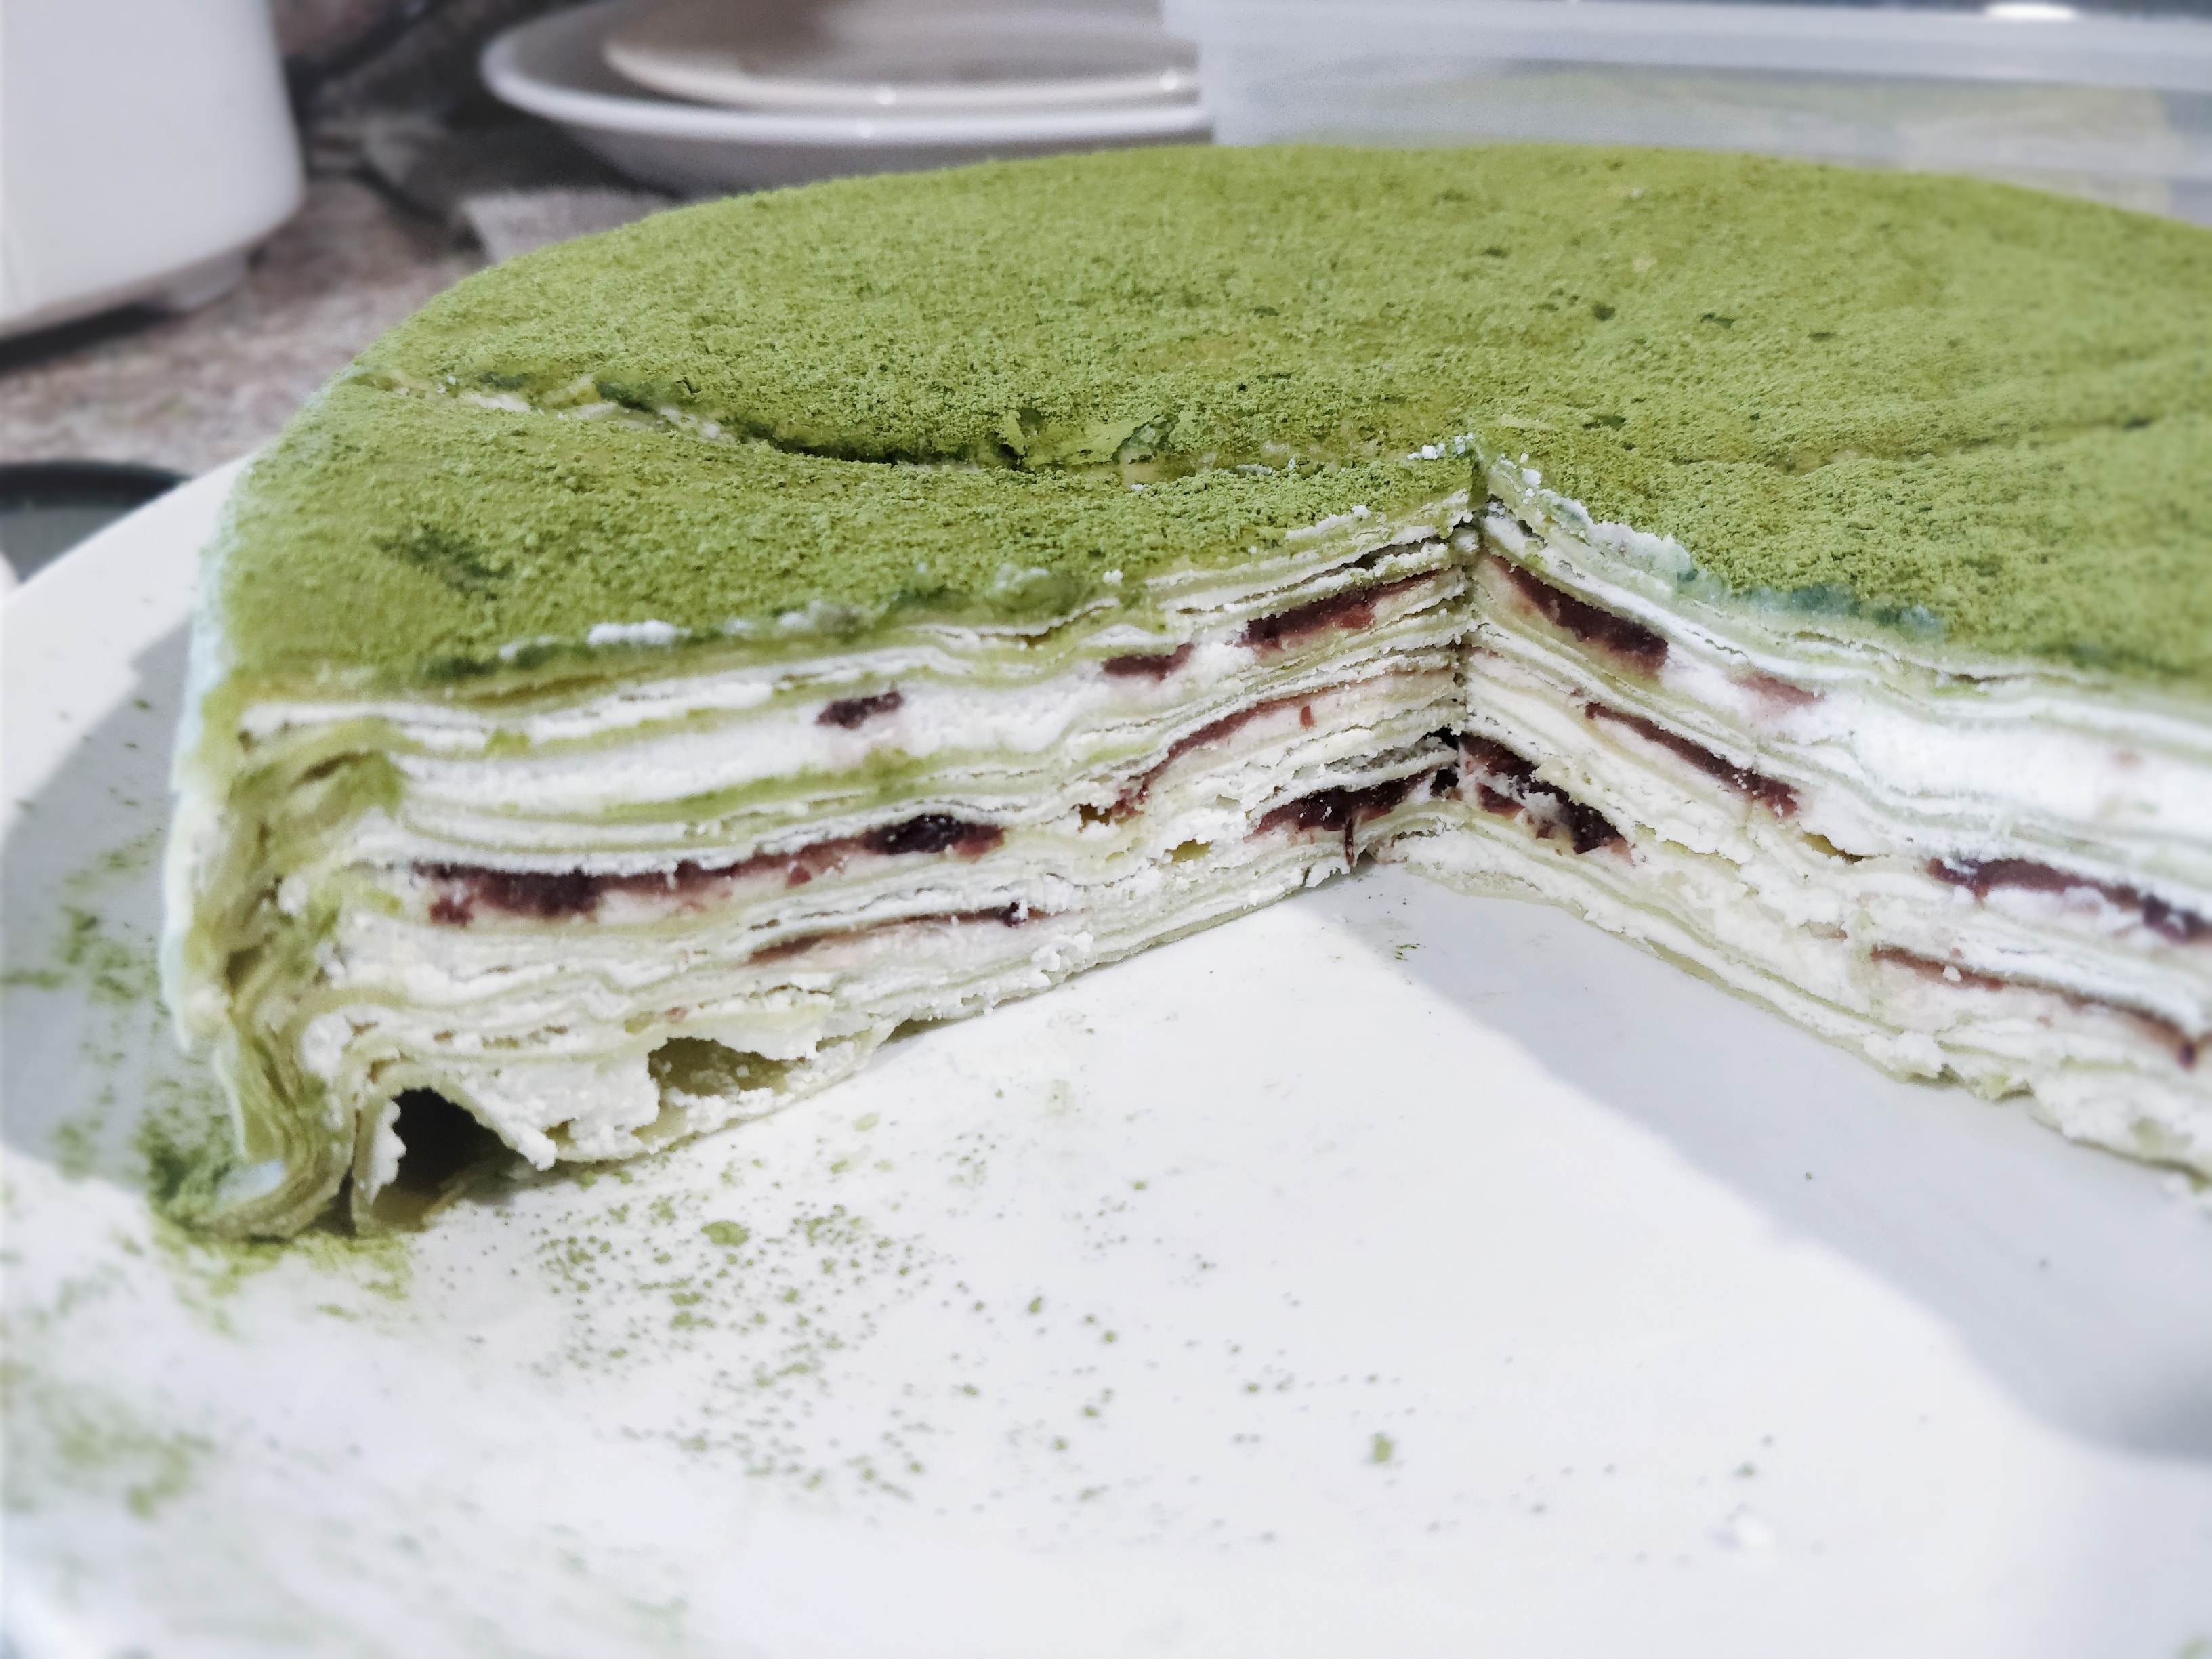
[Fried Chicken Kitchen] Matcha Red Bean Mille Layer Cake: If you want to have a good summer, add some green on top of the cake
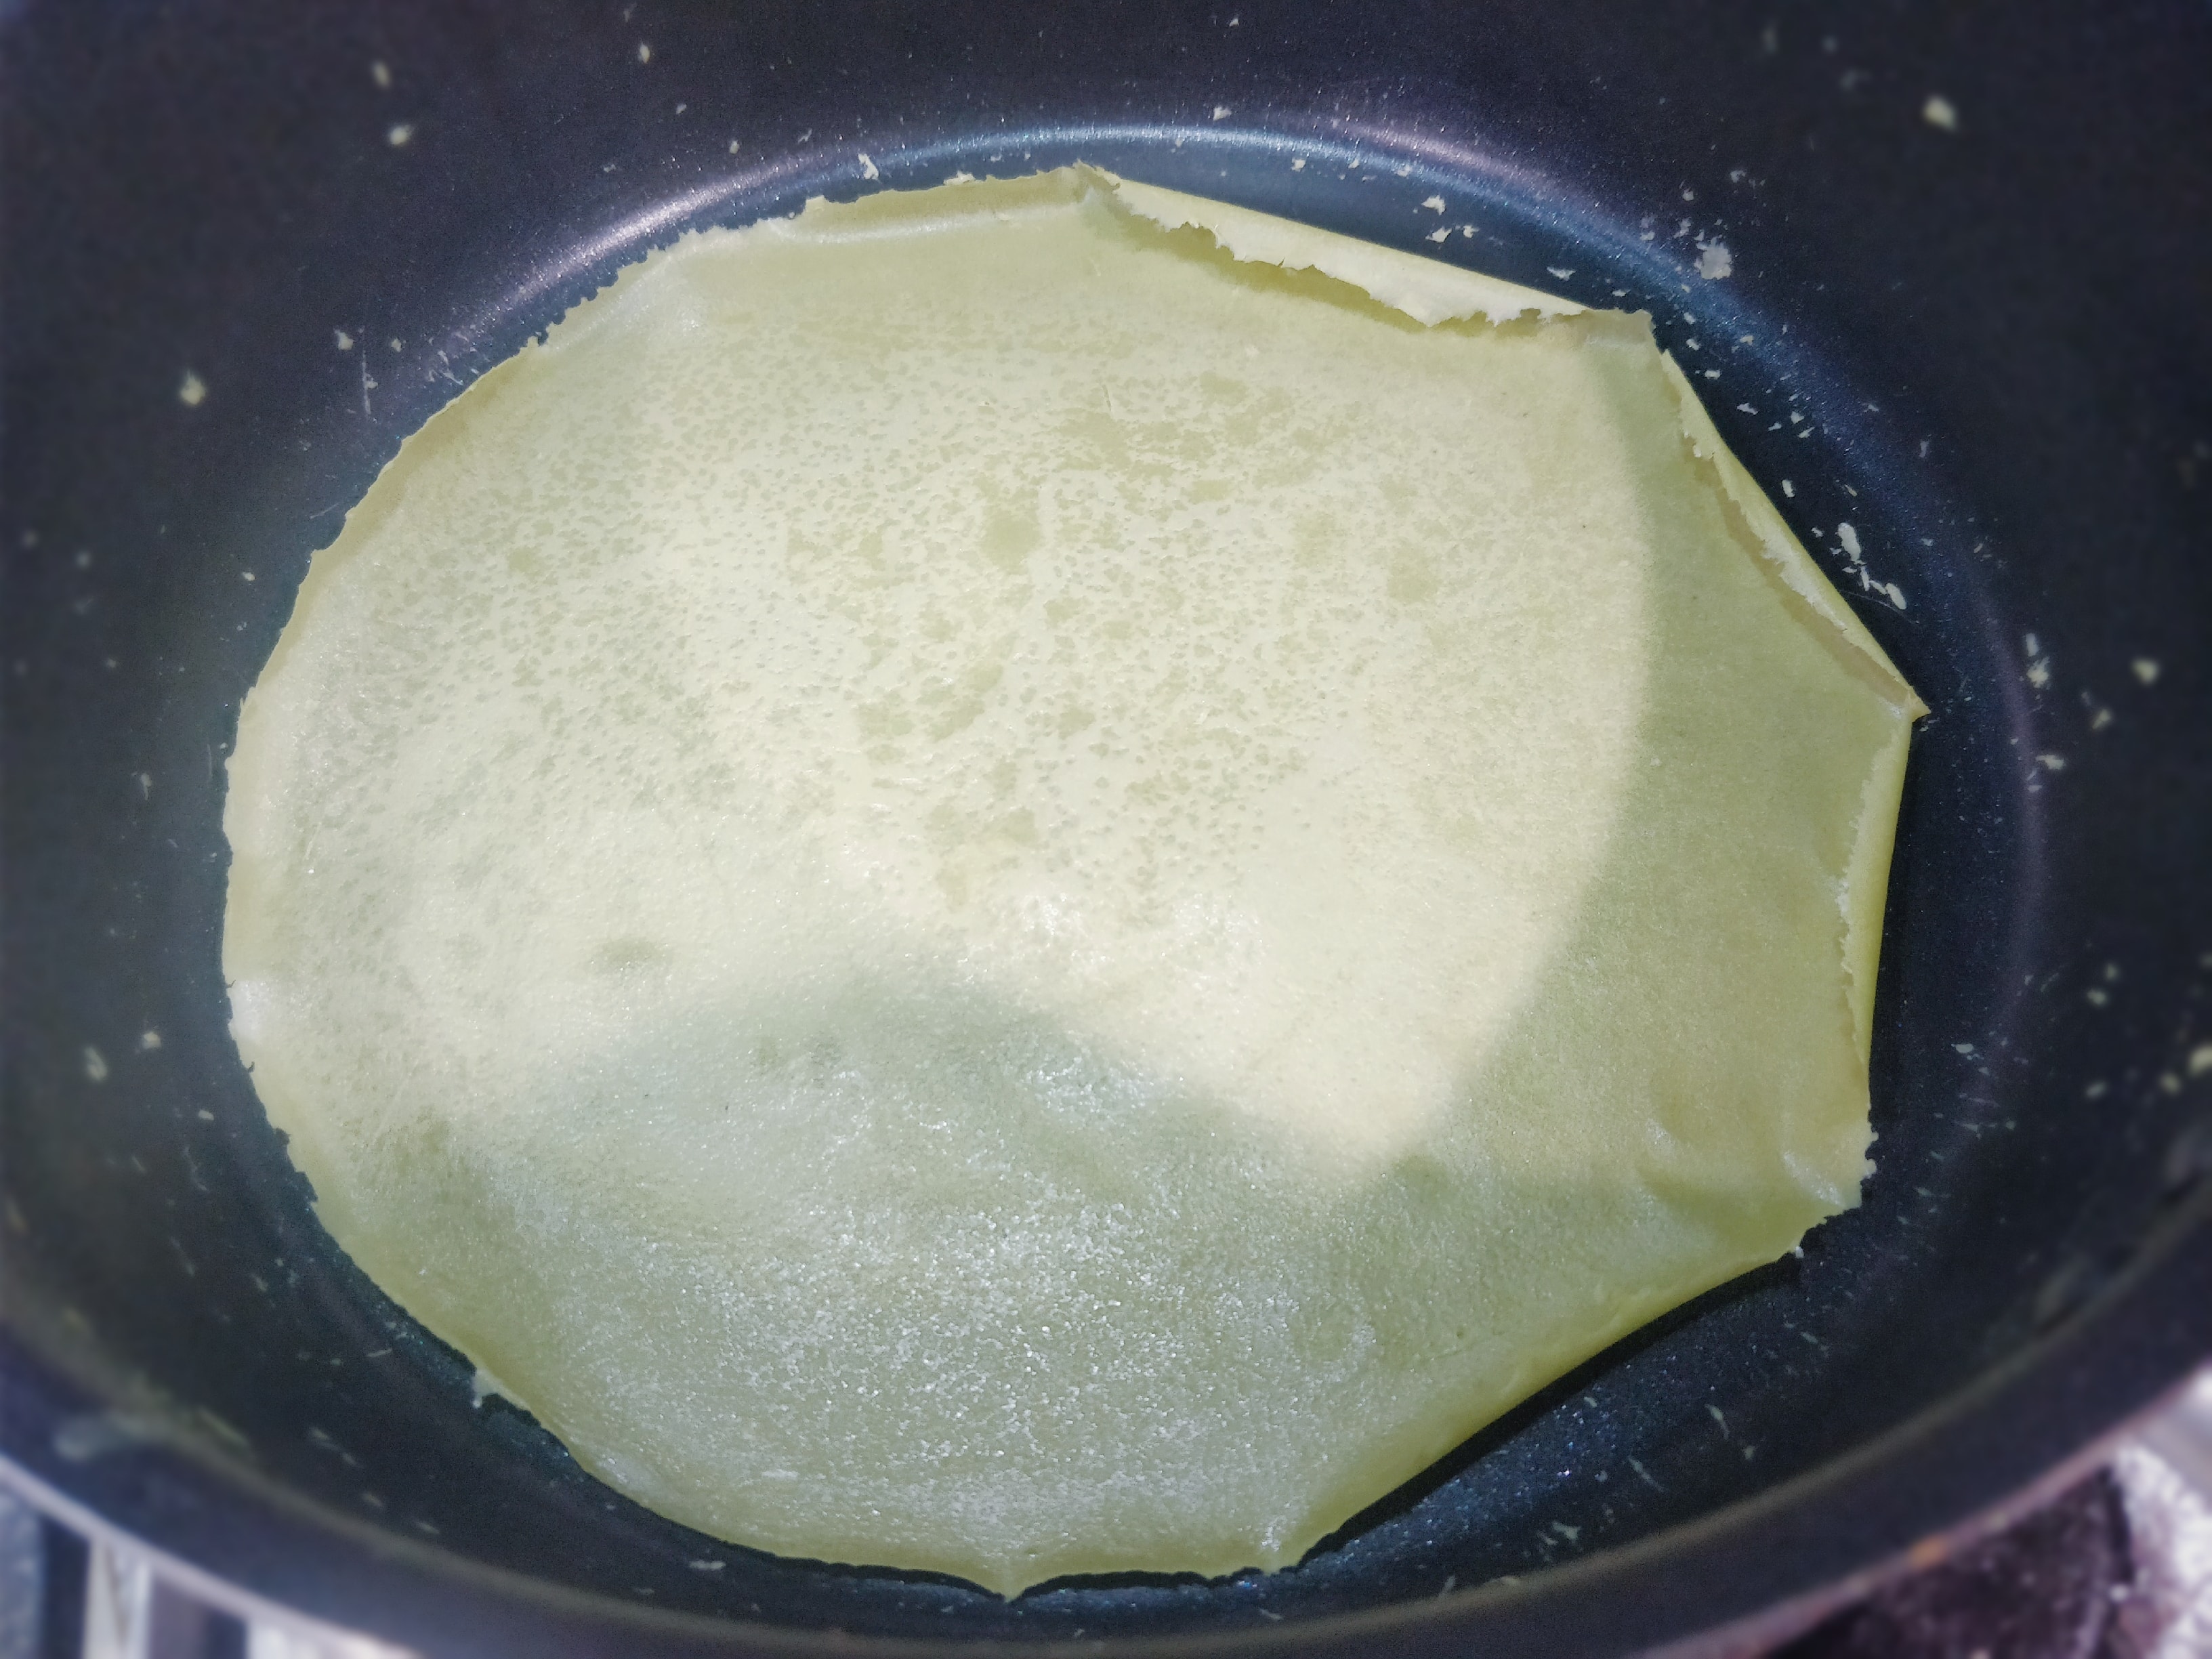
It's been a long time since I made a thousand-layer cake. This time I made it for the little fairy next door to me, @小花小二. In fact, I fried about 20 pieces of this doubled number of crusts, but only about 10 layers can be placed in the limited container box.
Don't mind the appearance, because there are limited kitchen utensils and containers.
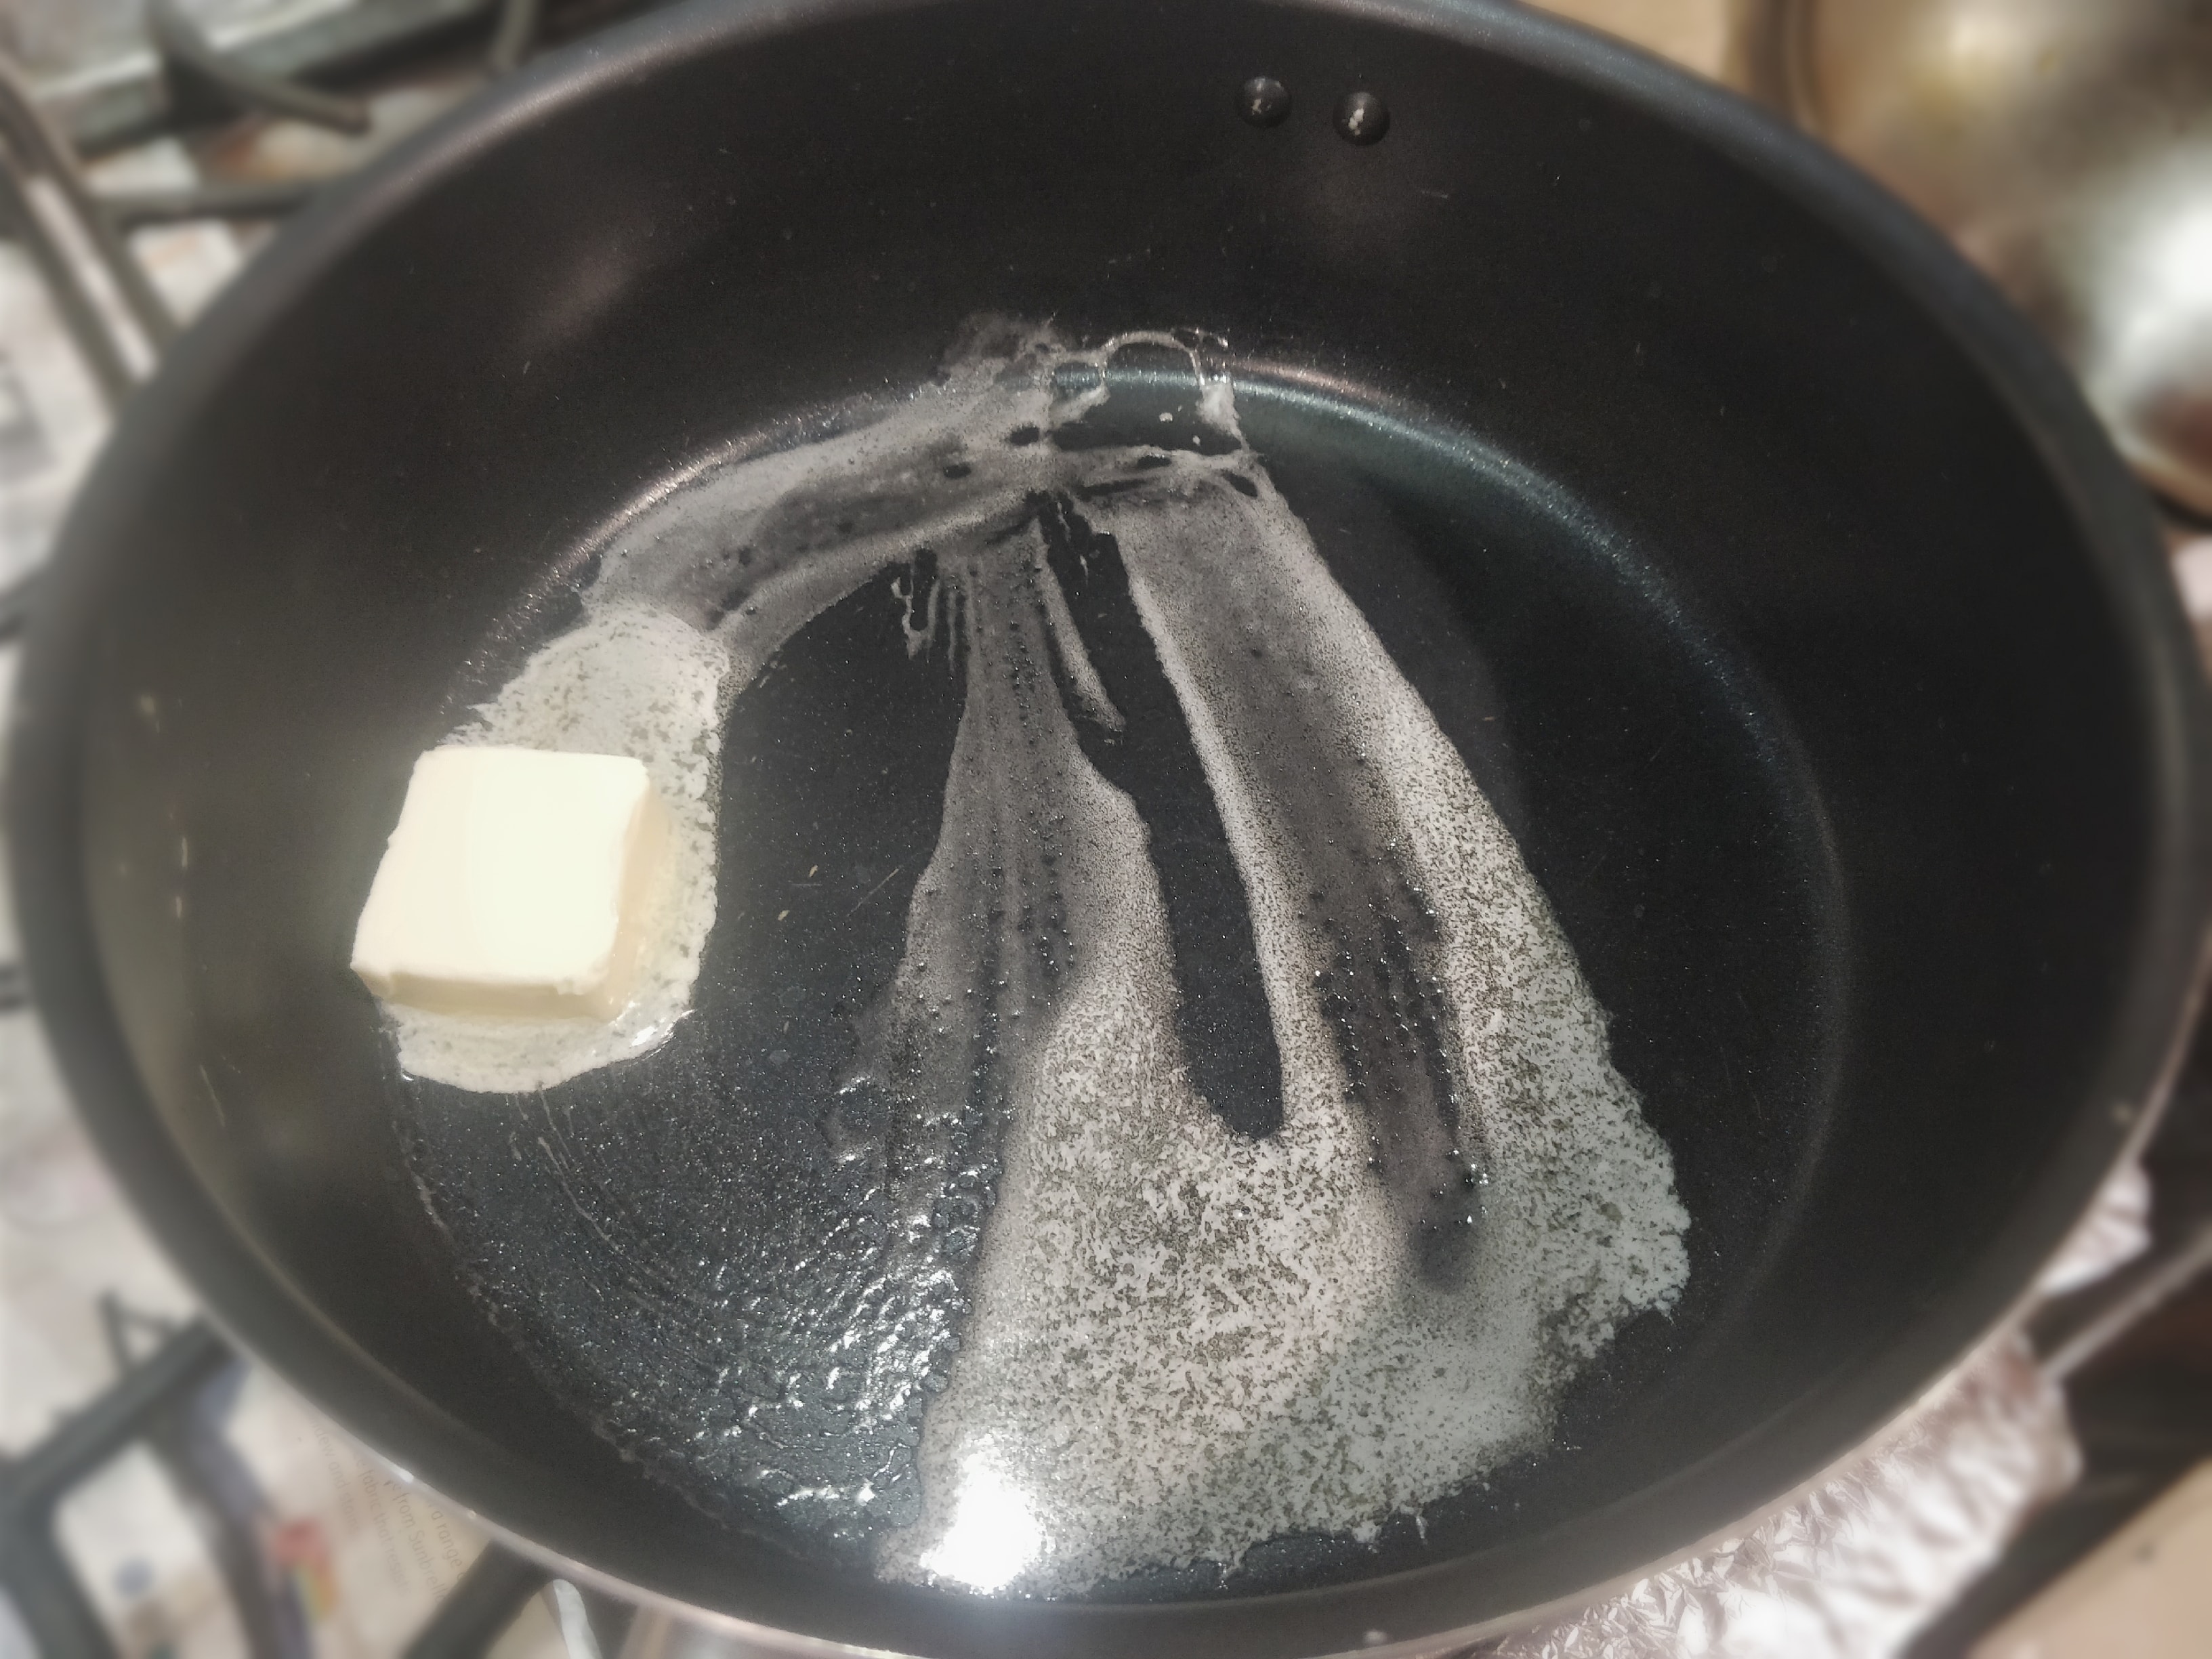
I came to Amway to make a layer of cake crust. A small step of adding butter can make the crust become really Q and fragrant!

Materials
Cake:
4 eggs
60g white sugar
Salt 2g
Low flour 240g
Butter 35g
Milk 600g
Matcha powder 10g
Sandwich:
An appropriate amount of red bean paste
600ml of whipped cream (self-test sweetness plus caster sugar)
Because the red bean paste itself is sweet, there is no need to add too much sugar to the cream

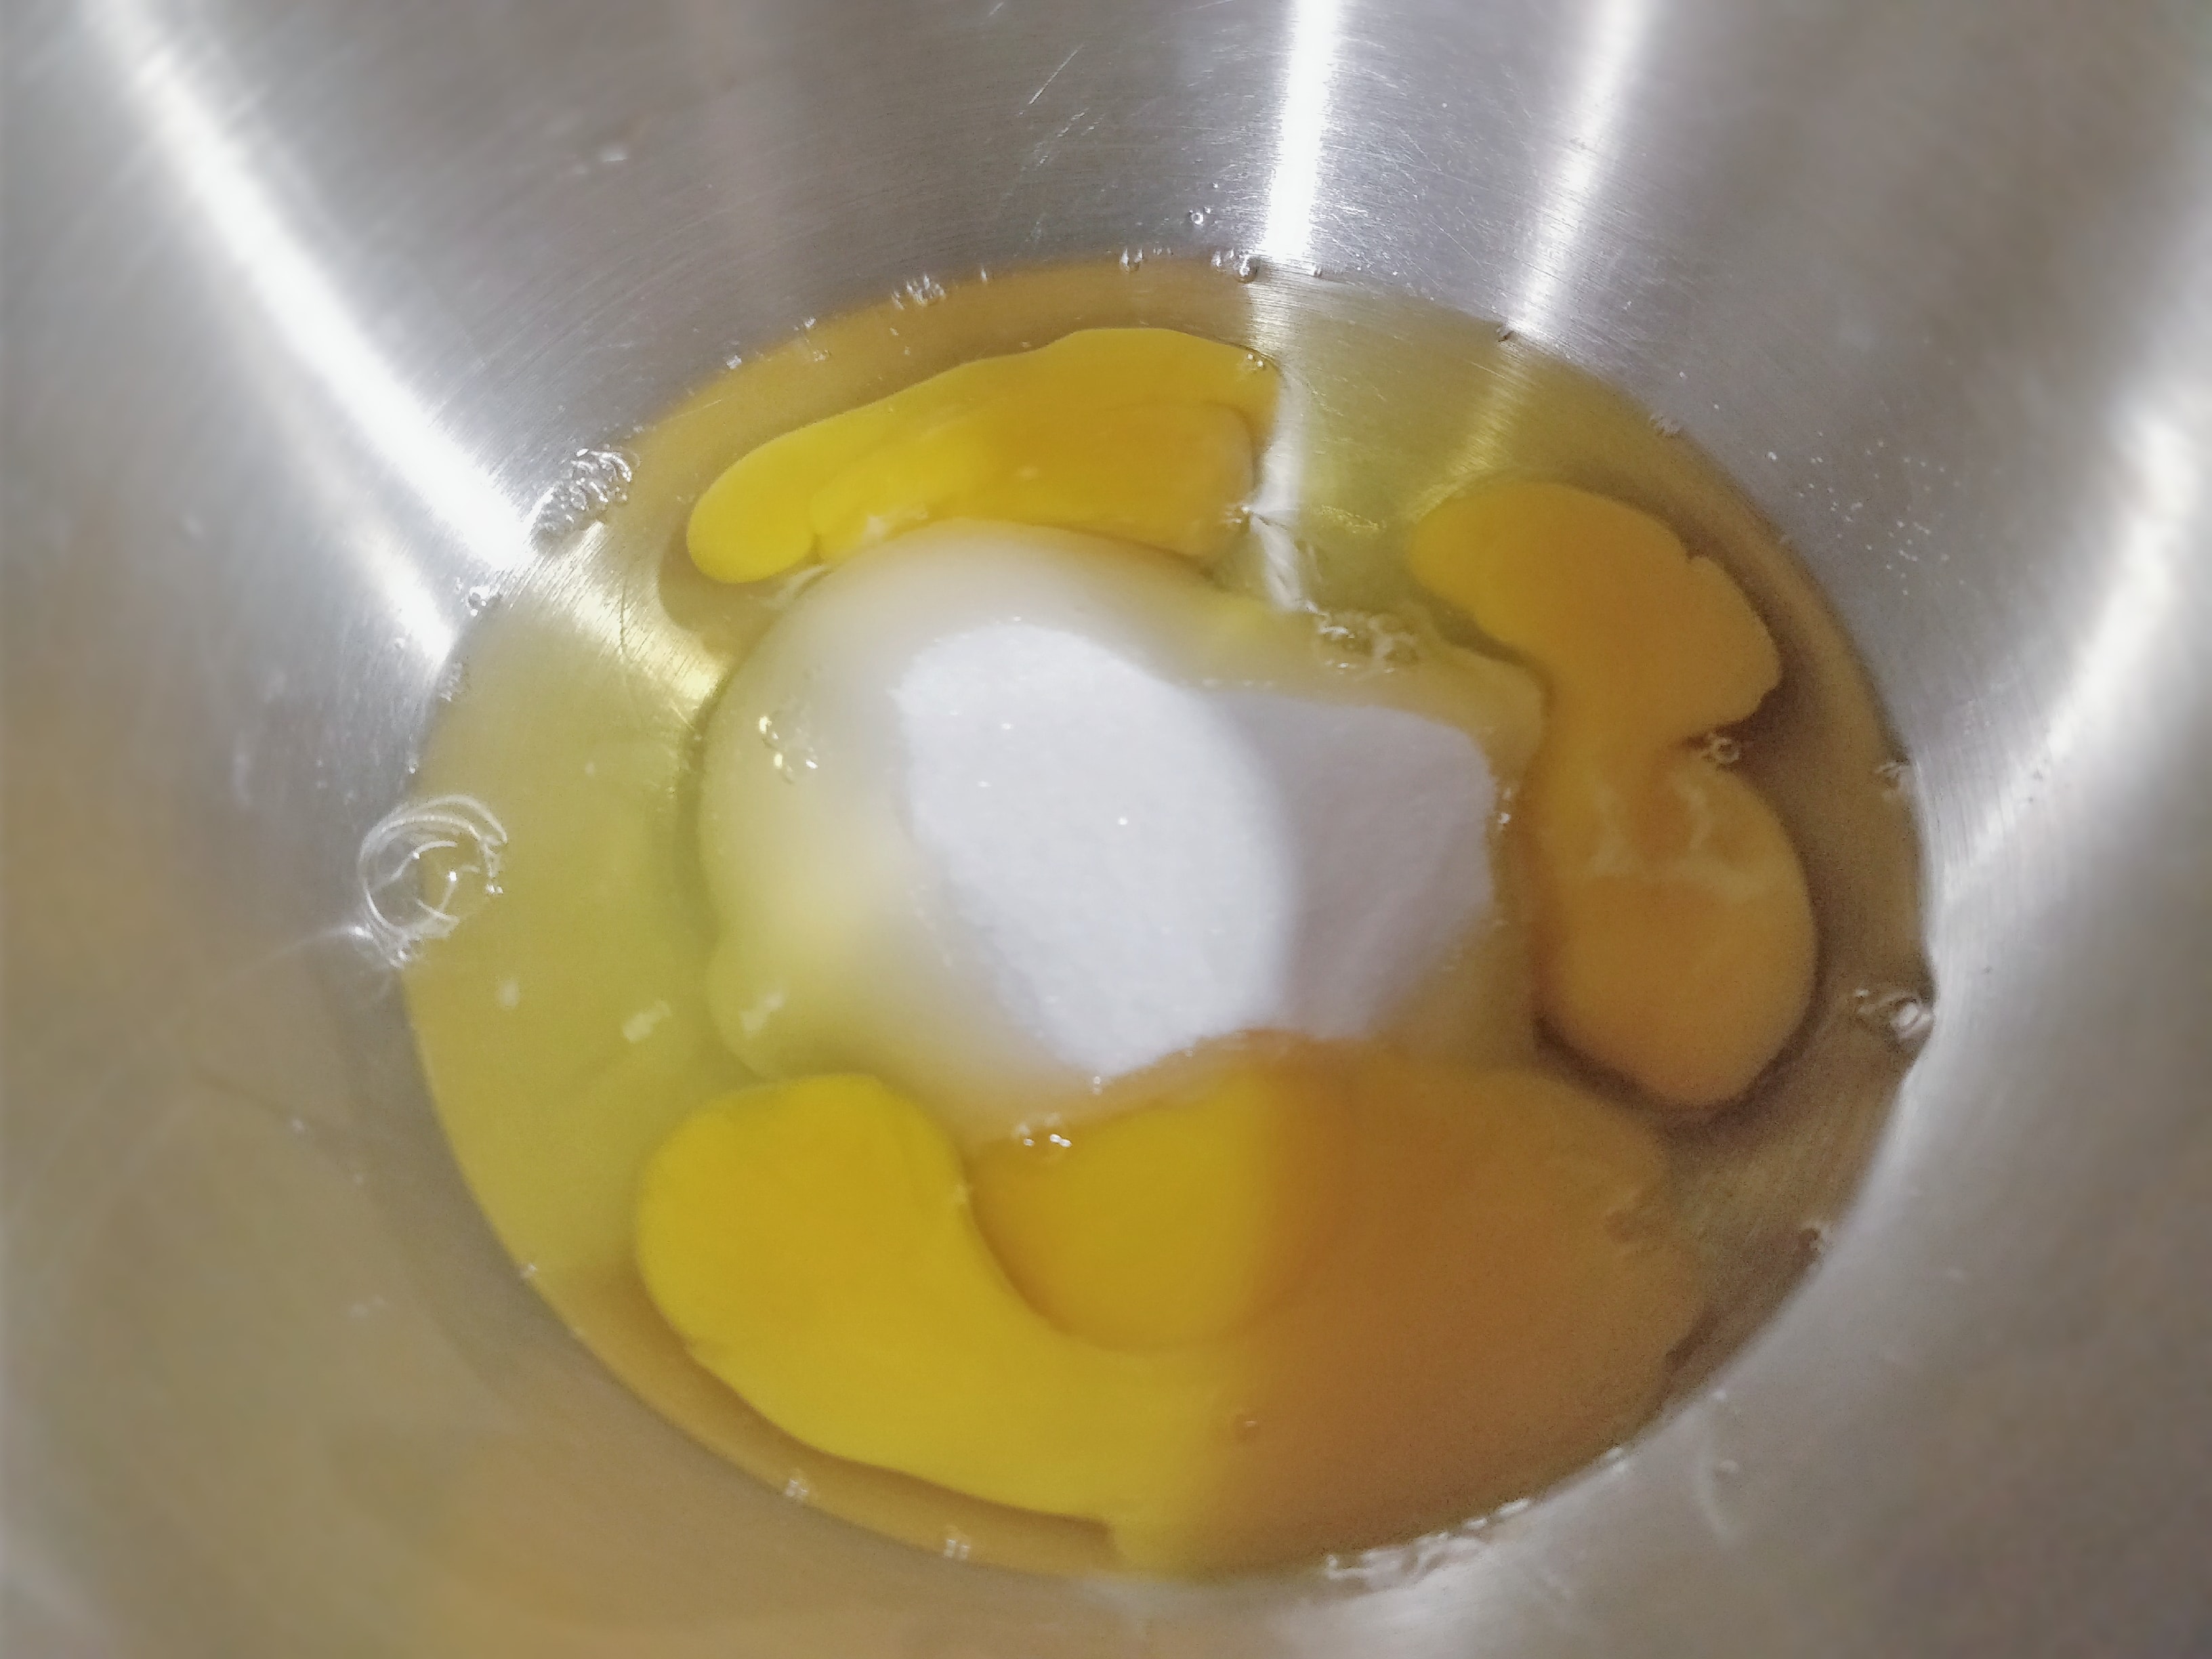
First add sugar, eggs, and salt to a bowl and mix well.
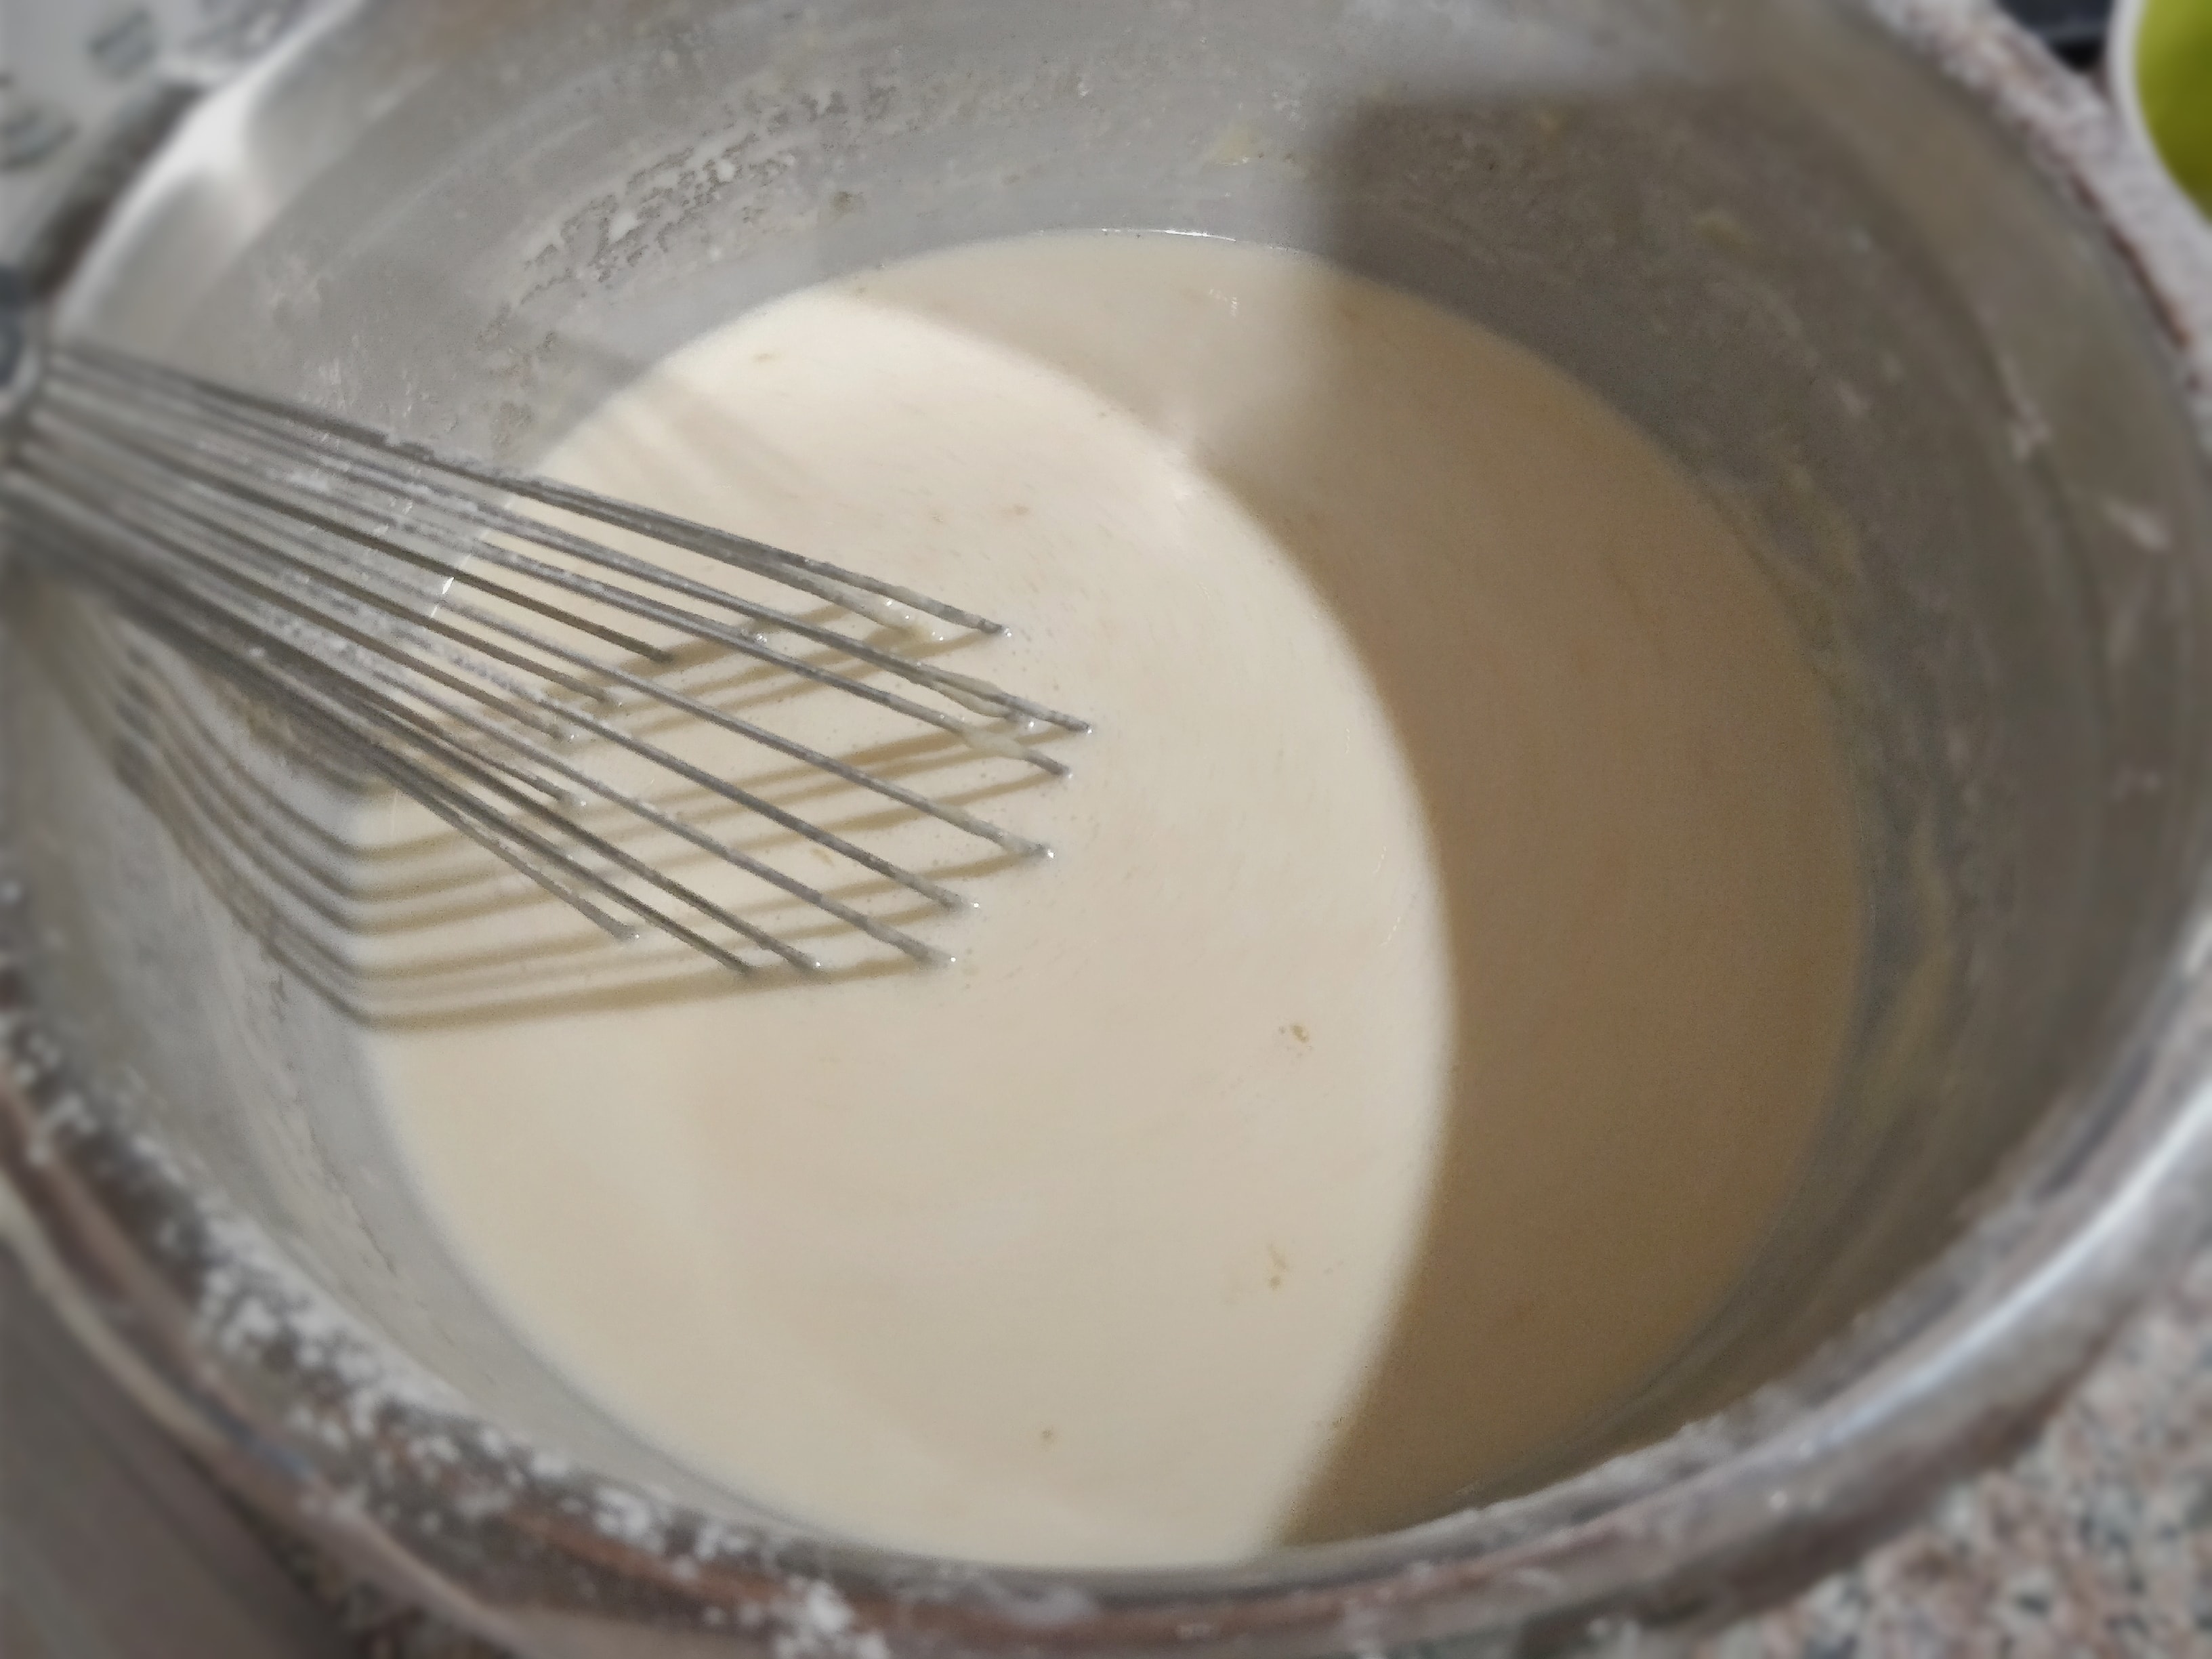
Sifted in low-gluten flour one by one to make a batter~
*While stirring, use the egg to stir in one direction, not clockwise and counterclockwise for a while.

Add milk and mix well to form a grain-free batter


Compared with red bean paste, soft and rotten honey red beans are actually more suitable. Red bean paste is more difficult to spread. Just add a little bit more, otherwise it will be too sweet. If you like pure matcha, you can add matcha solution to the cream and whip it together to make a matcha cream sandwich~
Although the appearance is average, the taste is still good! If you don't believe me... come try it yourself

 Show Original

【炸鸡厨房】抹茶红豆千层蛋糕:想要夏天过得去,蛋糕上面添点绿
很久没做千层蛋糕了,这次是给我隔壁的小仙女 @吃货小二 做的。其实煎了这个一倍数量的饼皮大概二十多片,但是容器有限盒子里只能放10层左右。
大家不要介意卖相哈,因为实在是厨具和容器有限。
我是来安利一波千层饼皮的做法的,加黄油的一个小步骤可以让饼皮变得真的很Q很香!

材料
饼皮:
鸡蛋 4个
白砂糖 60克
盐 2g
低粉 240克
黄油35克
牛奶 600克
抹茶粉 10克
夹心:
红豆沙适量
淡奶油 600ml(奶油里面自检甜度加细砂糖)
因为红豆沙本身带甜味所以奶油里不需要加太多的糖

先把白砂糖,鸡蛋,盐加入盆中,搅拌均匀。

再分次筛入低筋面粉,做成面糊~
*搅拌的时候要用蛋抽一个方向搅拌,不要一会儿顺时针一会儿逆时针。


加入牛奶搅拌均匀变成无颗粒的面糊


比起红豆沙,软烂的蜜红豆其实更合适,红豆沙比较难抹开,加一点点就好了不然太甜。喜欢纯抹茶的可以在奶油里面加入抹茶溶液一起打发做成抹茶奶油夹心~
虽然卖相一般般,但是味道还是阔以的!不信你们来...你们自己来试试


夏雨米提
June 27, 2018
It looks good on sale too.
卖相也好看啊
暴躁阿姨
June 24, 2018
You are the best anyway
反正你最优秀
吃货的日常
June 24, 2018
impressive.
好厉害。
秀羊
June 23, 2018
so cool
好酷