

"Fried Chicken Kitchen" 🧀 Cheese 🍫 Brownie, a piece of cake 🍰 Two kinds of enjoyment
A birthday gift for my classmate's birthday, and I didn't ask him what flavor he likes to eat. After thinking about it, I decided to make two flavors together, and I'll solve it!
After all, people who don't like chocolate and cheesecake, definitely don't have any favorite sweets hahaha
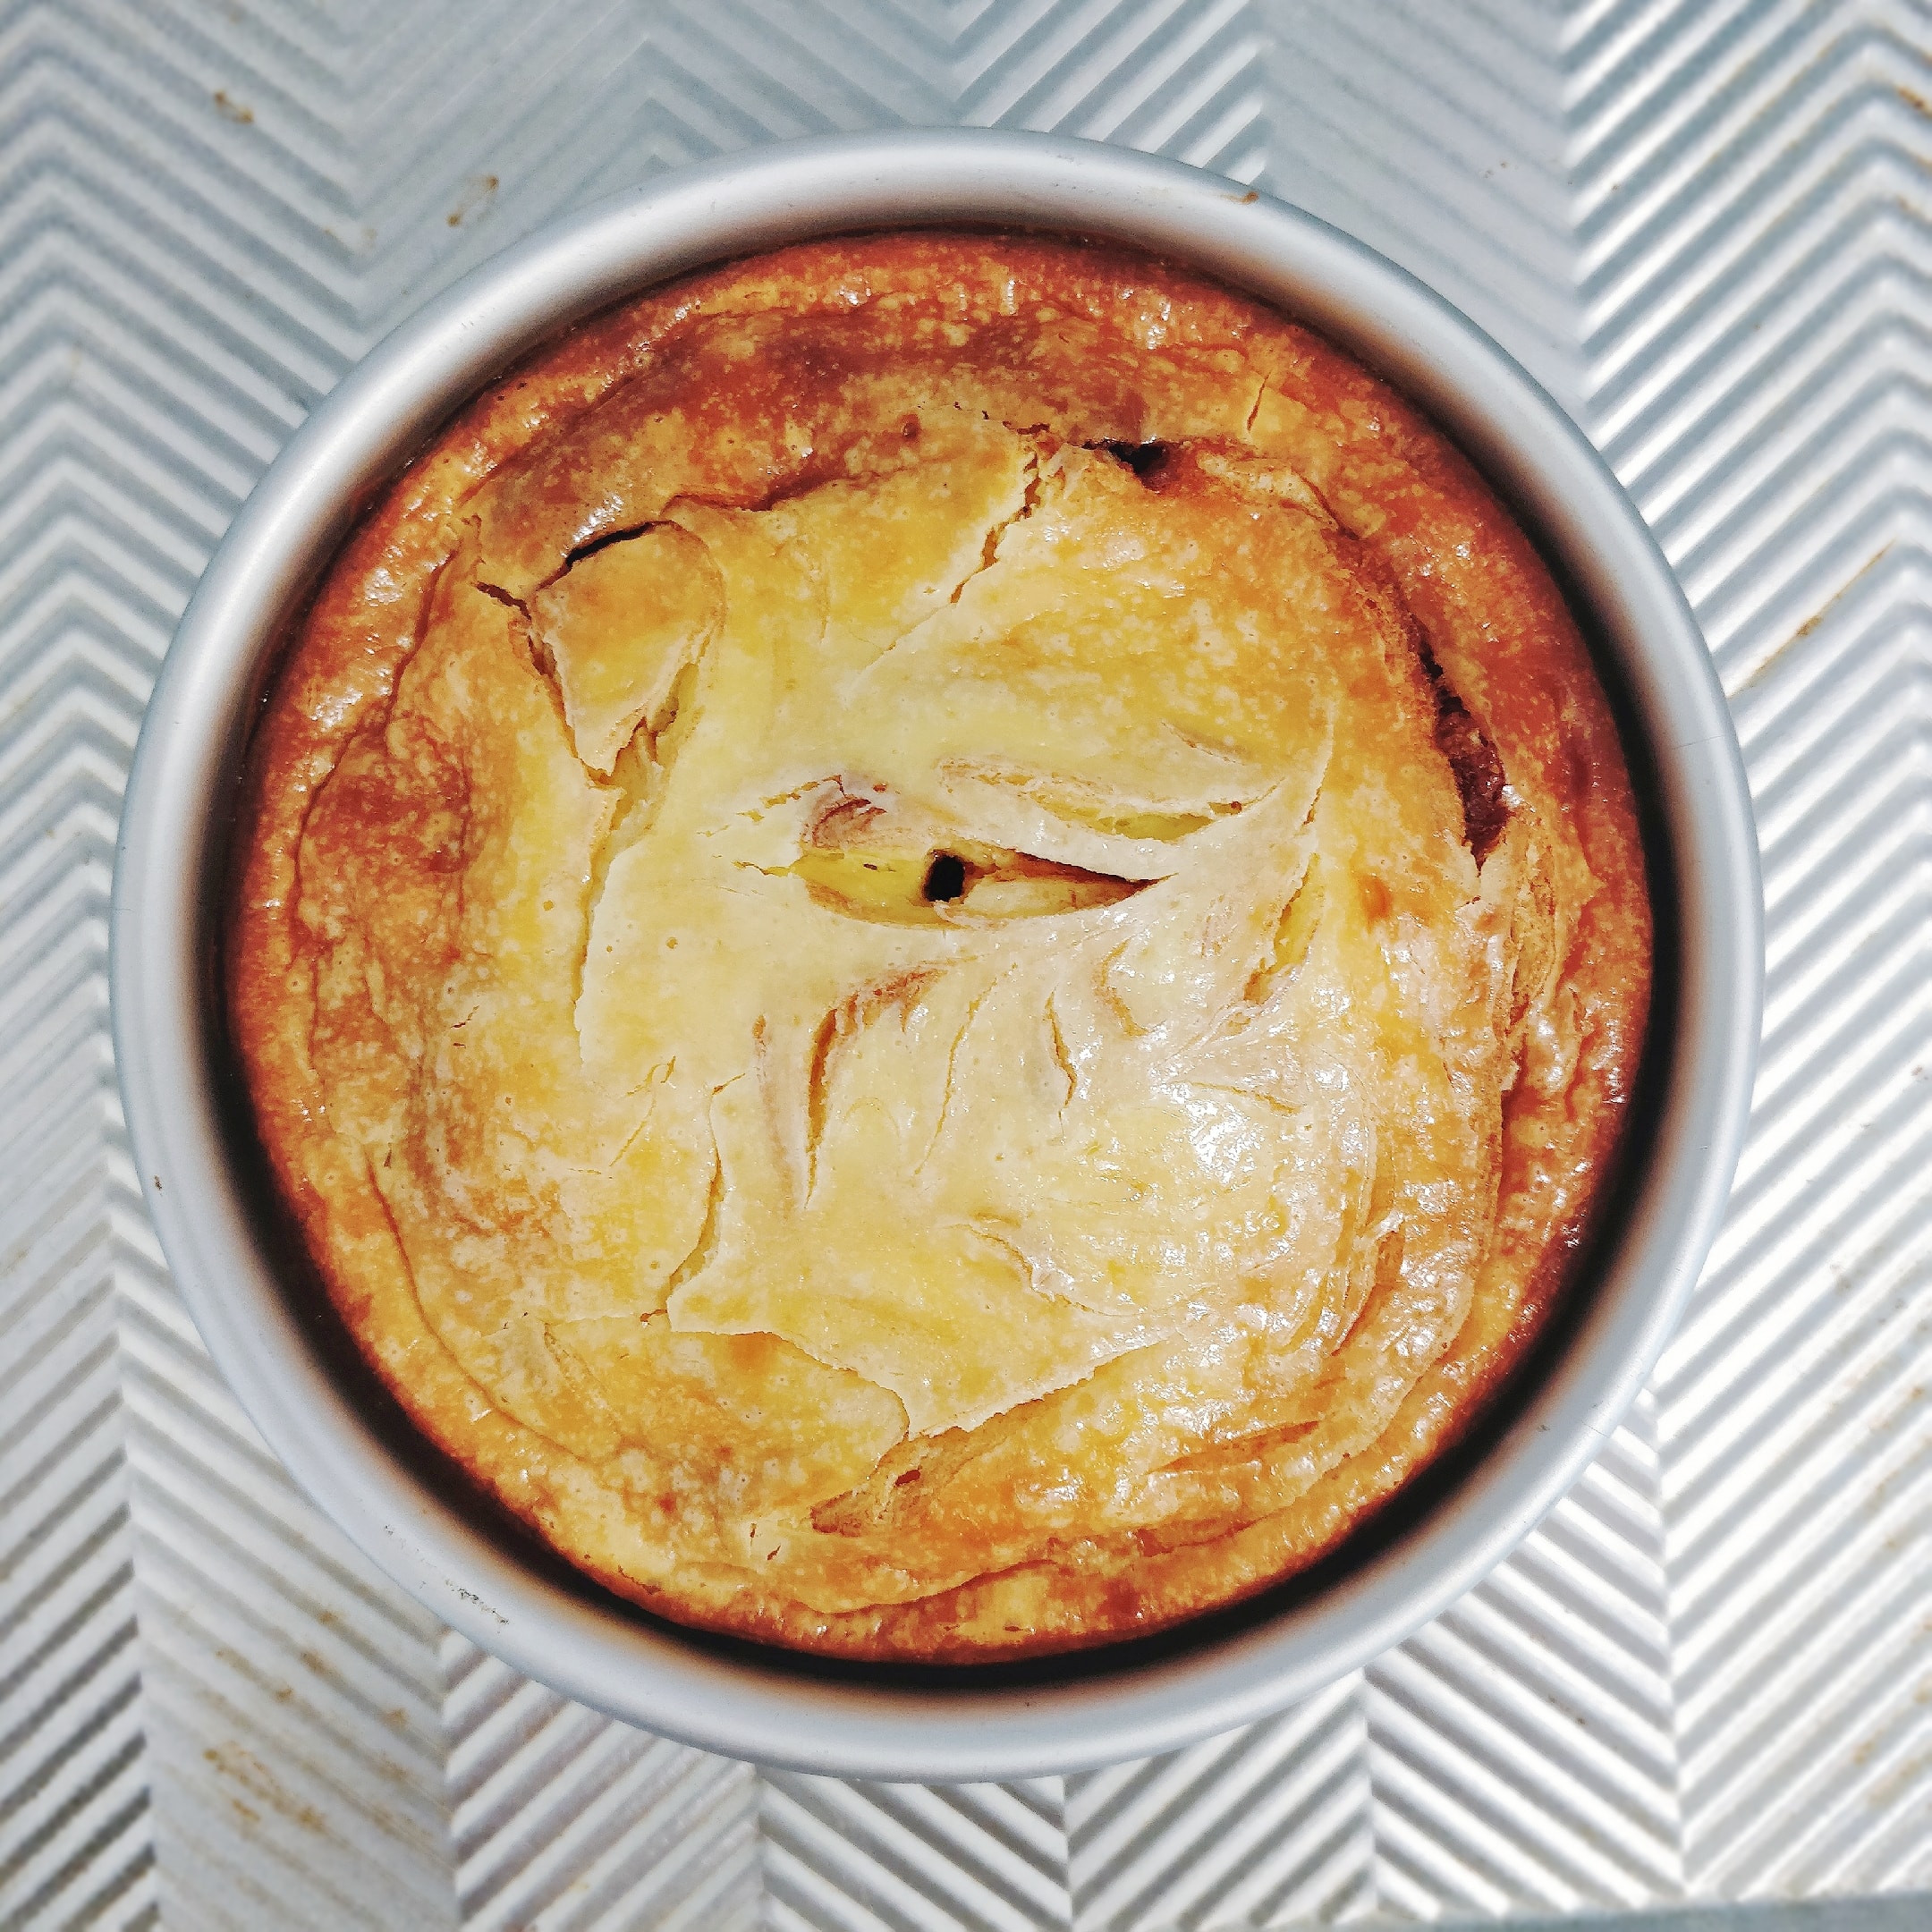
Although it was a little cracked, he said it was better than the ones sold outside, and the sweetness was just right.
Materials:
(The recipe comes from the next kitchen, Yanse)
brownie part
Chocolate 70g
Butter 125g
60g low-gluten flour
2 eggs
Sugar 70g
cheesecake part
Cream cheese 200g
1 egg
A few drops of vanilla extract
sugar 30g
Steps:
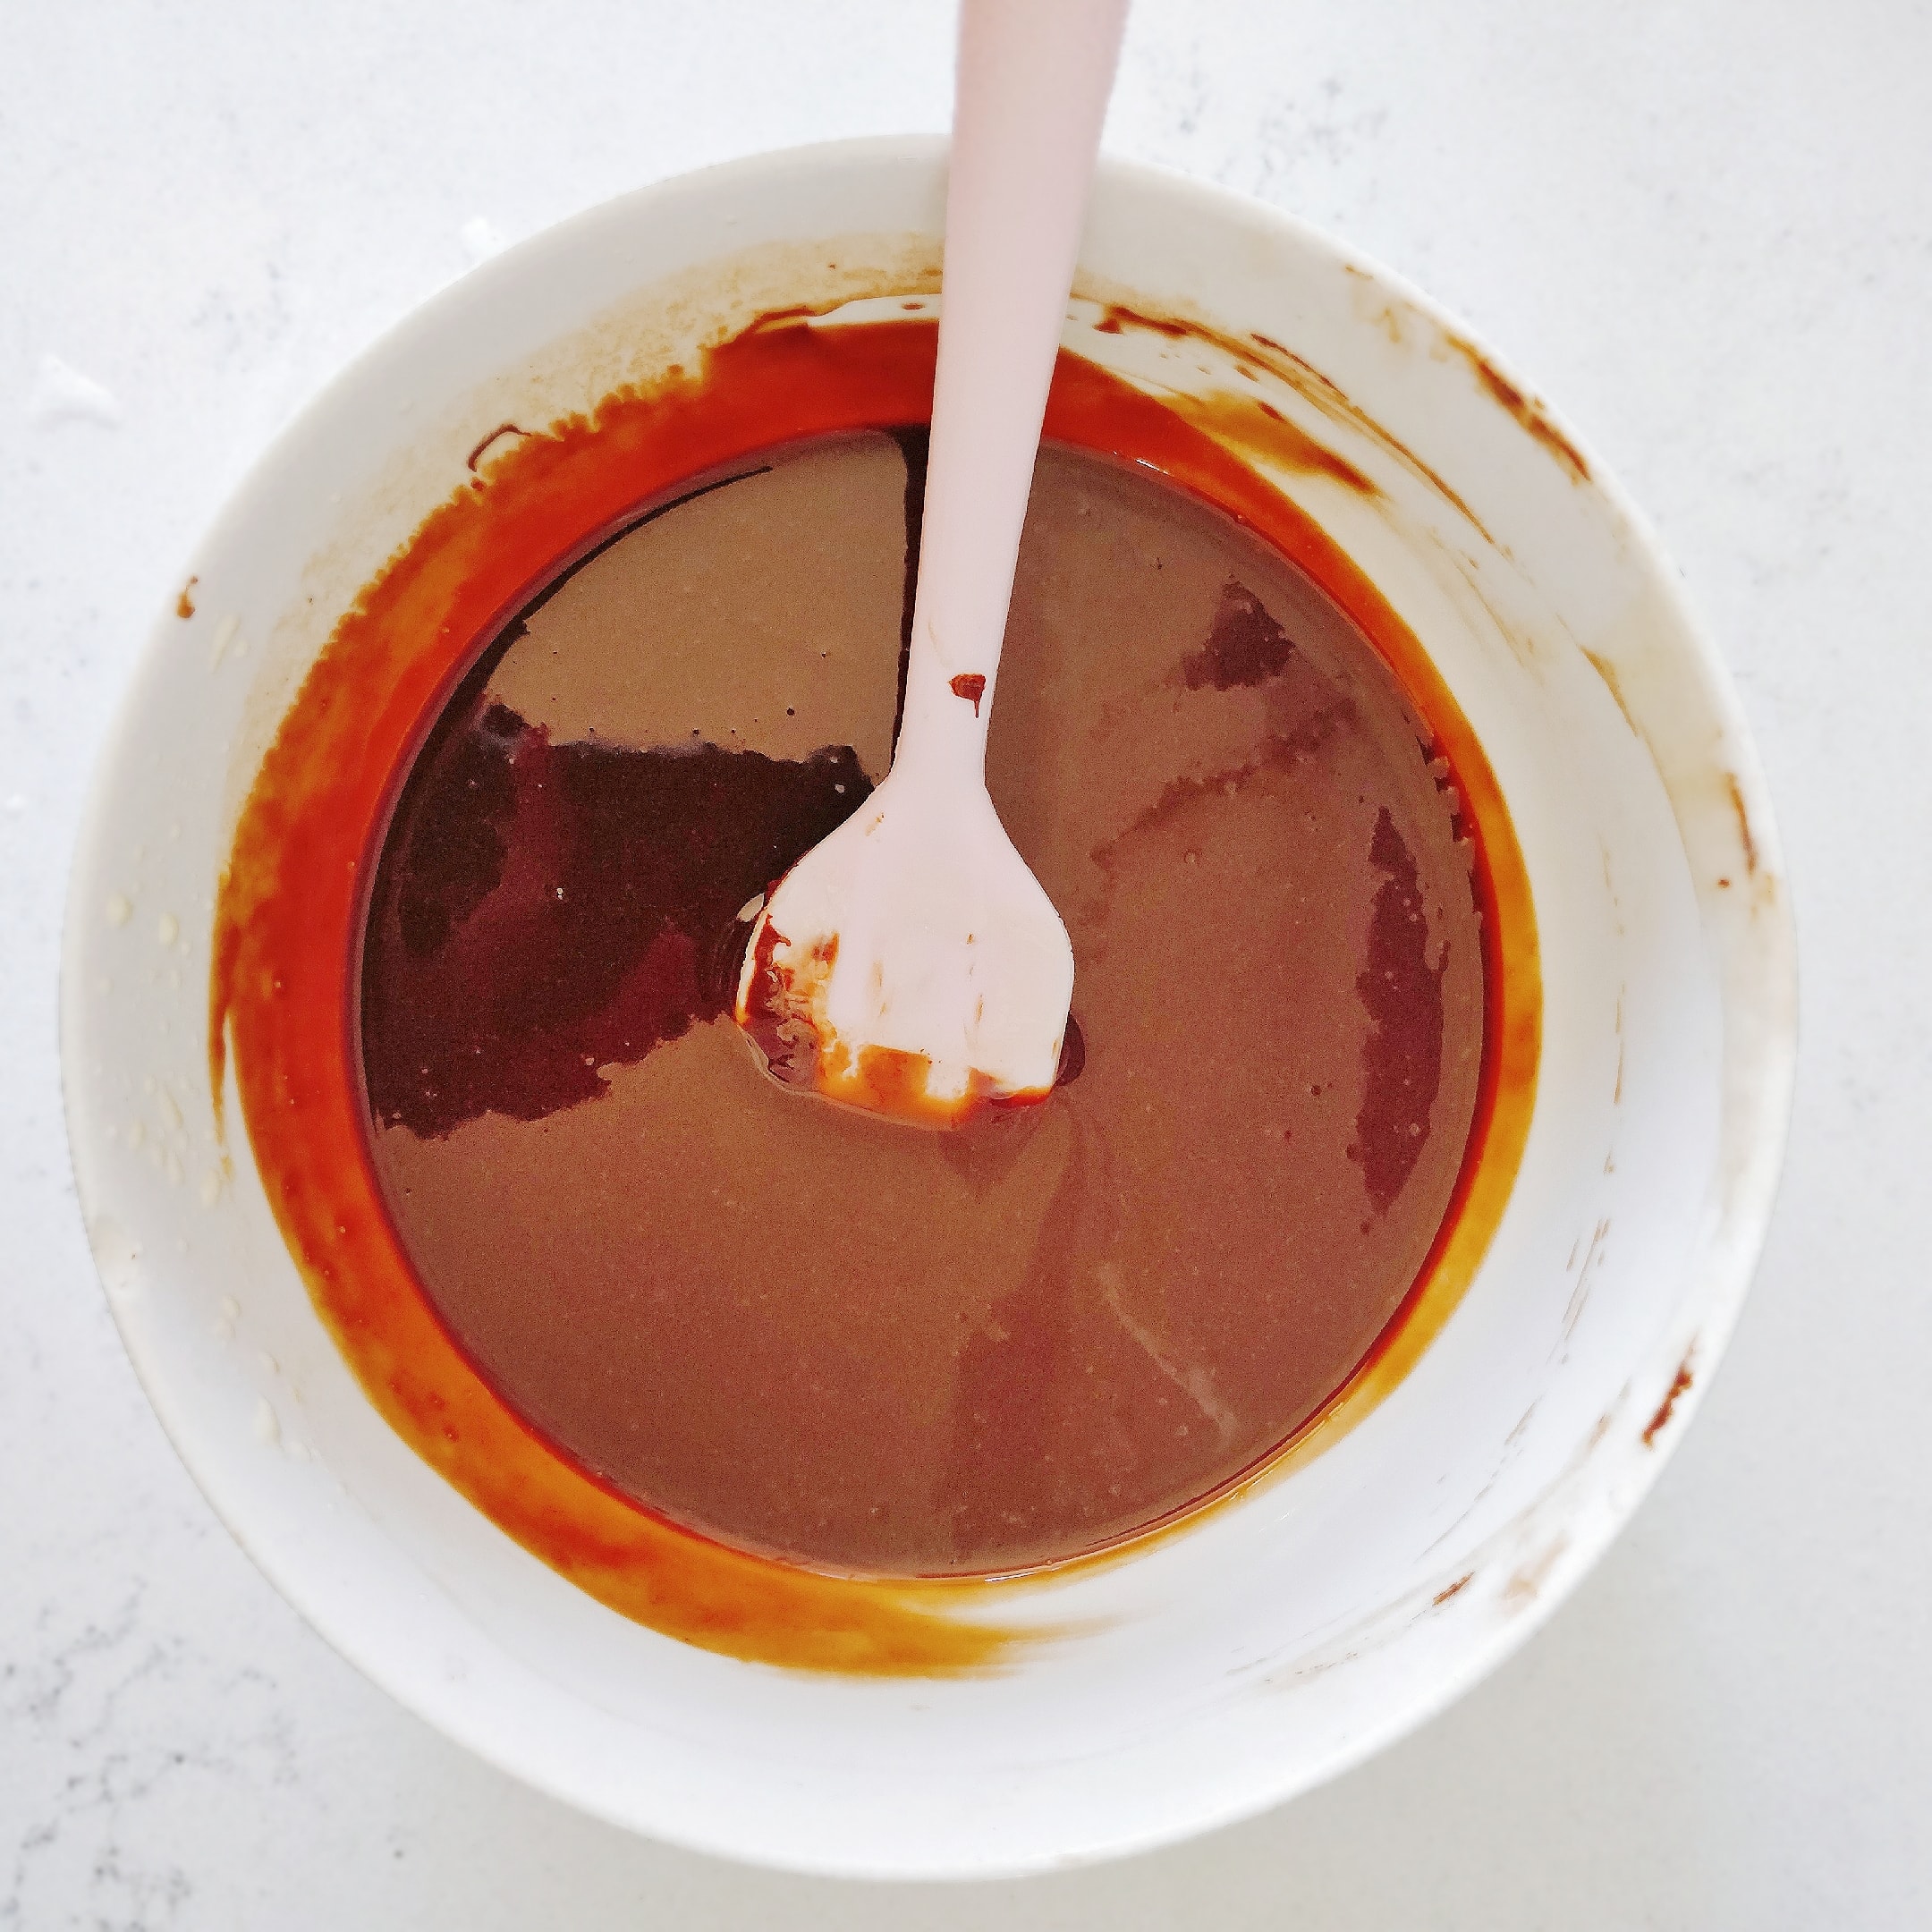
1) The chocolate heat insulation water melts, and the melting point of the chocolate is very low. I directly add boiling water.

2) Add in melted butter and stir until fully incorporated
(The original recipe is to whip softened butter and add chocolate. I have done it many times, and I think it is easier to make it directly by melting it, and it is equally delicious)
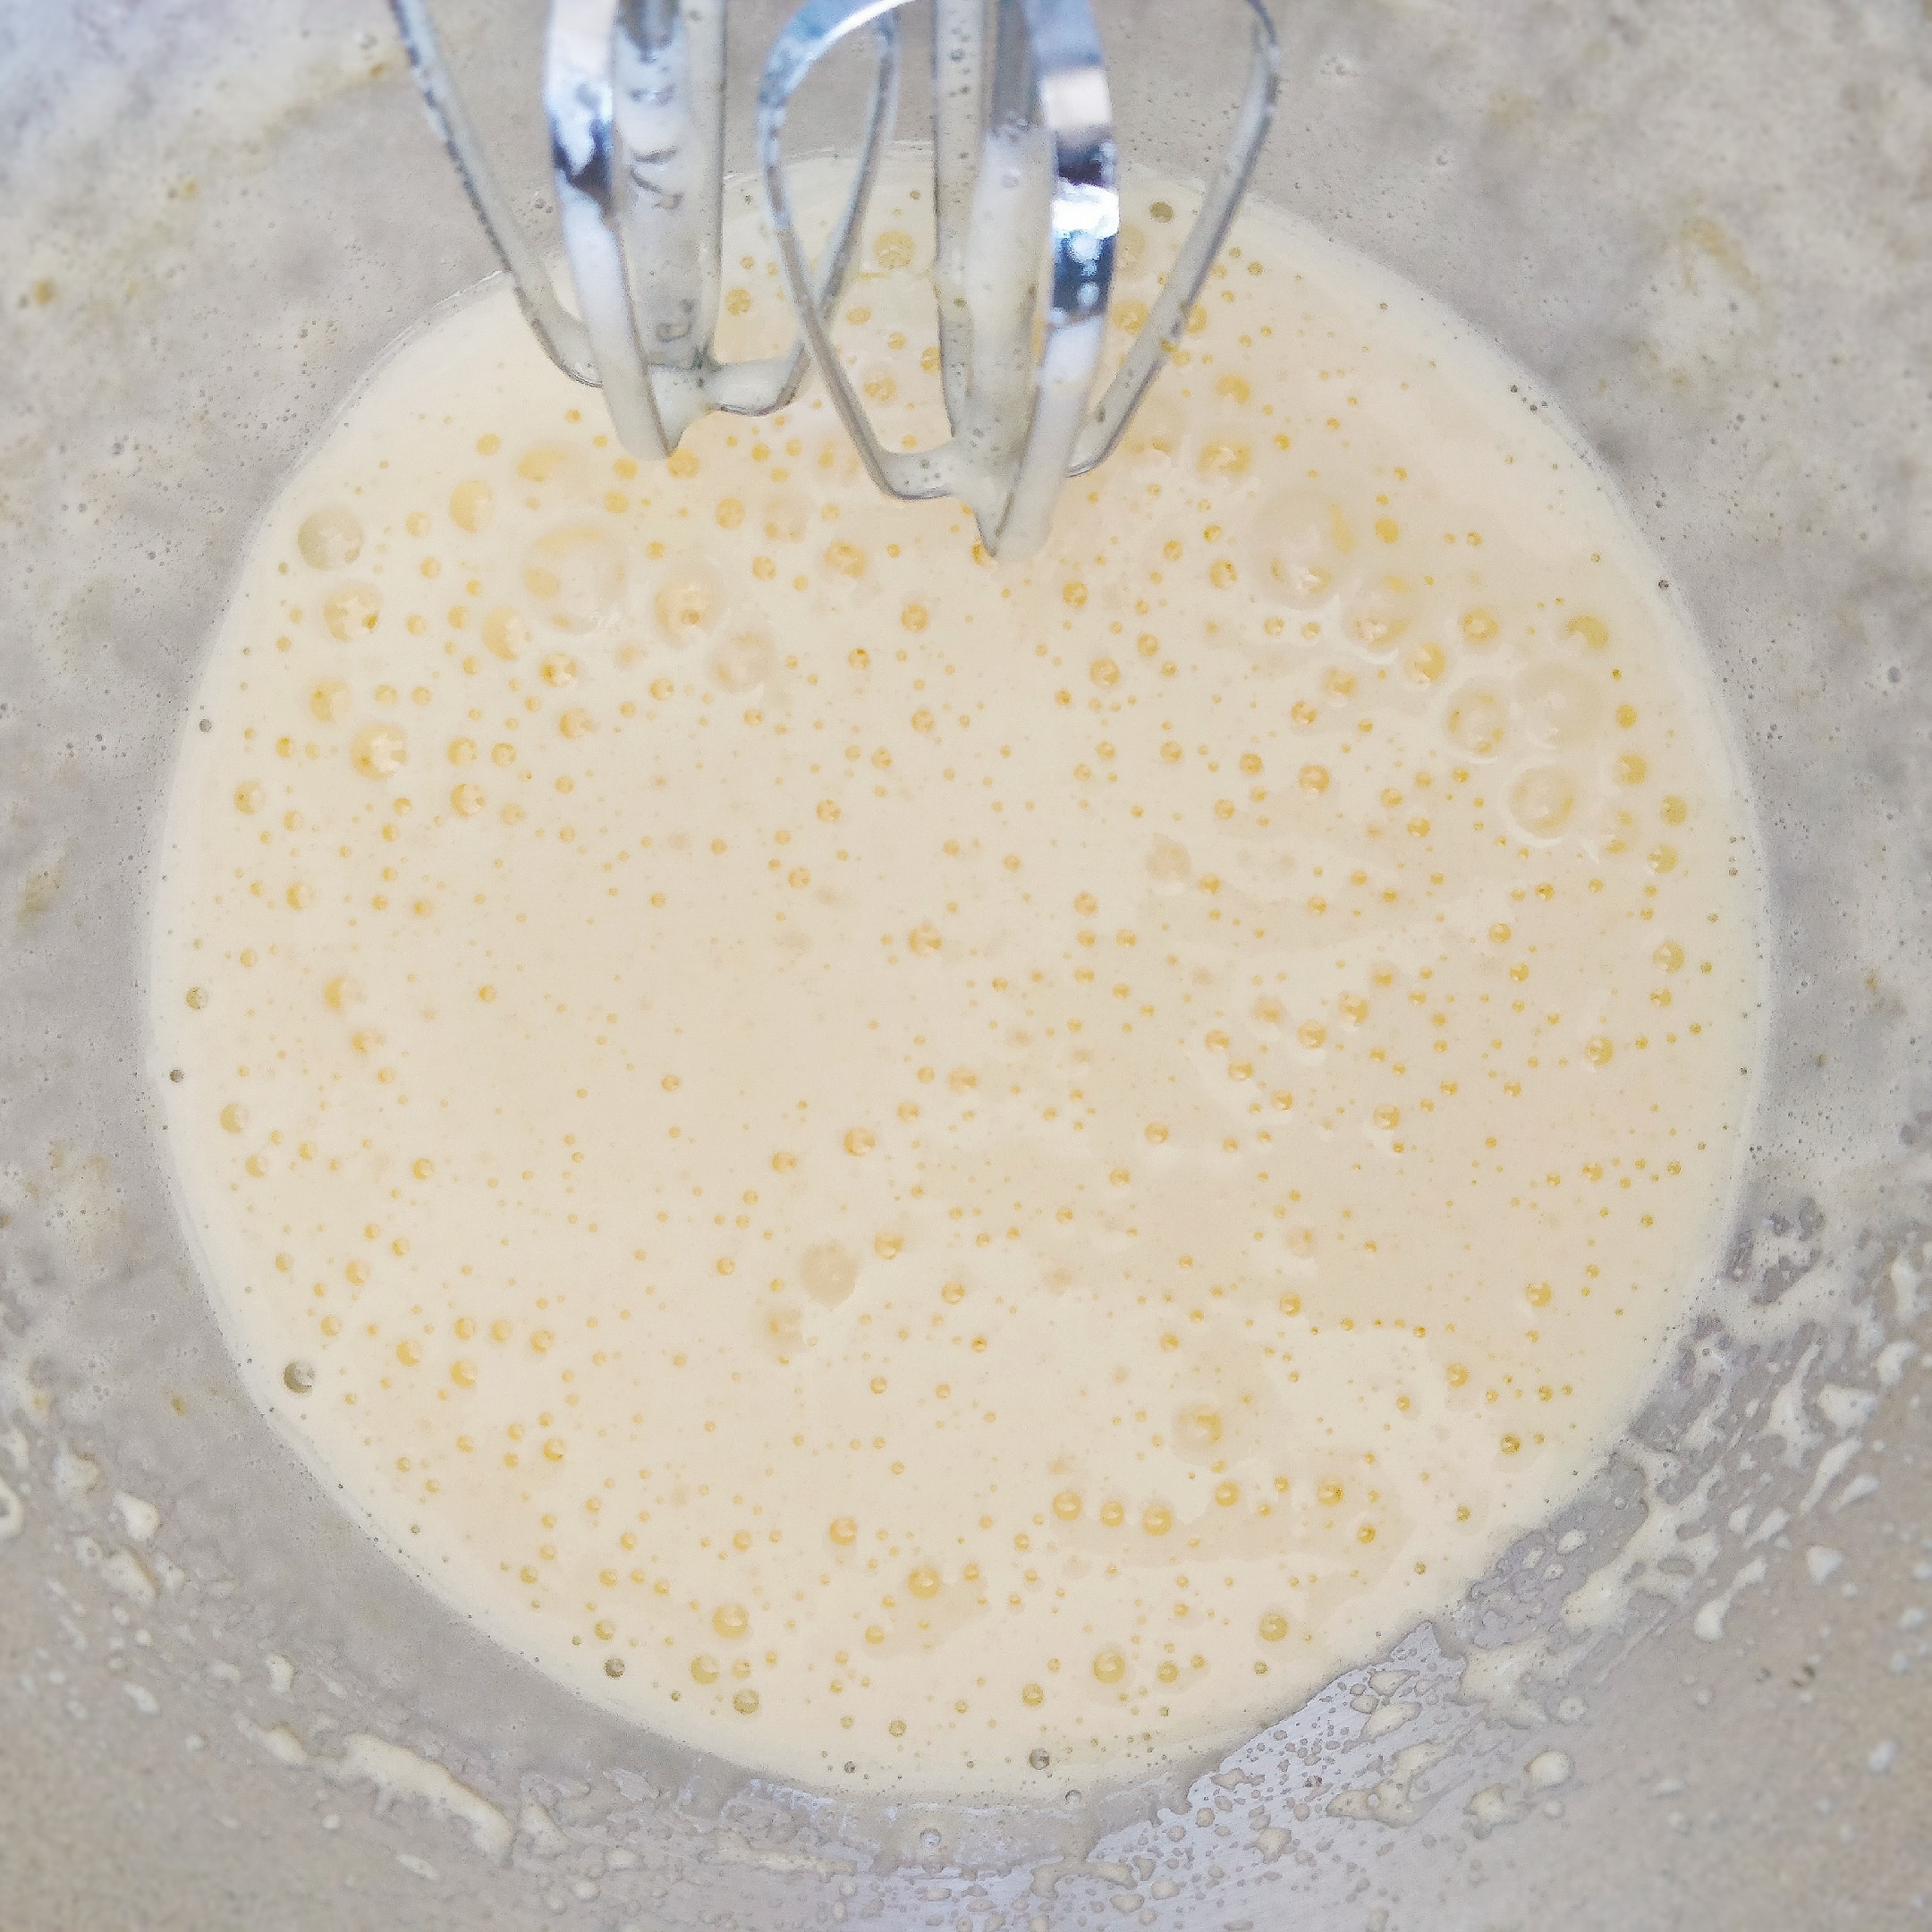
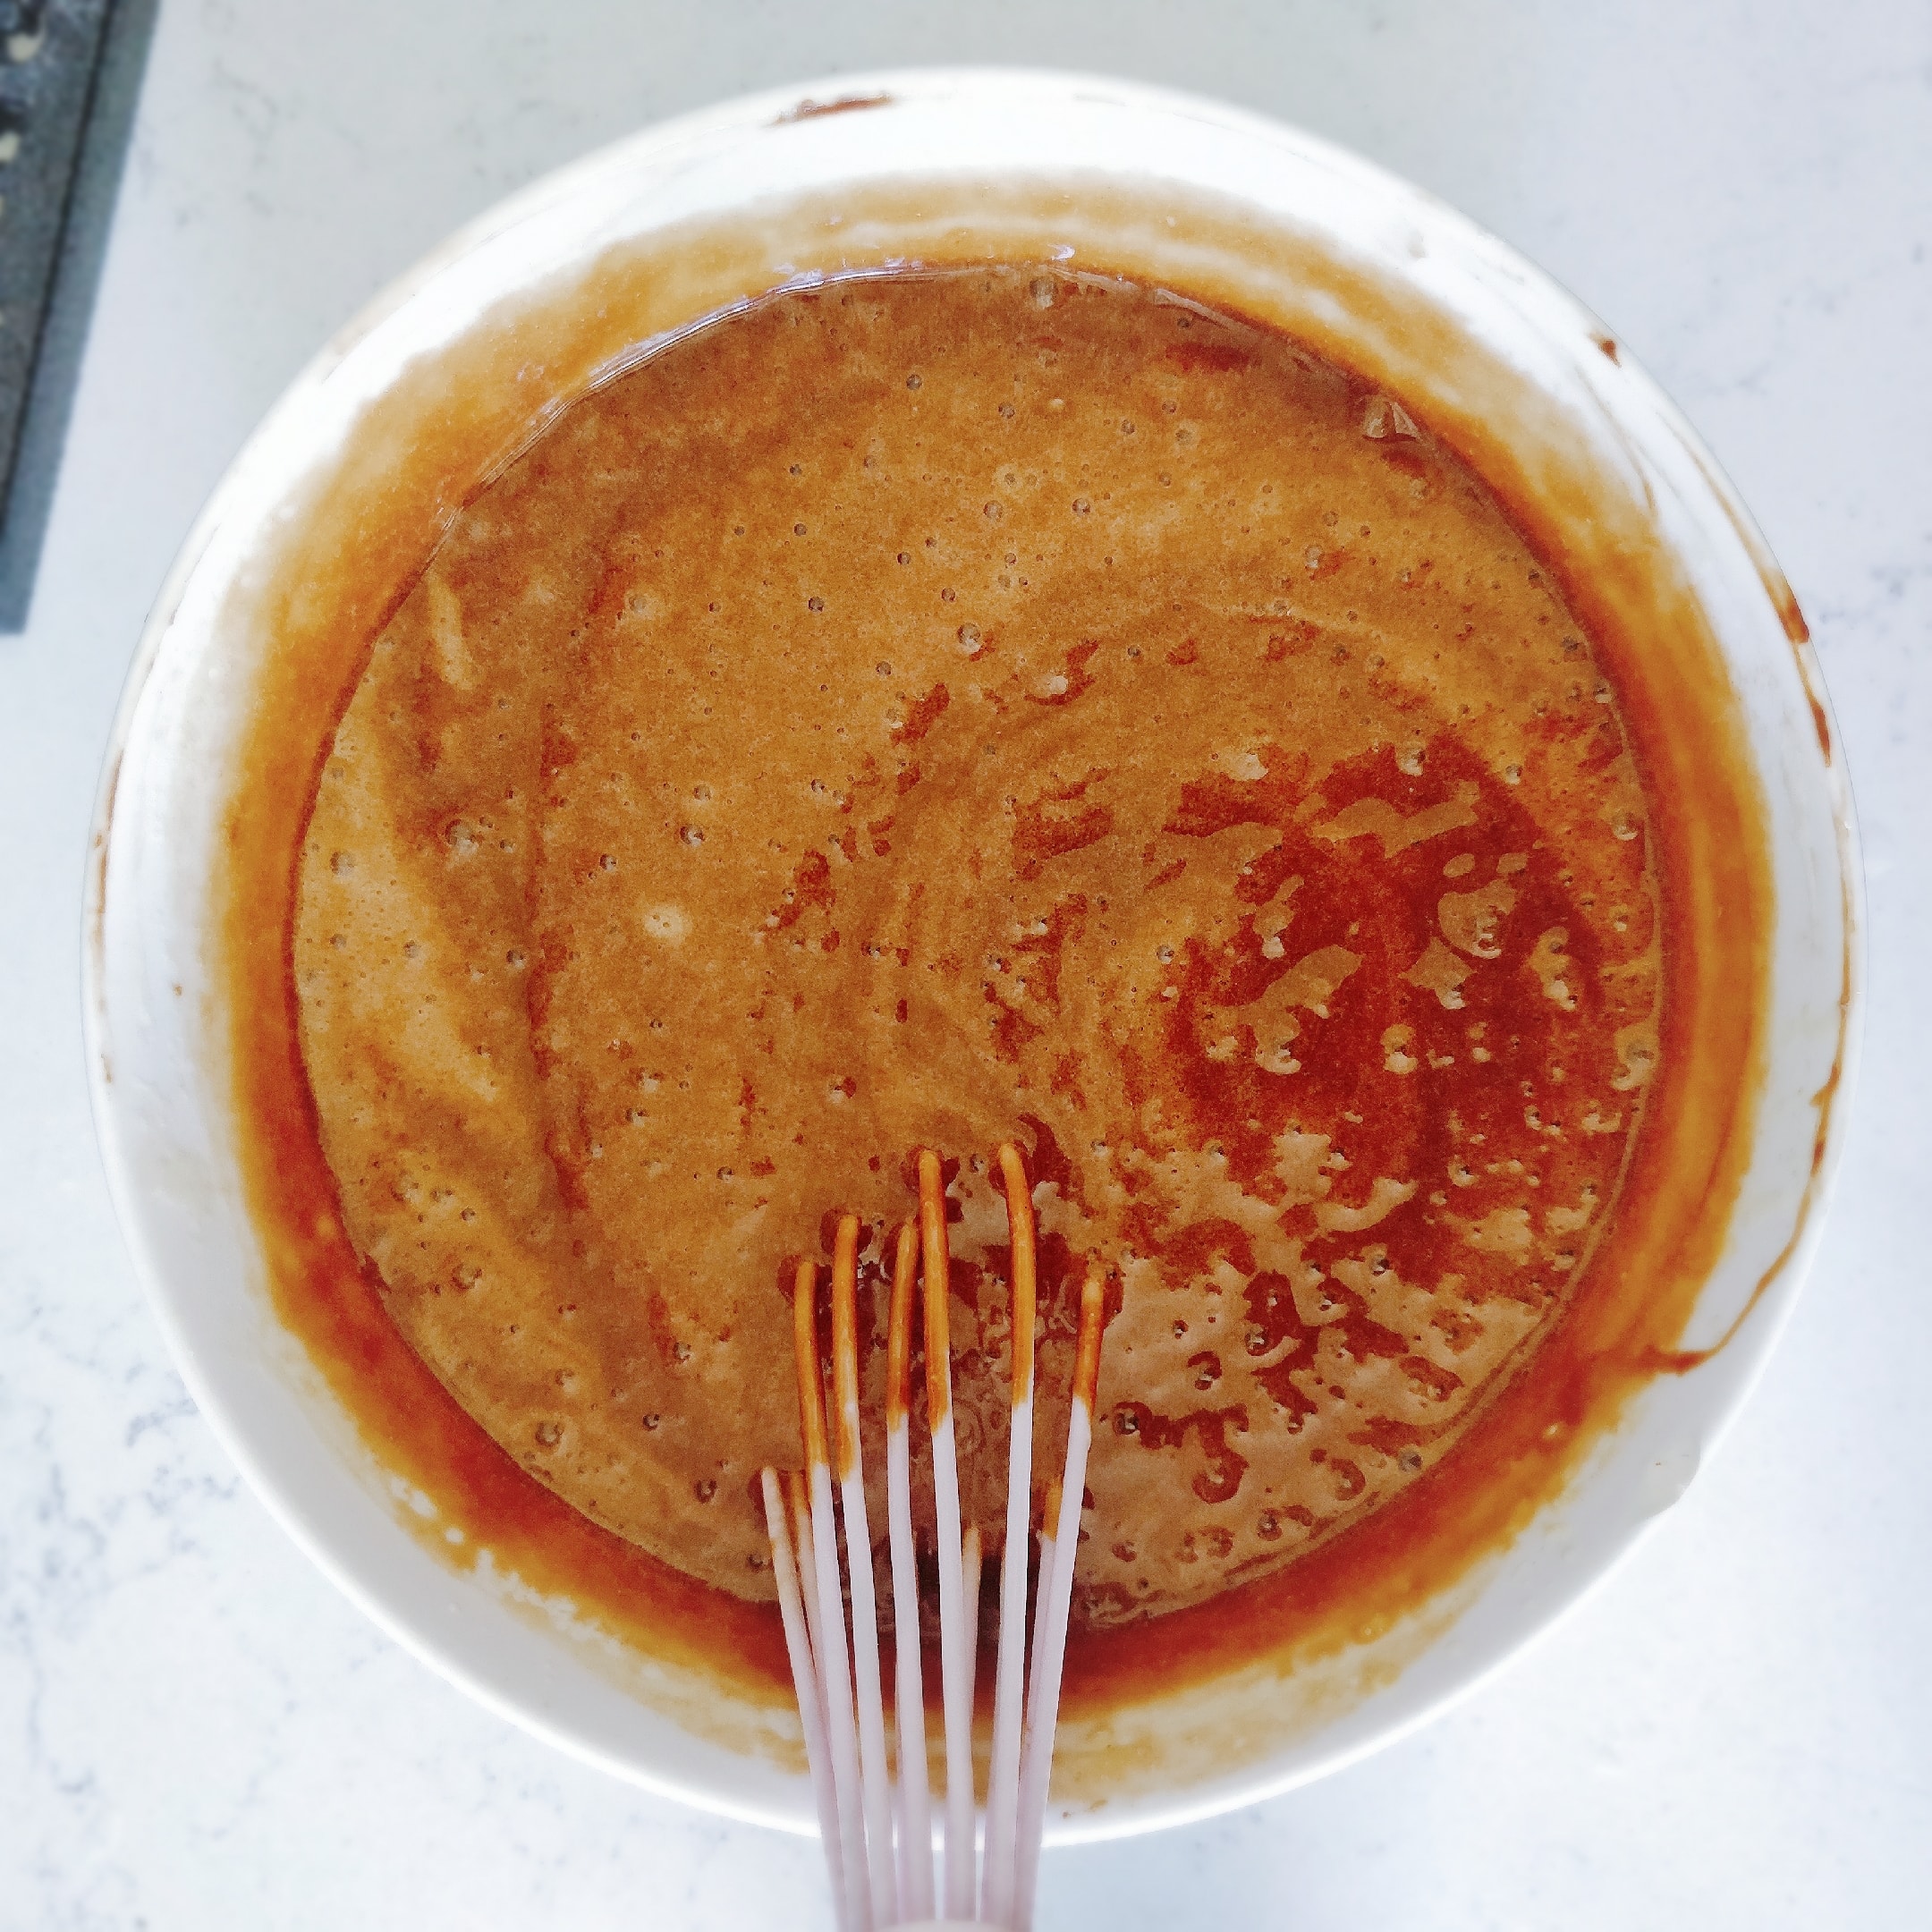
3) Beat two eggs with 70g sugar until foamy white
4) Add the chocolate paste just now and mix it evenly (in fact, you should use egg whipping, I use a spatula so as not to waste the beaten eggs, the spatula can’t mix it evenly)
5) After mixing, it looks like this
6) Sift in low-gluten flour (I added a little baking powder myself, if you mind baking powder, you can omit it)
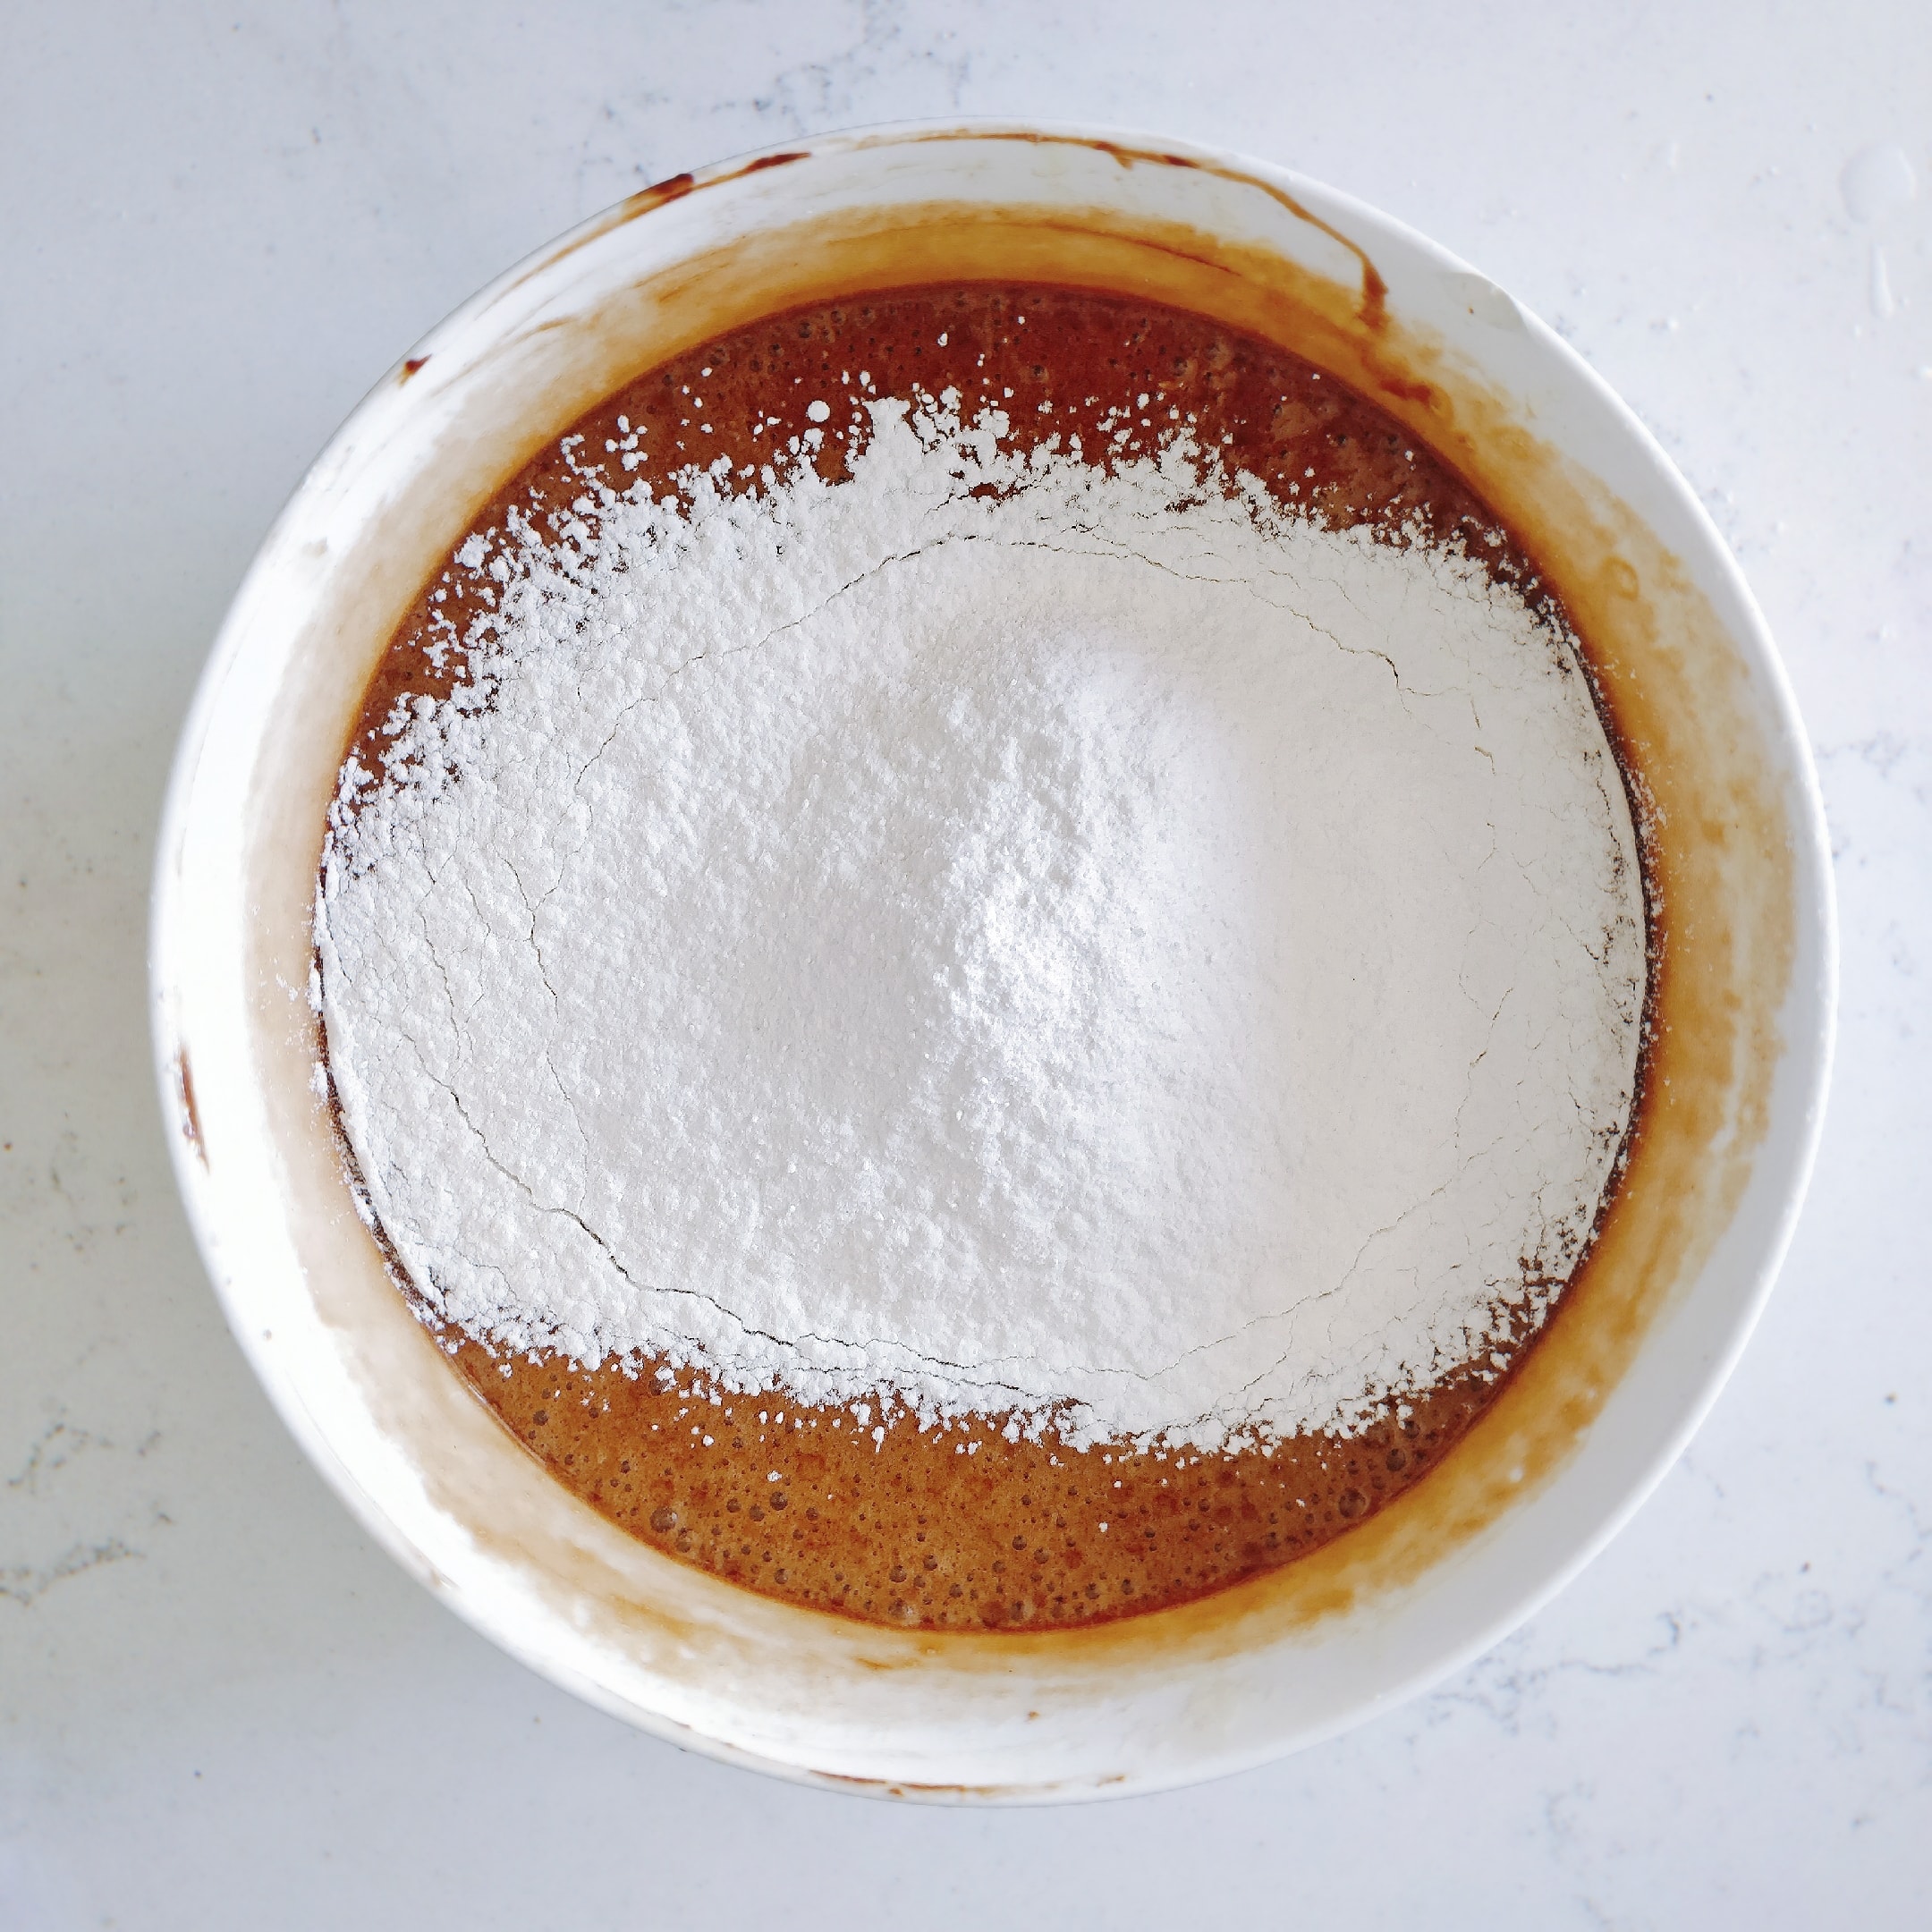
7) Mix well with a spatula
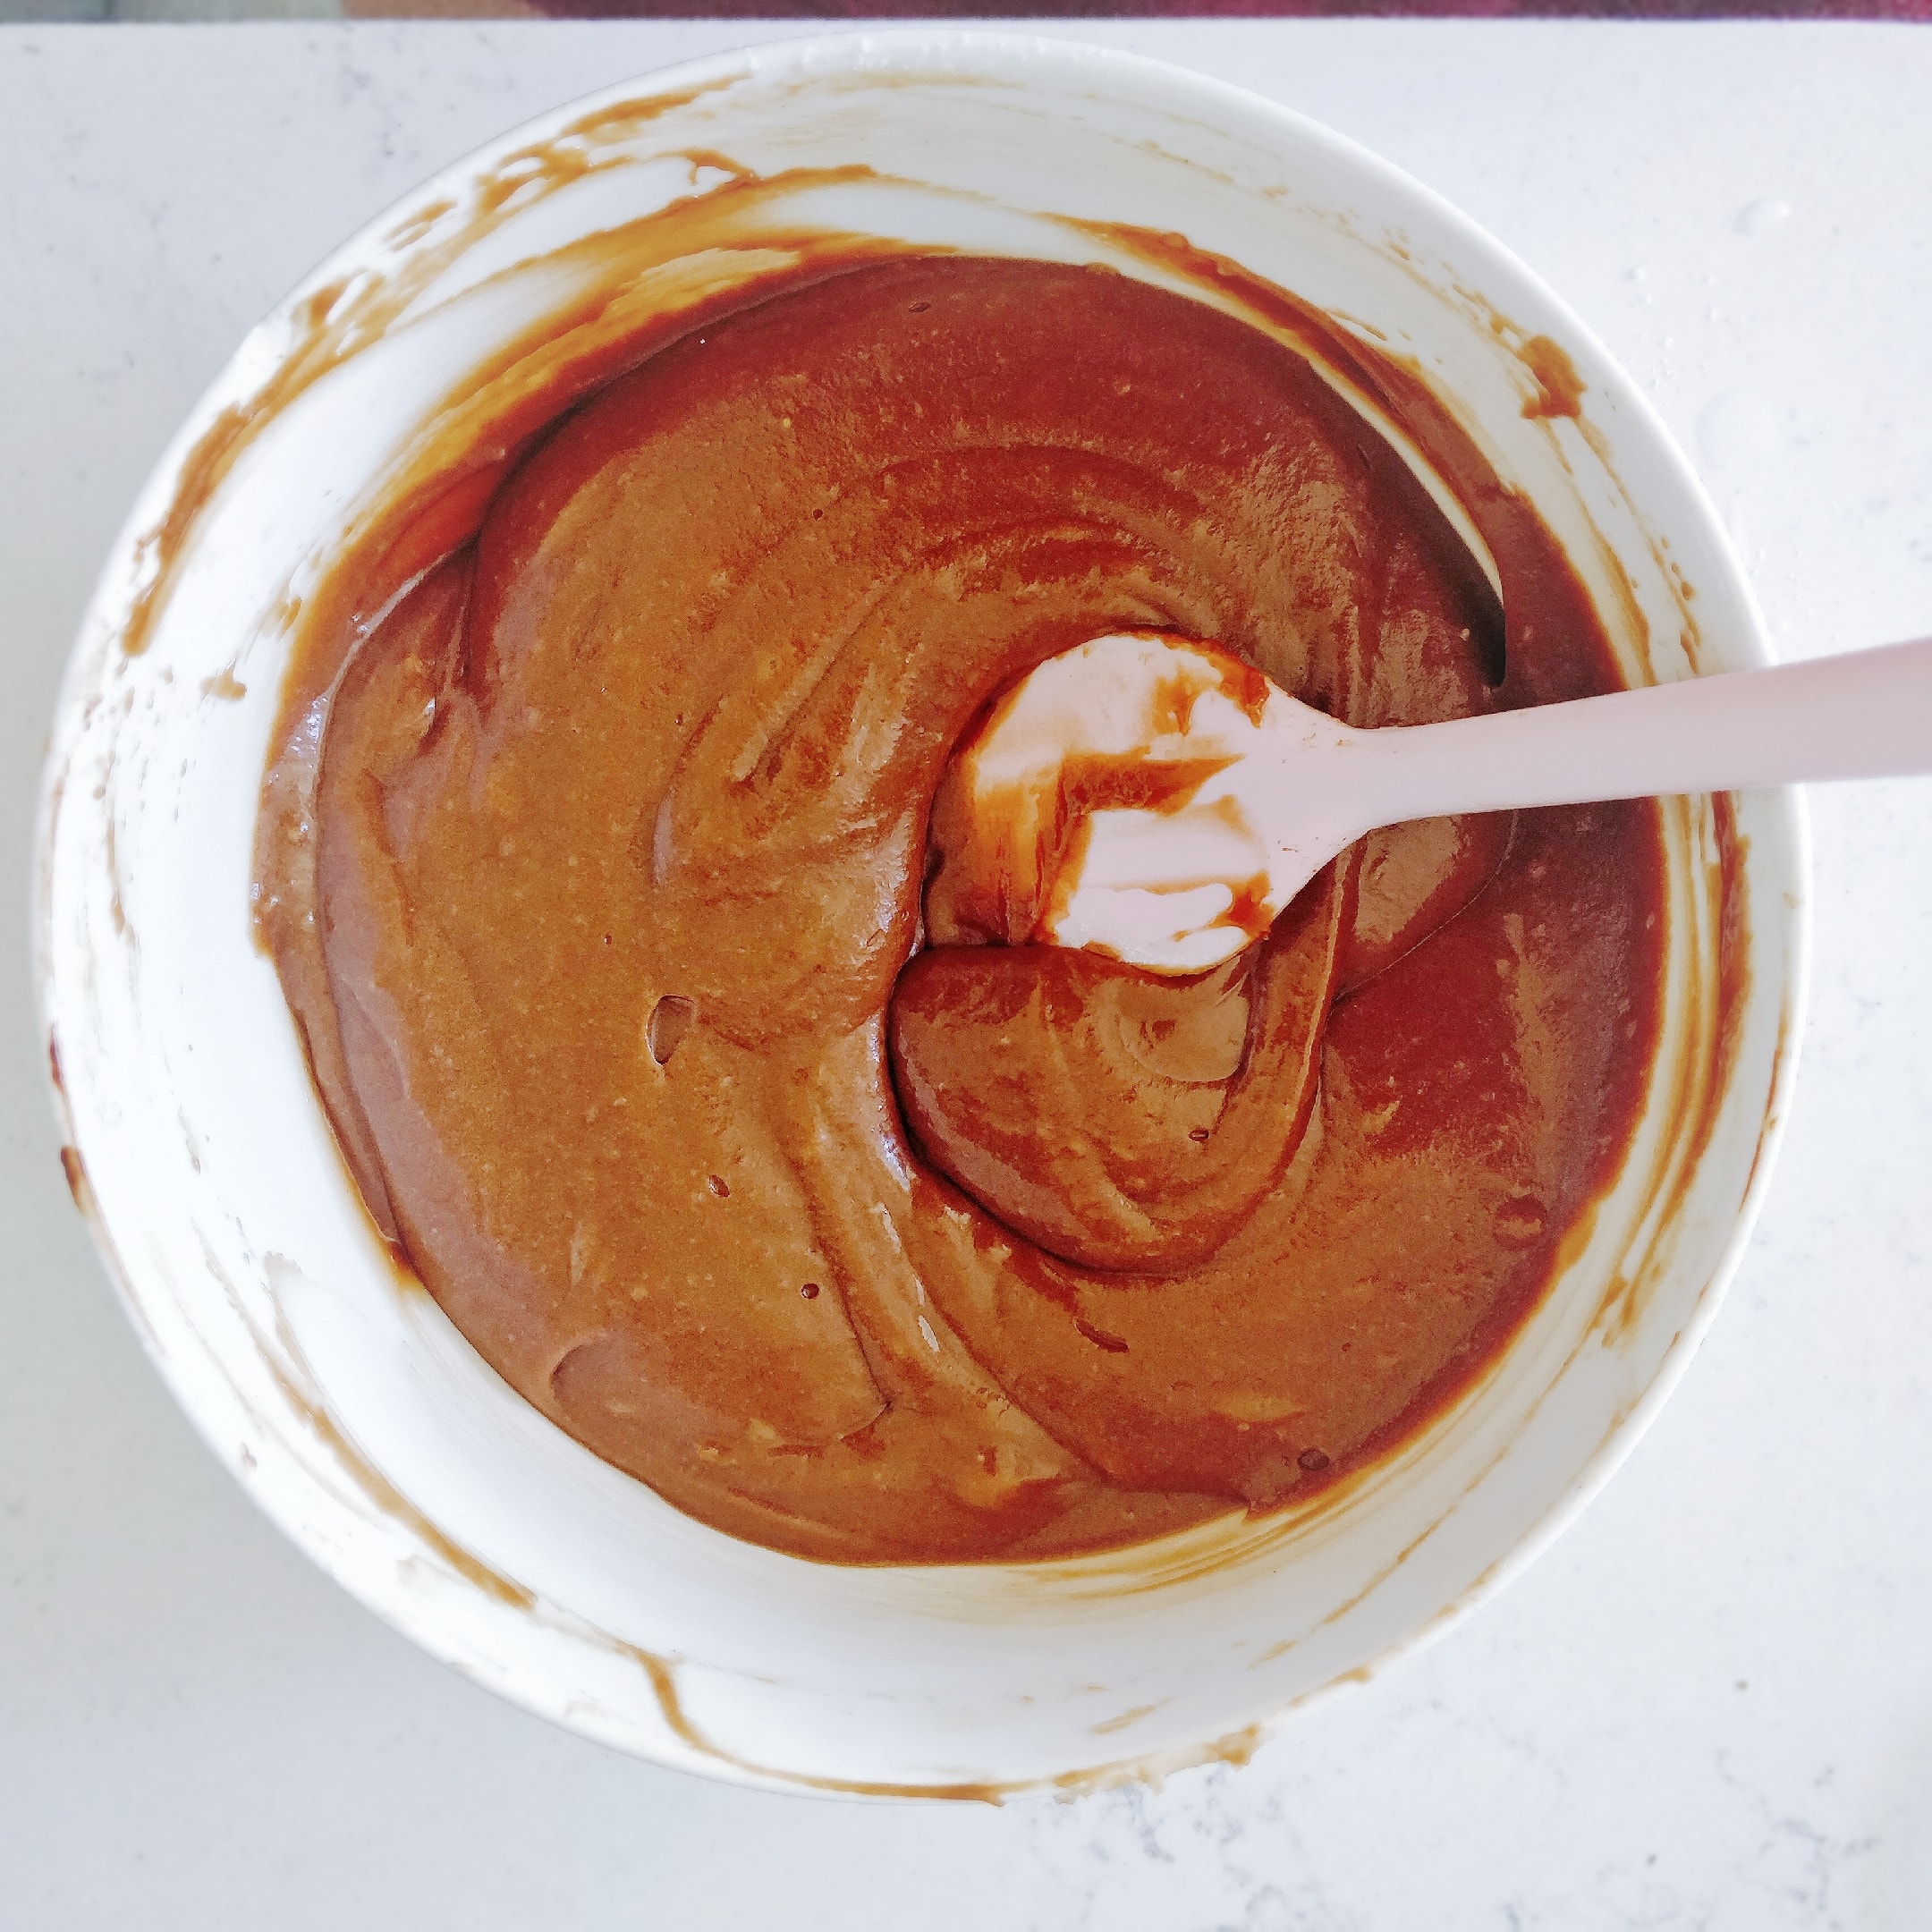
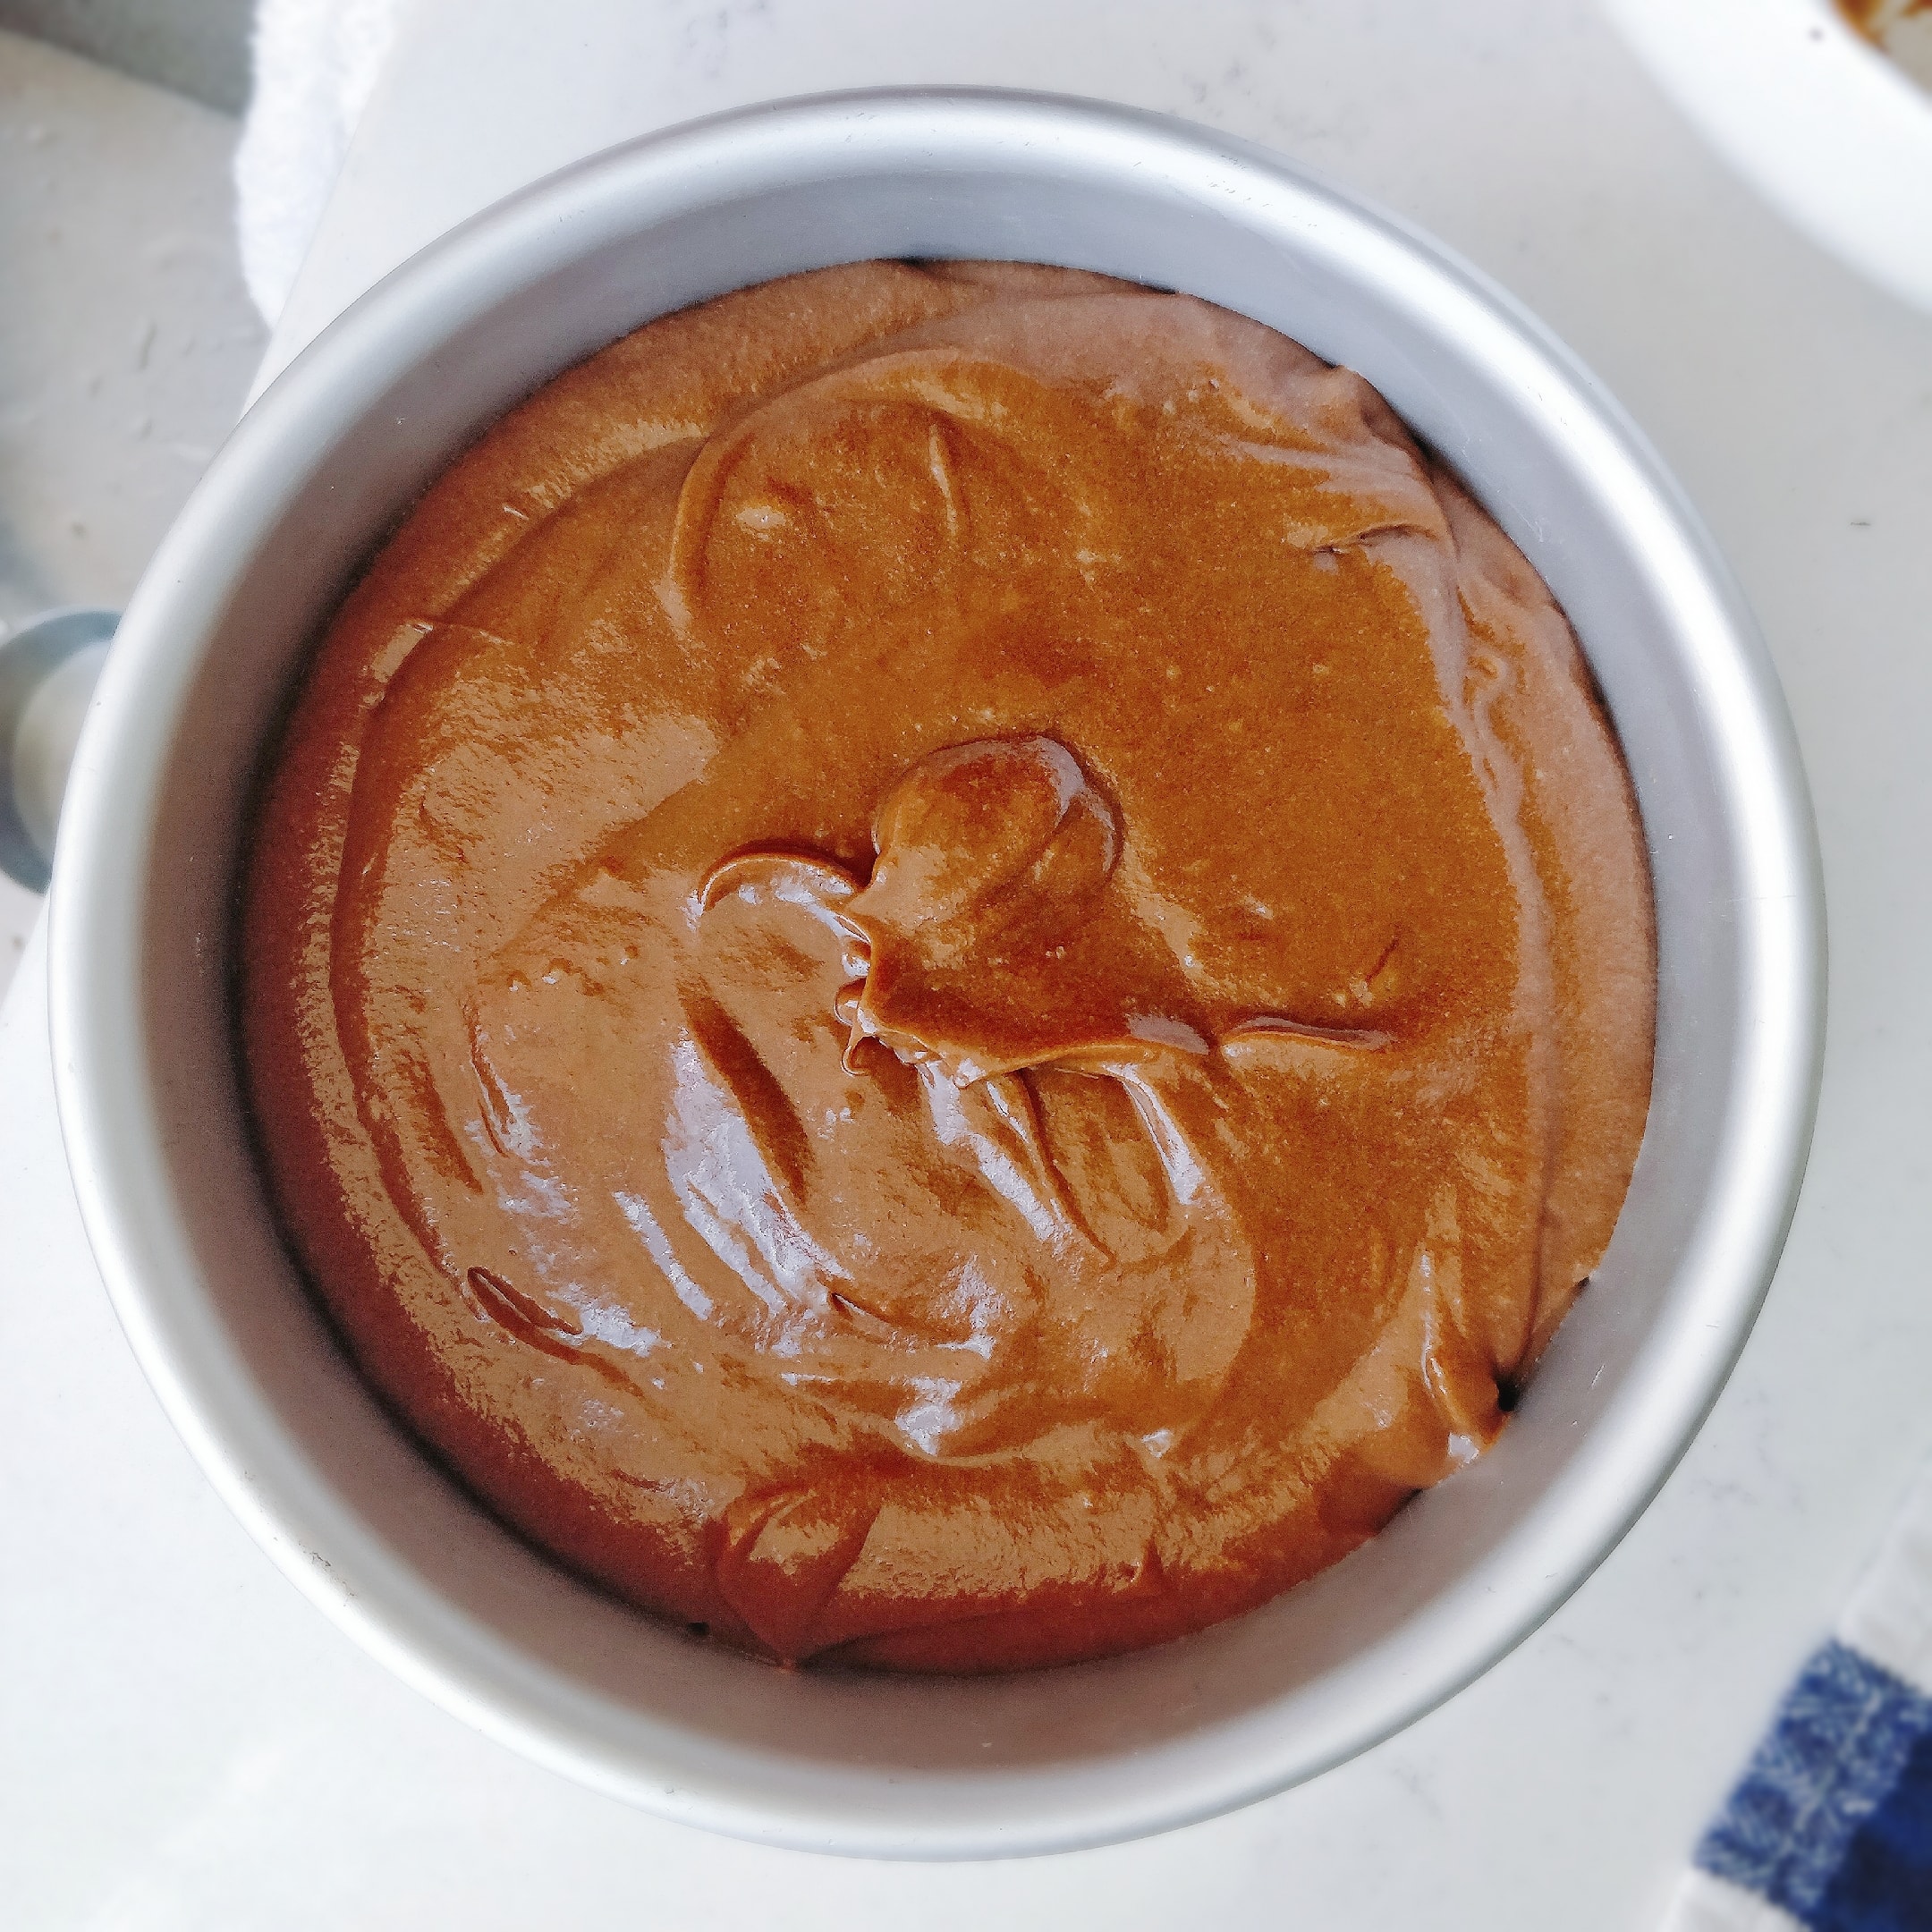
8. Pour into a 6-inch cake mold. I put baking paper on the bottom and don't use the surrounding area.
The next step is to make the cheesecake layer, which is very simple without flour.
1) Softened cream cheese (I just turned it in the microwave for a little more than ten seconds before it softened hahaha I'm super lazy), add 30g sugar and stir well with egg whipping
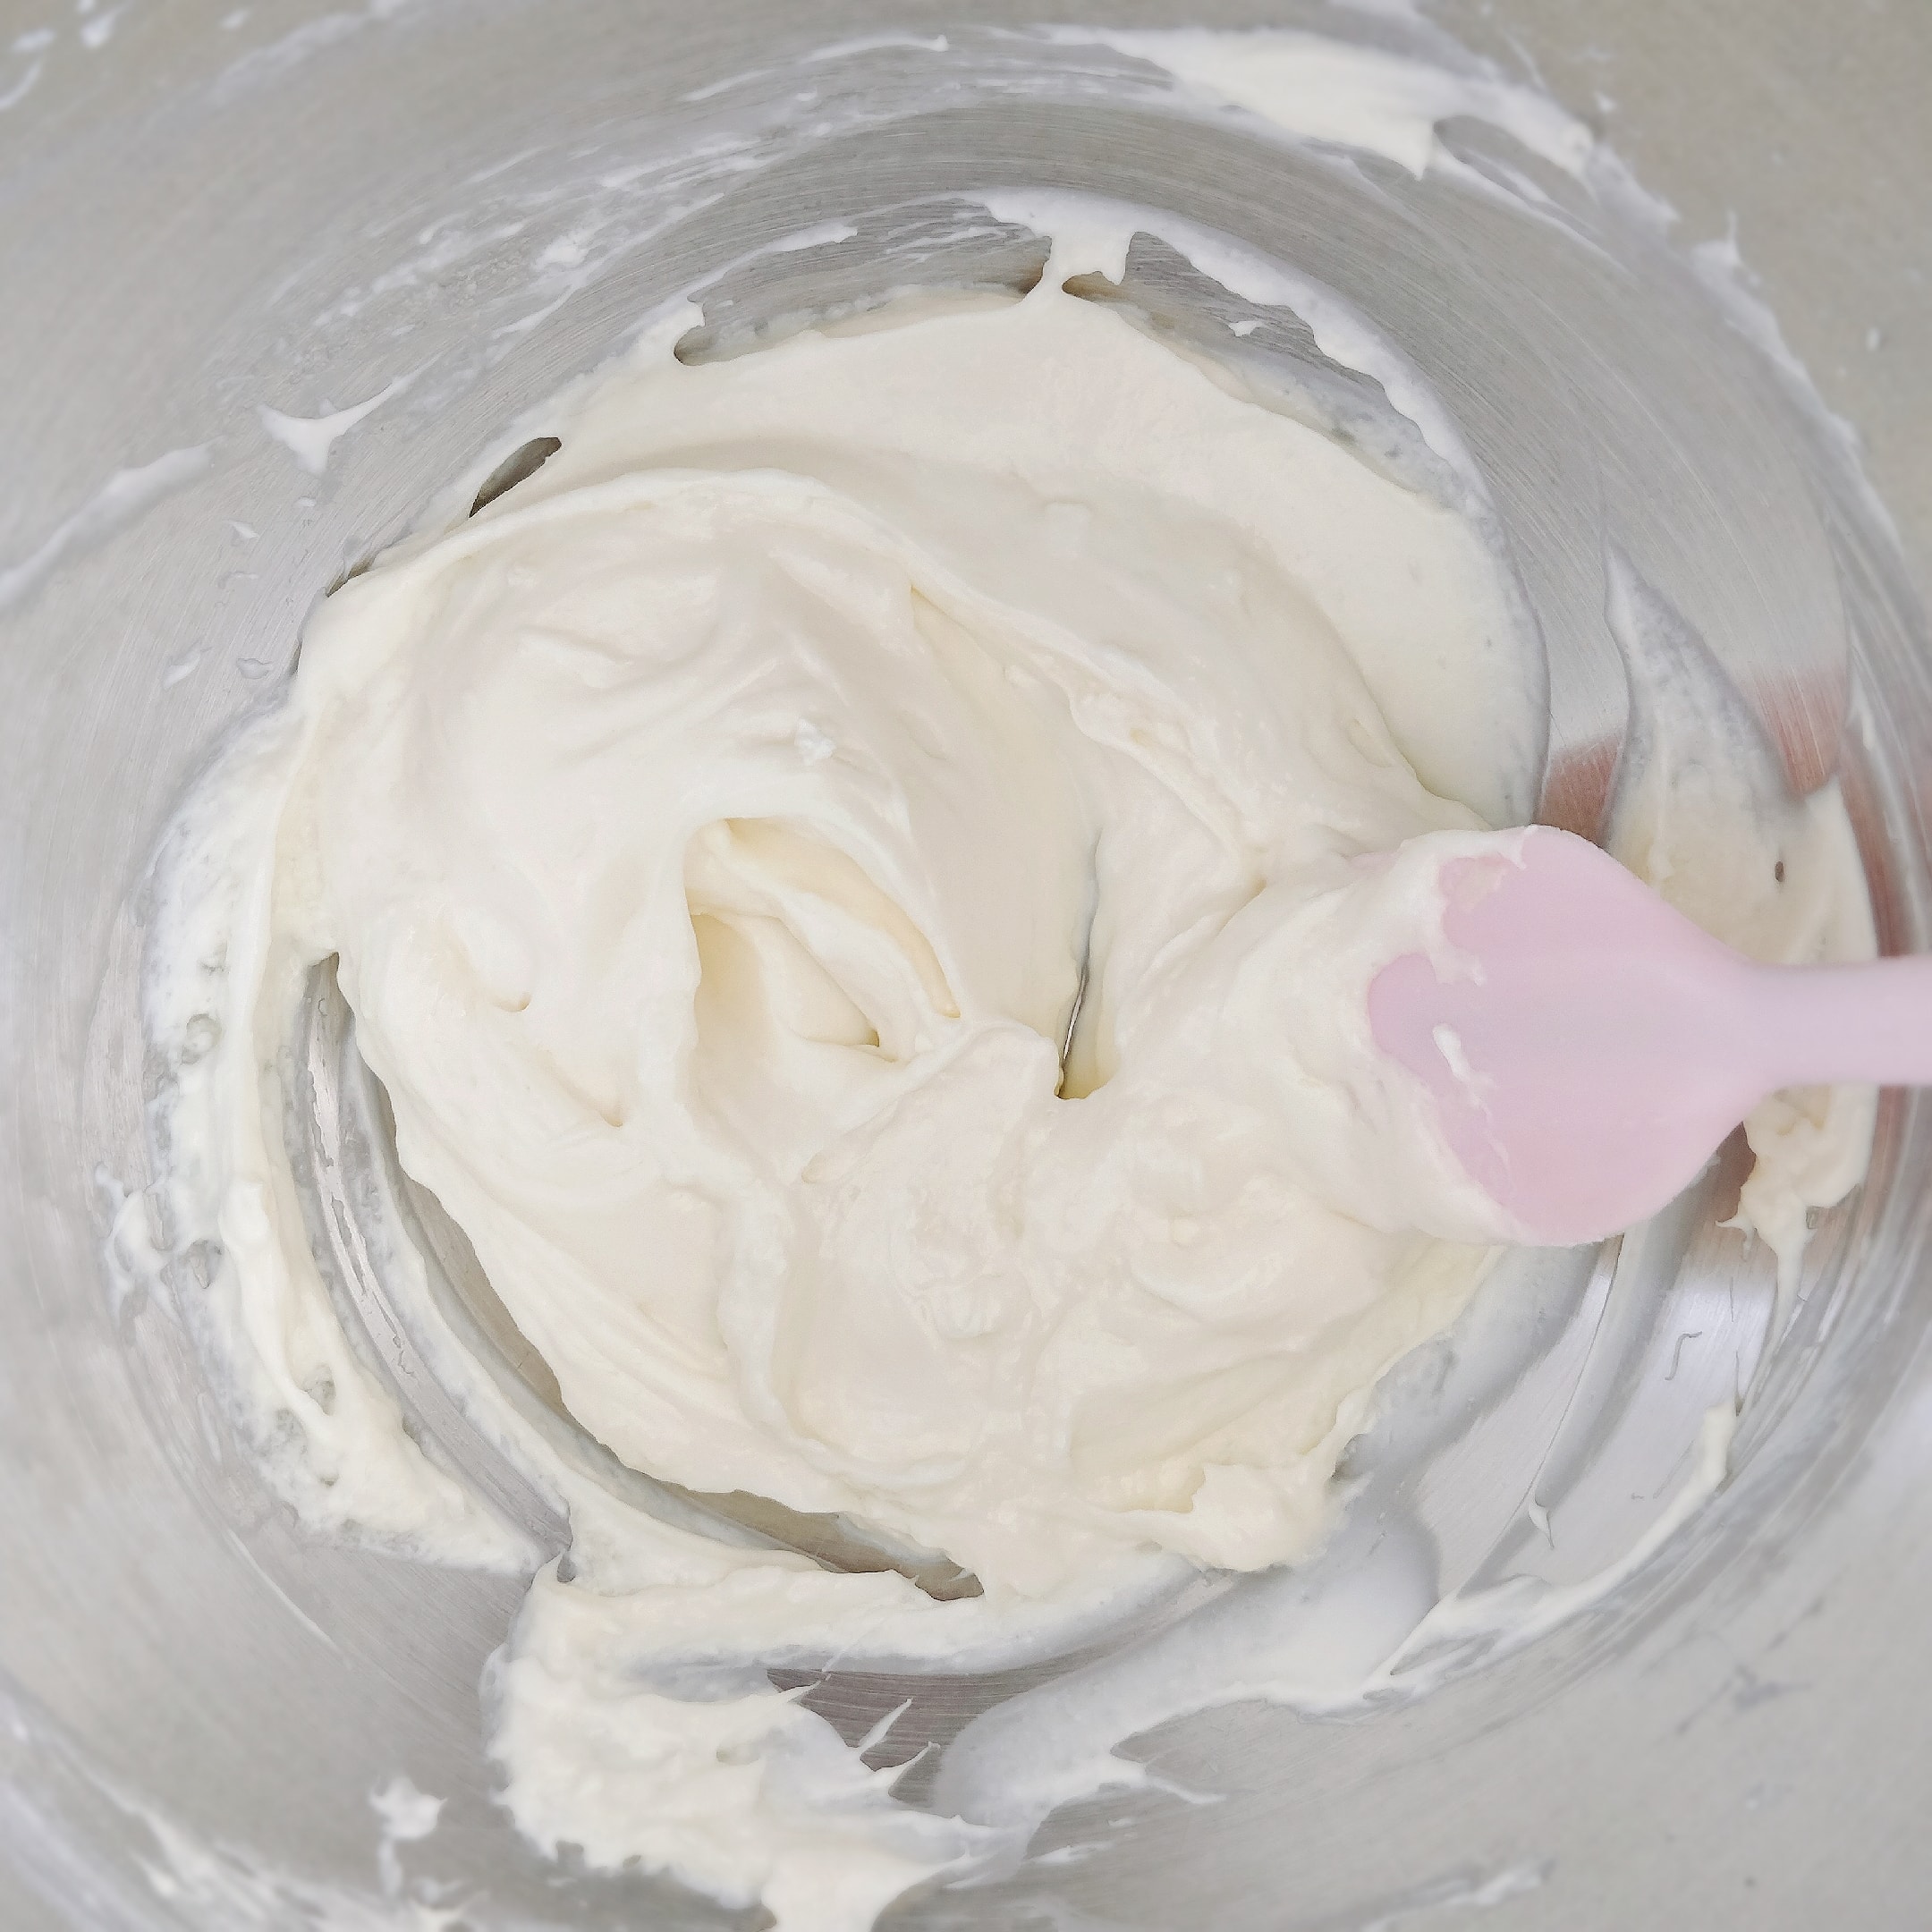
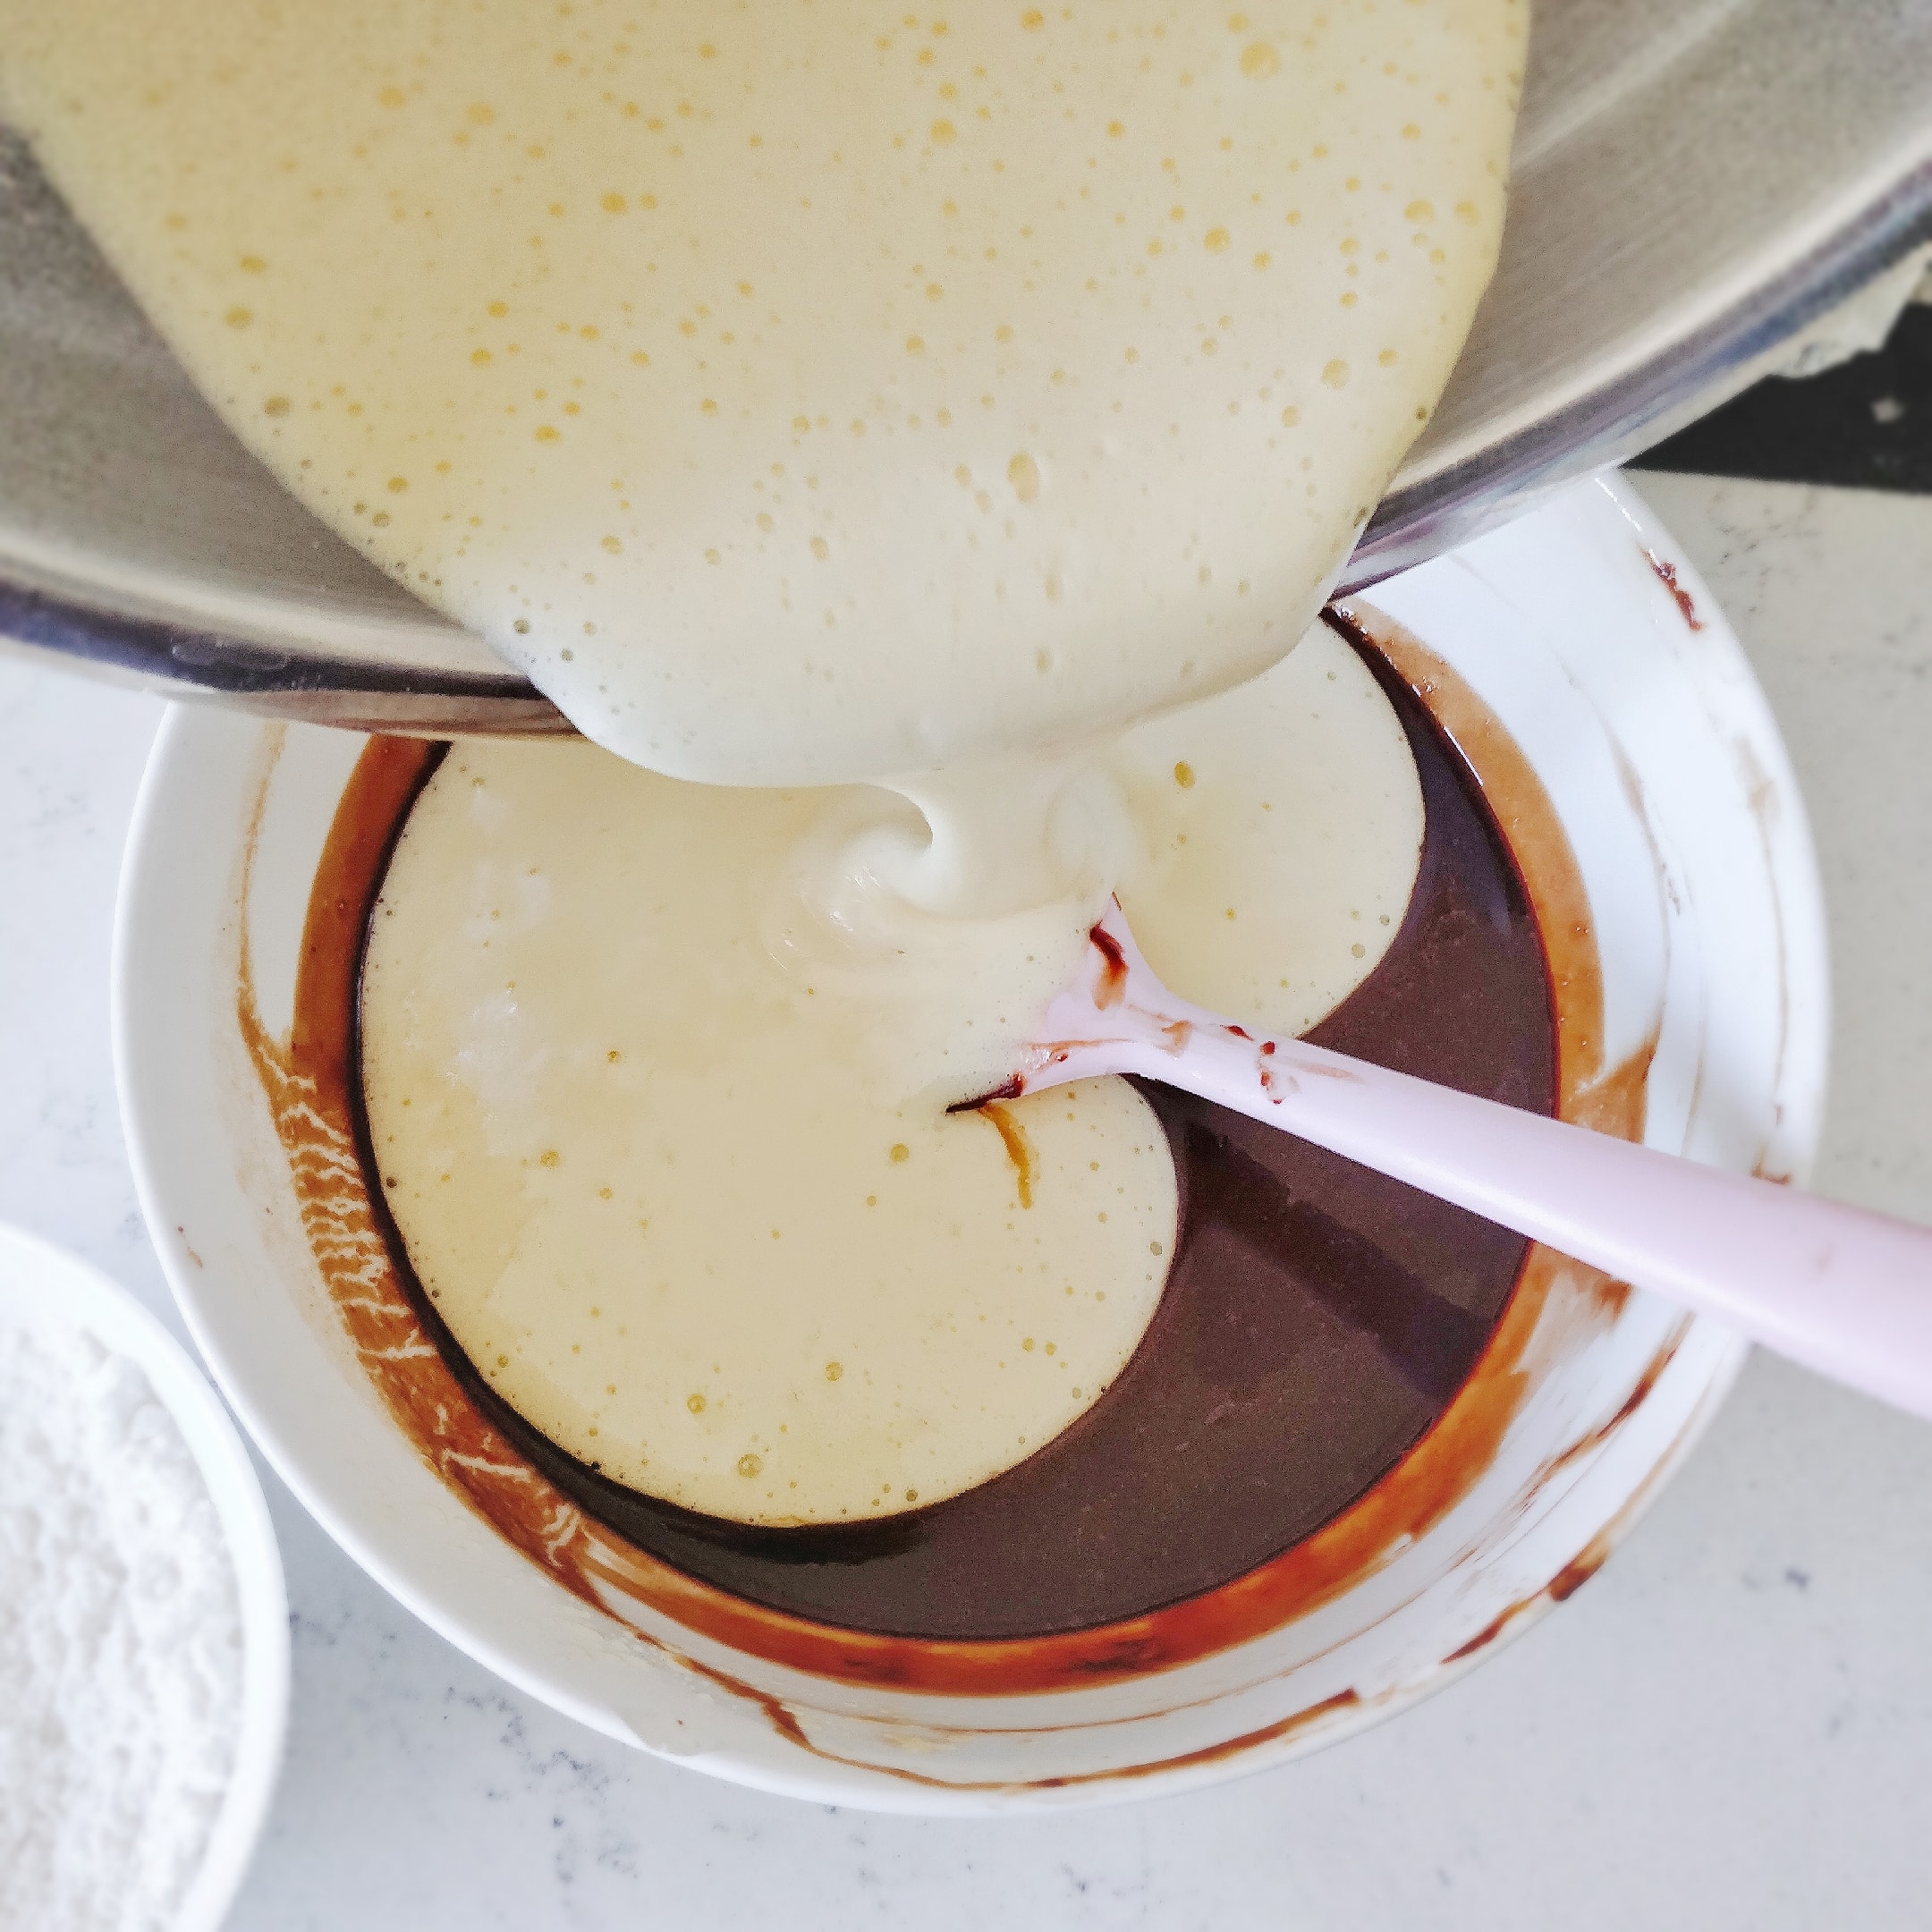
2) Add the egg mixture of one egg one at a time, stir well, and finally add a few drops of vanilla extract~

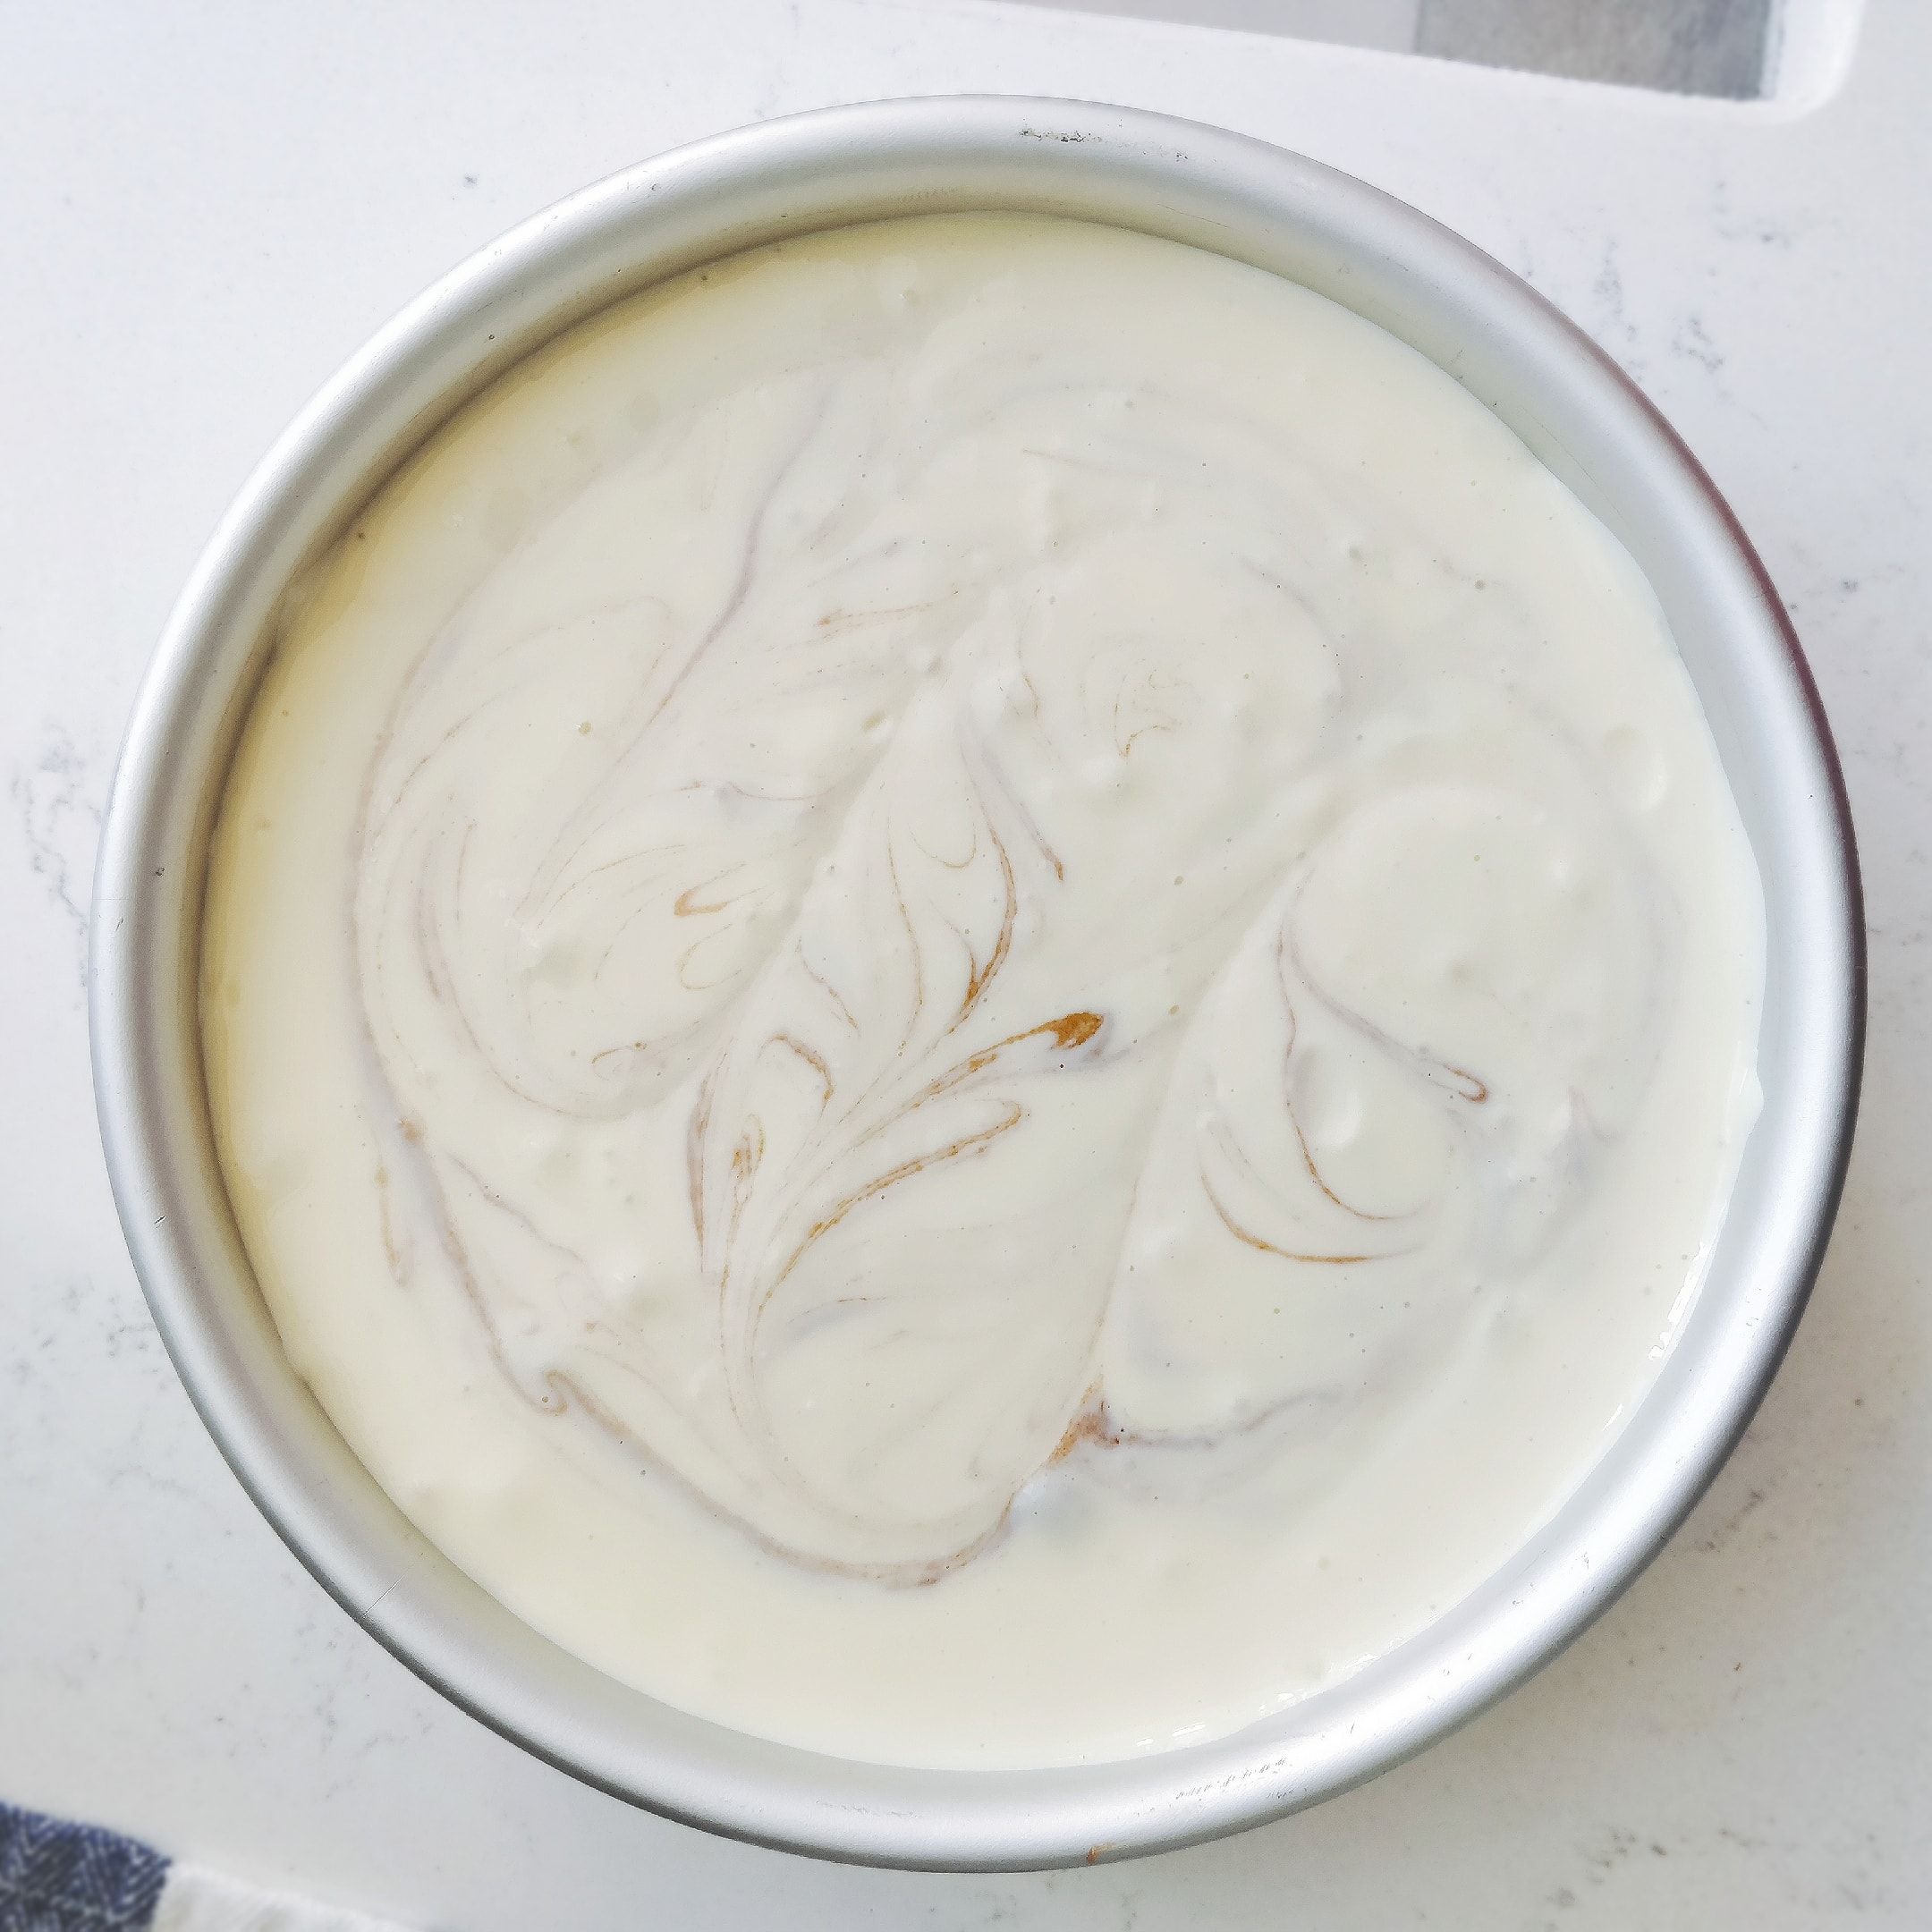
Pour the cheesecake batter on top of the brownie just now. I used a chopstick to make a little marbling. In fact, it can be baked directly, and the layers are delicious.
Bake in the oven at 170°C for 50 minutes, poke with a chopstick to see if it is cooked. If the temperature is too high, it will crack easily.
After baking, let it cool and put it in the refrigerator to refrigerate and eat even better!
Cheesecake is rich and delicious only if you eat it cold and solid~
I used a live-bottom cake mold, so you can unmold it by drawing a circle around it and gently pressing the top. You can also use baking paper for all the trouble.
 Show Original

『炸鸡厨房』🧀芝士🍫布朗尼,一块蛋糕🍰两种享受
同学生日给补的一个生日礼物,然后我也没问他喜欢吃什么口味,思考了一下决定做两个口味融合在一起的的不就解决了!
毕竟,又不喜欢巧克力又不喜欢乳酪蛋糕的人,肯定也没什么喜欢的甜食了哈哈哈
虽然稍微有点裂了,但他说比外面卖的好吃,甜度刚好(当初想划几道大理石花纹,所以布朗尼糊翻上来会容易开裂)

材料:
(方子来自下厨房 妍色)
布朗尼部分
巧克力70g
黄油125g
低筋面粉 60g
鸡蛋2个
糖70g
芝士蛋糕部分
奶油奶酪 200g
鸡蛋 1个
香草精几滴
糖 30g
步骤:
1)巧克力隔热水融化,巧克力熔点很低我直接加的开水。

2)加入融化的黄油中,搅拌到完全融合
(原方子是软化的黄油打发再加巧克力,我做过很多次了觉得直接融化更方便做出来也一样好吃)

3) 两个鸡蛋加70g糖打到发泡发白

4)分次加入刚刚的巧克力糊里面,混合均匀(其实应该用蛋抽,我用刮刀是为了不浪费打发的鸡蛋,刮刀没办法混合均匀的)

5) 搅拌好之后是这样子

6)筛入低筋面粉(我自己加了一点泡打粉,介意泡打粉的可以不加)

7)用刮刀 翻拌均匀

8. 倒入6寸蛋糕模具,我在下面垫了烘焙纸,周围不用。

接下来做芝士蛋糕层,这层不需要加面粉的很简单。
1)软化的奶油奶酪(我直接微波炉稍微转了十几秒就软了哈哈哈我超懒),加30g糖用蛋抽搅拌均匀

2)再分次加入一颗鸡蛋的蛋液,搅打均匀,最后加入几滴香草精就可以啦~

把芝士蛋糕糊倒入刚刚的布朗尼上面,我稍微拿筷子划了一点大理石花纹,其实可以直接烤,分层的也很美味。
烤箱 170℃烤 50分钟,拿筷子戳一下看看有没有烤熟。温度太高会容易开裂。

烤好之后冷却放到冰箱冷藏再吃更好吃!
芝士蛋糕就是要吃冷冷的扎实的才浓郁美味~
我用的活底蛋糕模,所以周围划一圈轻轻一顶就可以脱模啦~怕麻烦也可以全部用烘焙纸。