The list posted yesterday is still under review...try again
I started tinkering in the kitchen after I got home from school at 4pm the day before yesterday, and I didn't finish it until after 10pm. I made a few things, mainly making this brown sugar shortbread.
I made this because I wanted to make mustard and fresh meat mooncakes this Mid-Autumn Festival. I wasn't very sure, so I made a brown sugar test first.
It turns out that this is still a little troublesome...I don't even want to make fresh meat and mustard greens, so tired......
Let me share with you my own production process and experience~~
The recipe was found in the lower kitchen. I combined a recipe with a larger amount and a more detailed step
Materials:
Oil Skin Material:
All purpose flour 300g
water 165g
15g vegetable oil
3 g yeast
2 g salt
Puff Pastry Ingredients:
All purpose flour 150g
75g vegetable oil
Toppings:
75g brown sugar
30g sesame seeds
20g flour
25g honey
15g oil
a little water
egg liquid surface decoration
sesame surface decoration
Process:
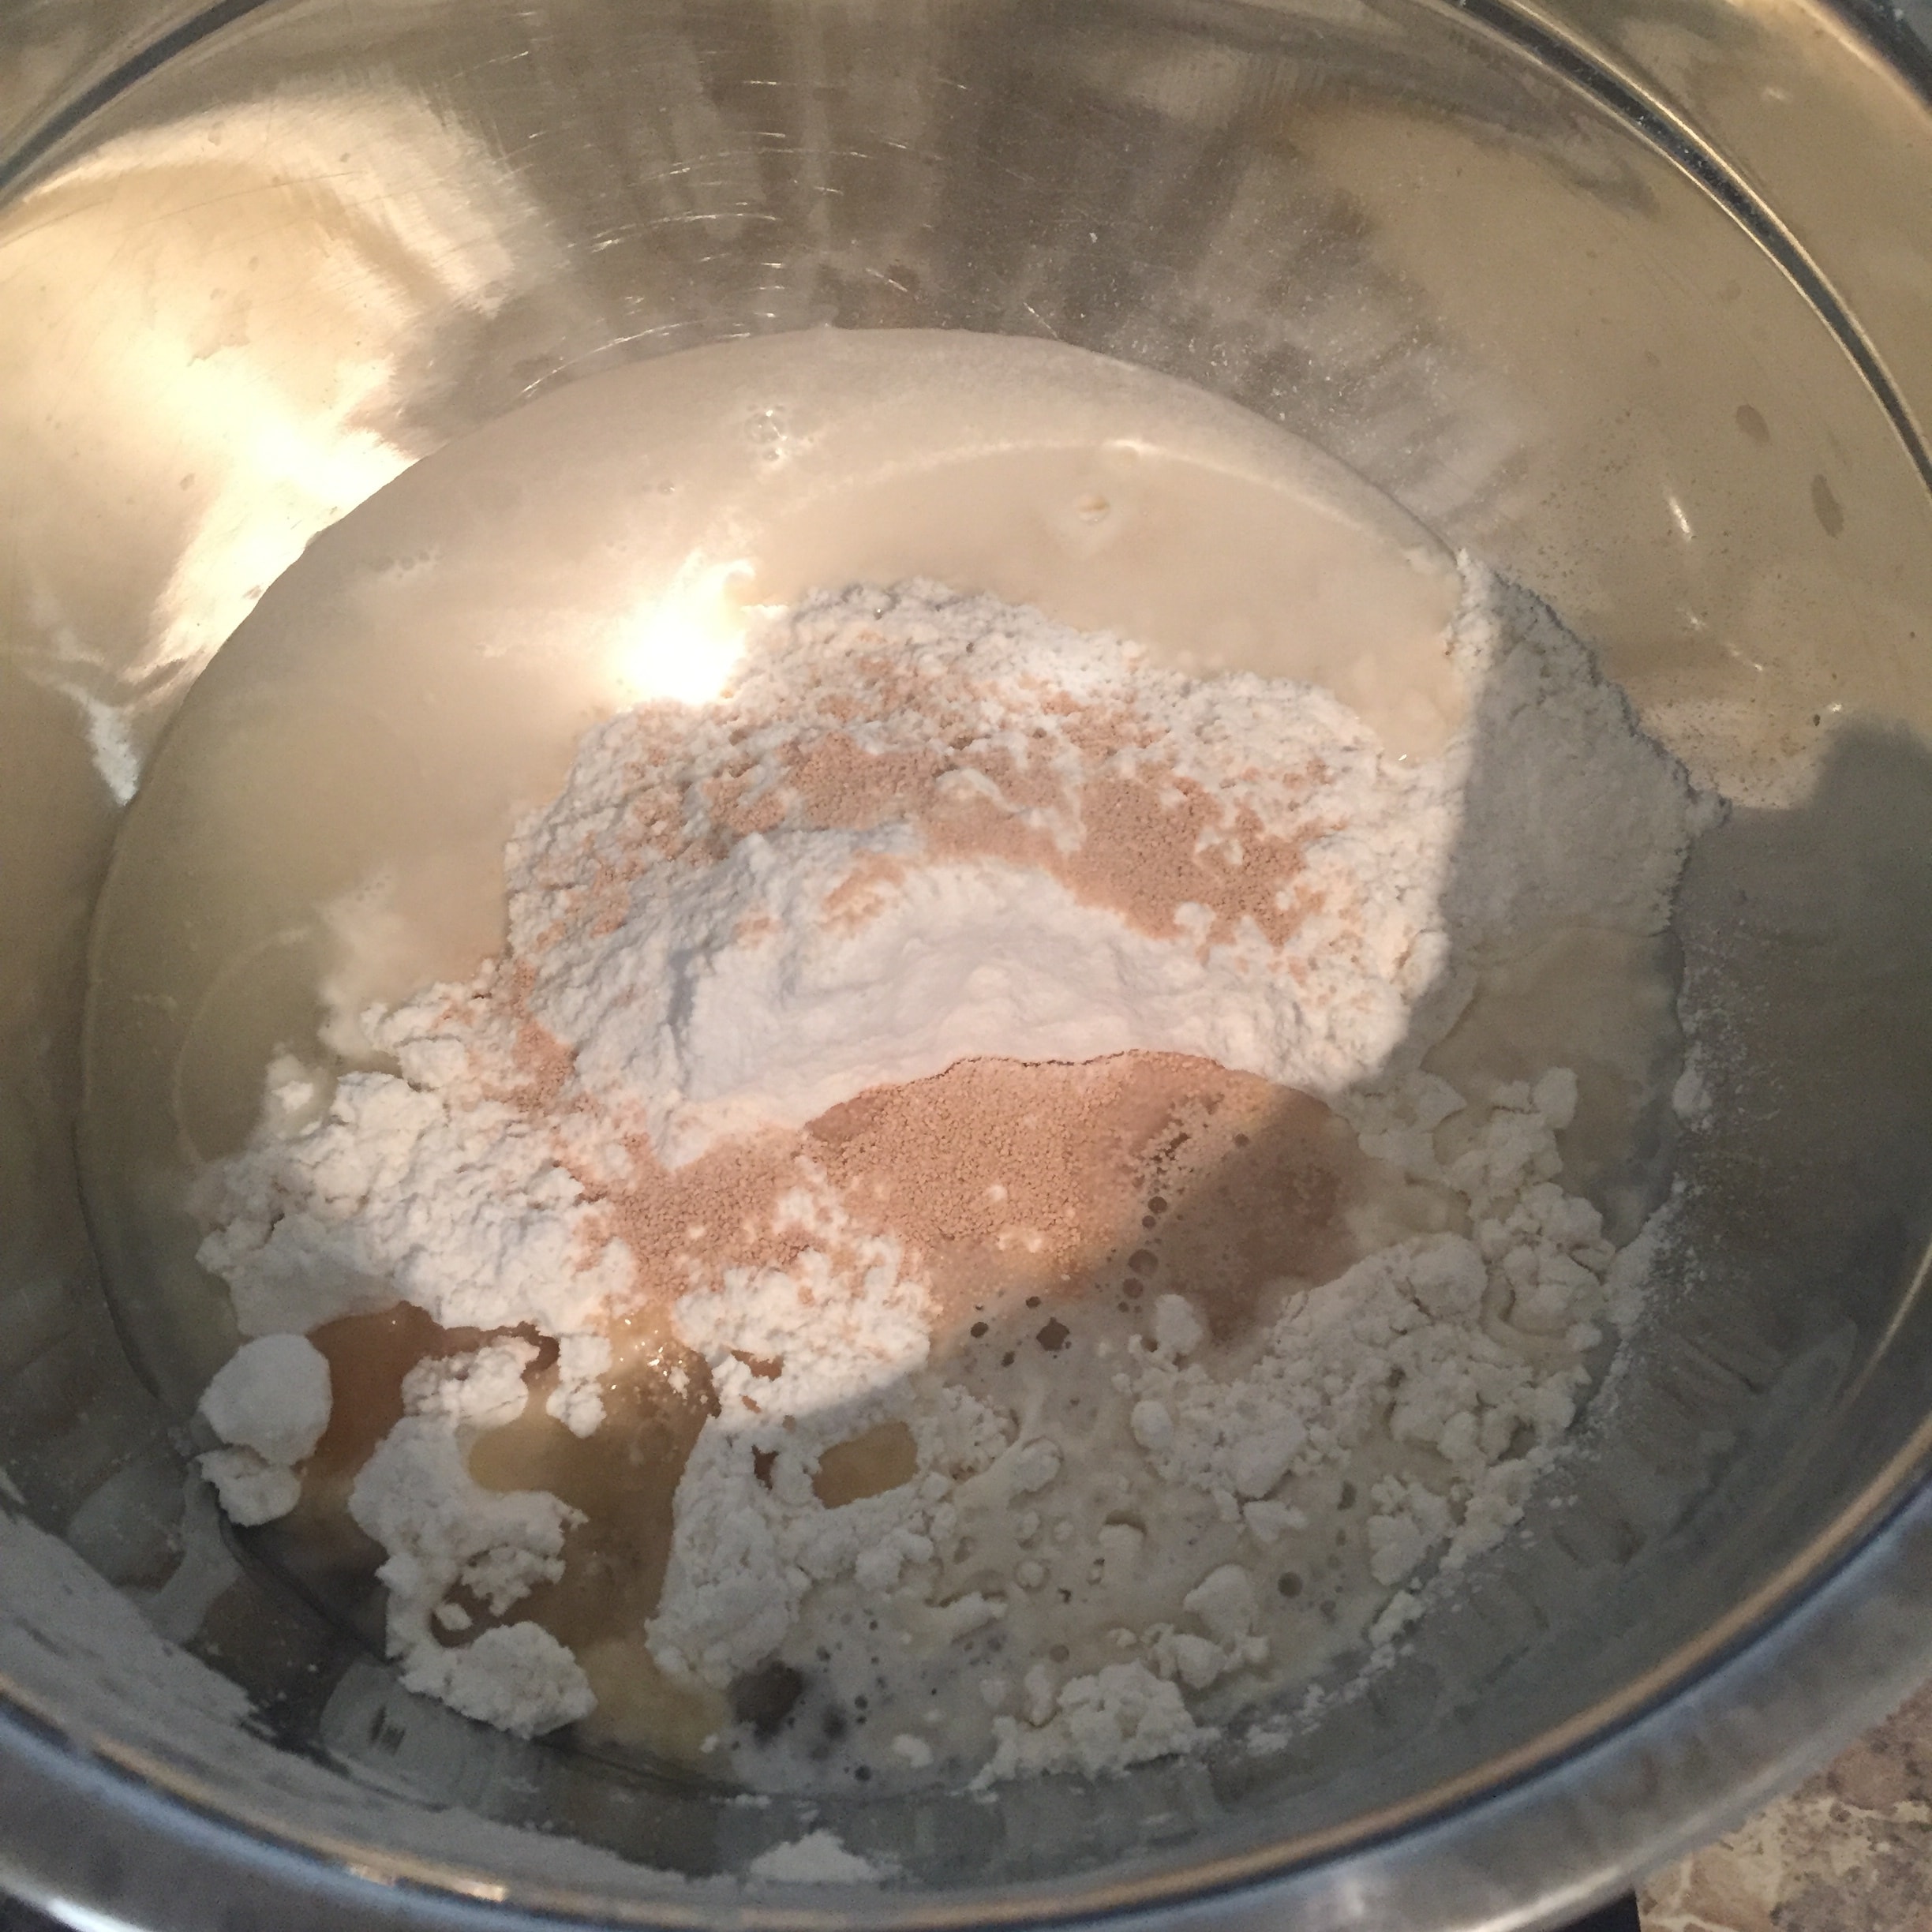
1. Mix all the ingredients of the oil skin, knead until the dough is smooth and soft, roll it and cover it with plastic wrap and set aside. The smoother the dough, the less likely it will break when rolled out later.
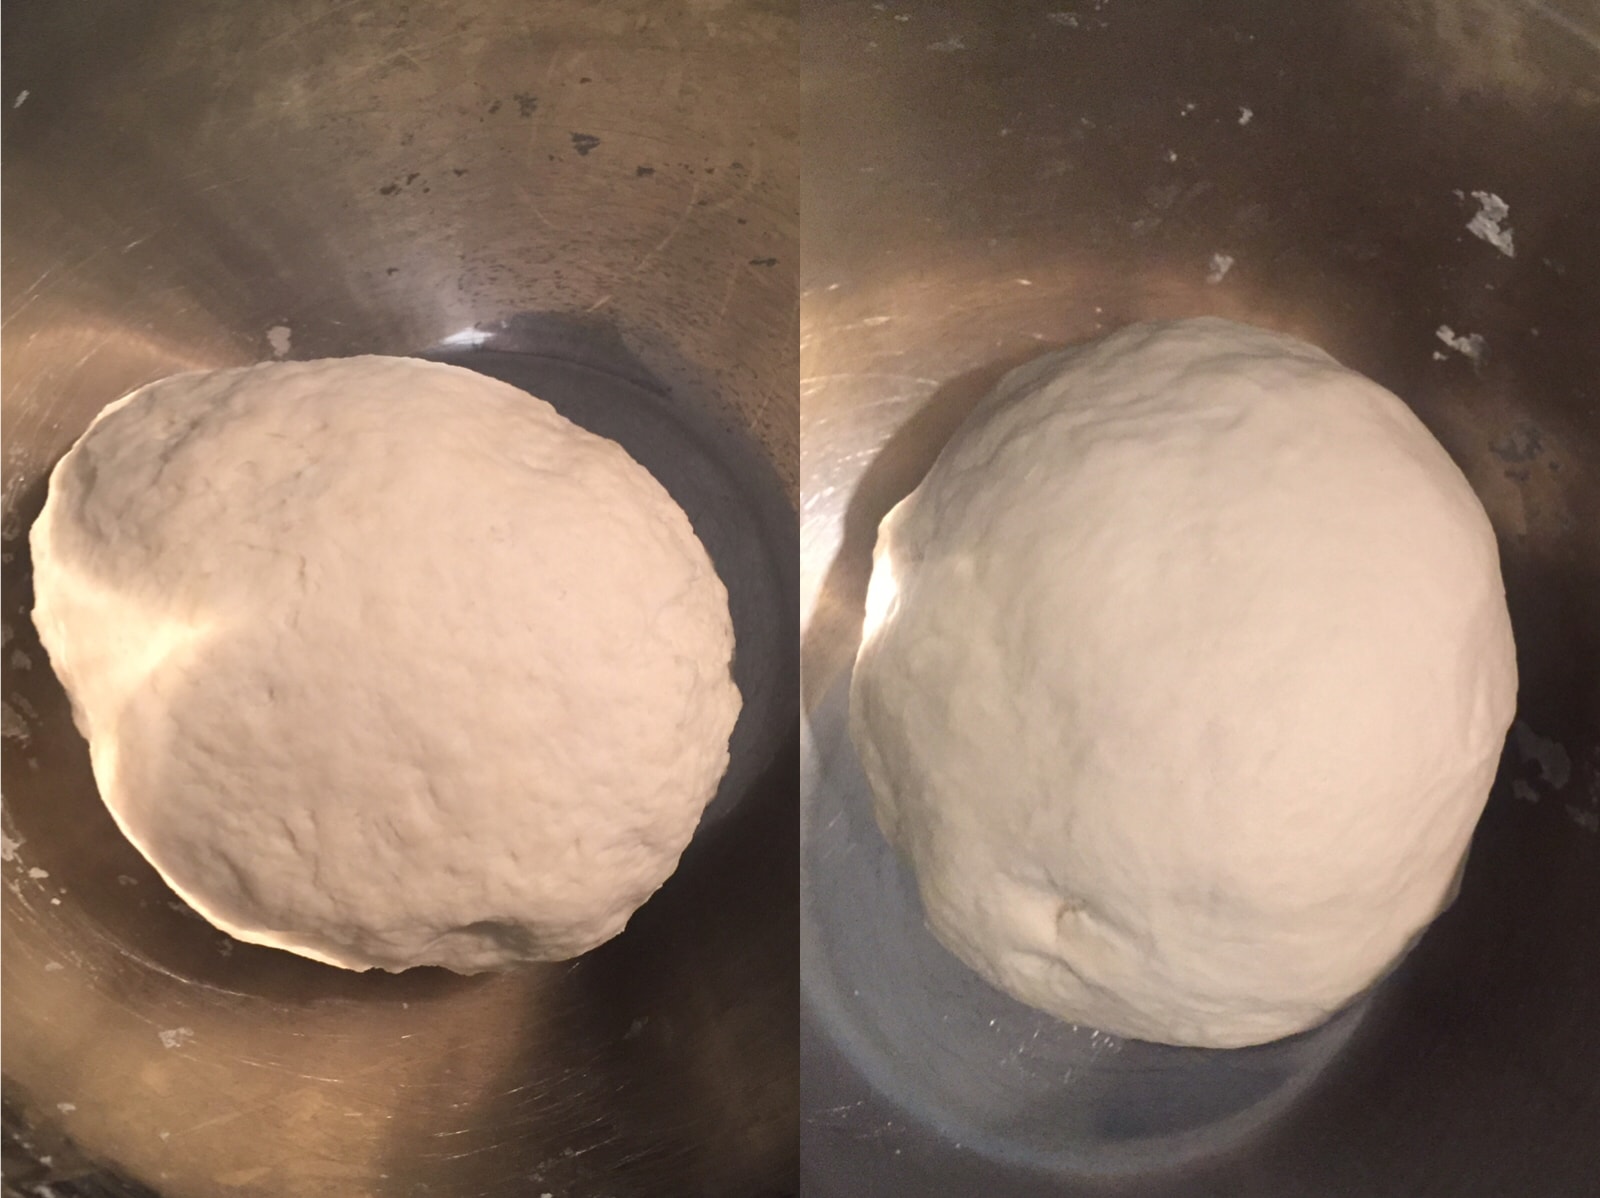
The following is a comparison chart
On the left is the dough that is just a few times soft, and on the right is the dough that has been kneaded for about ten minutes.
The time of kneading the dough was very boring, so I kneaded it in different ways. At first, I kneaded it in a bowl. Later, when the dough was not sticking to the bowl, I would hold it in my hand and twist it like a twist. I think this is faster~ (In the end, I have no money to buy a chef machine qwq)
2. Mix the pastry ingredients, cover with plastic wrap and set aside.
The ratio of flour and oil is 2:1, but after I mixed it, I felt that the dough was not formed, so I added a little more flour. After adding it, the pastry will still be soft after a while, like the following.
***: Later, I thought about it carefully, could it be because I put too much pastry flour?
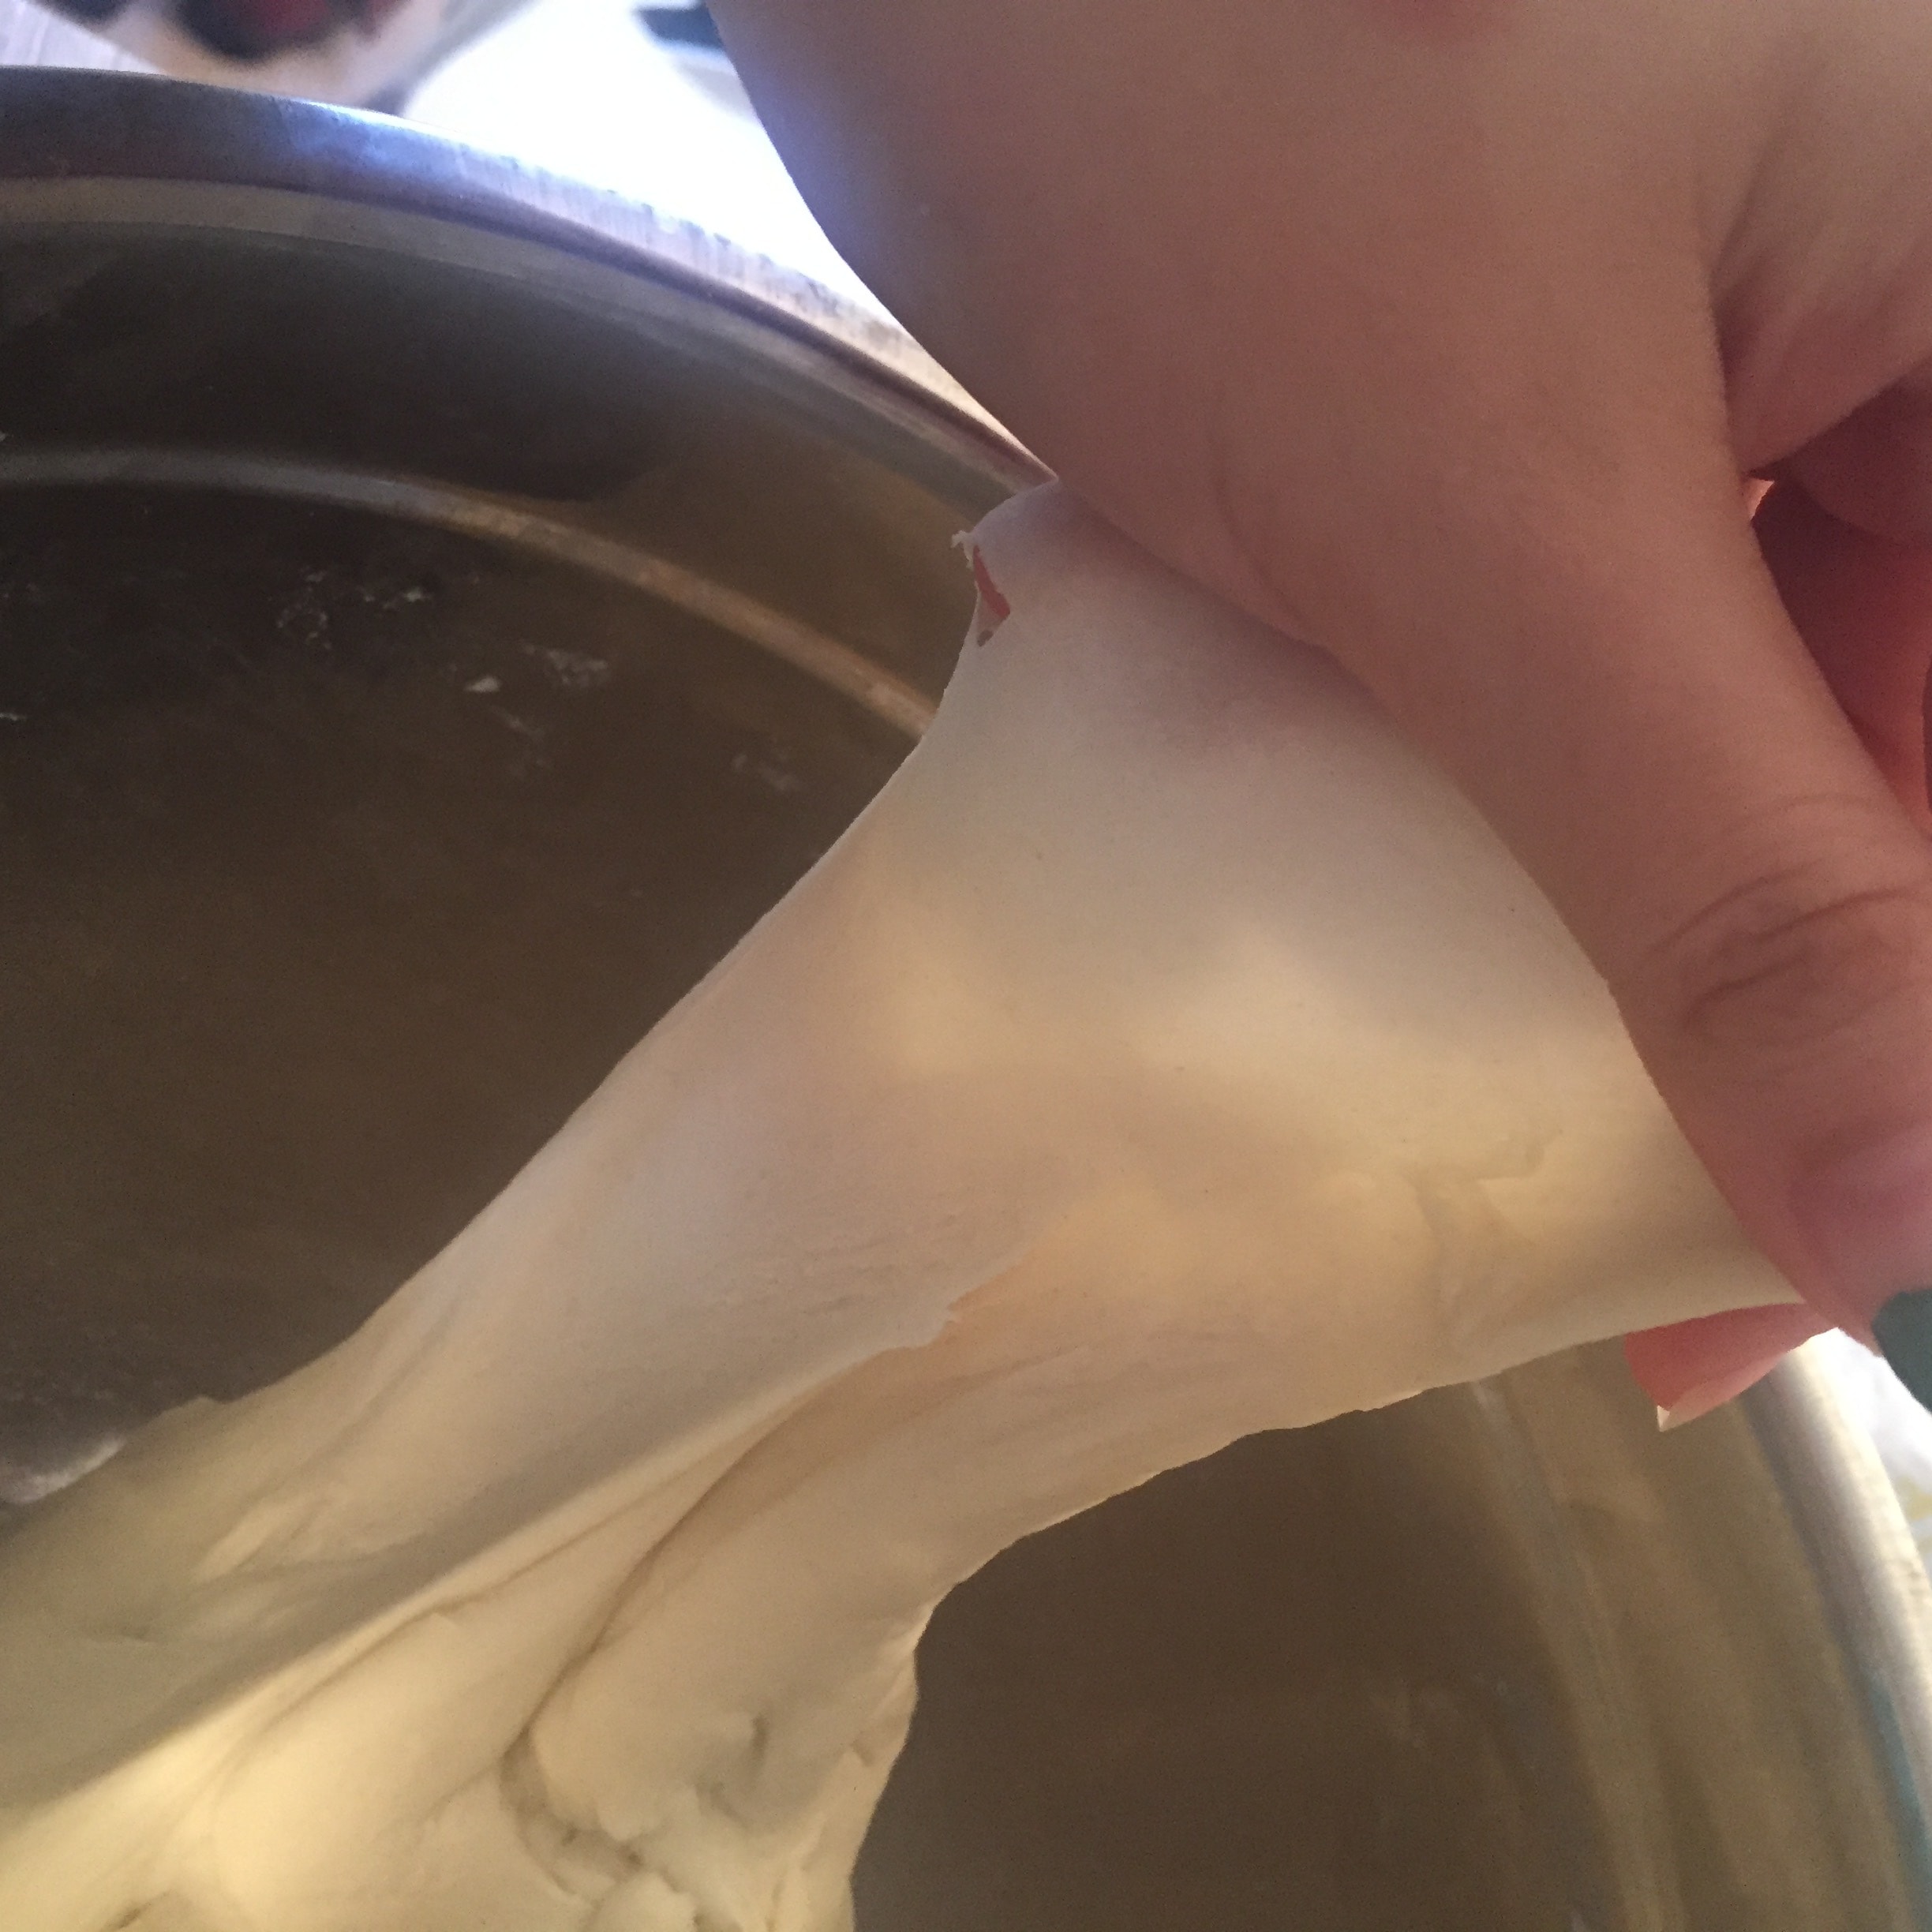
3. Wrap the butter and butter with plastic wrap and let it rest for one hour. At this point you can prepare the filling.
The dough can form a film after waking up
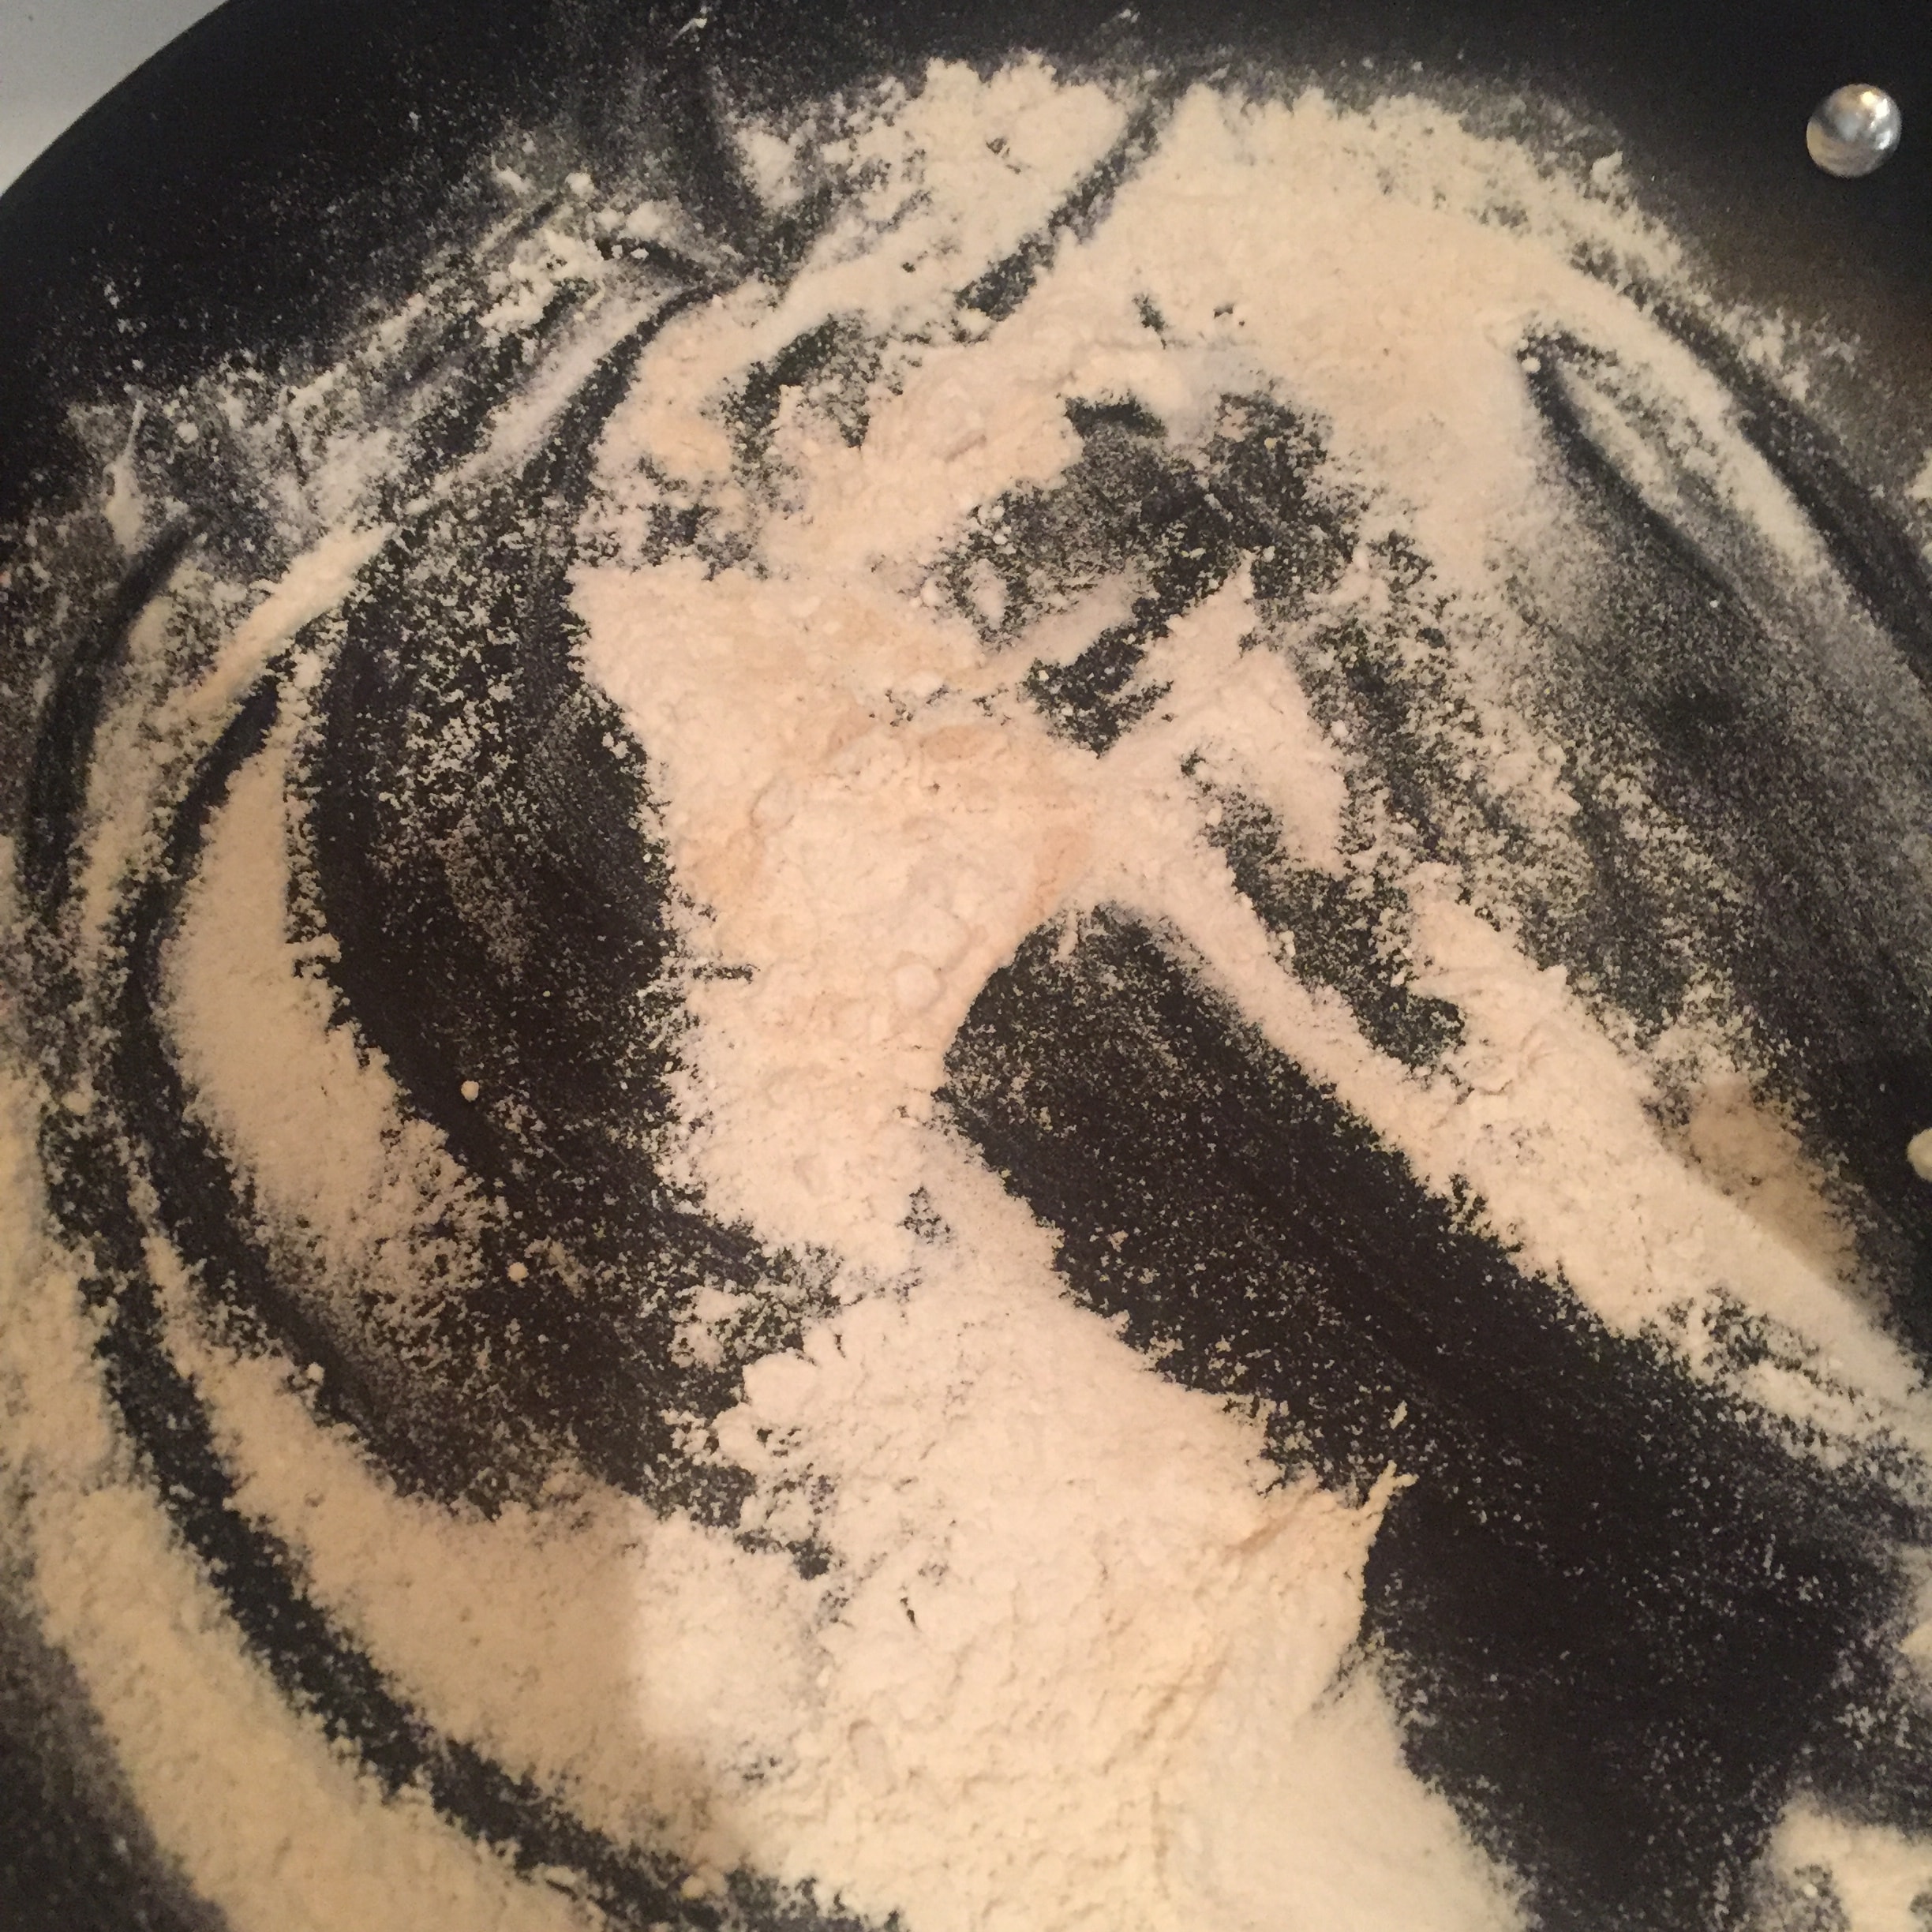
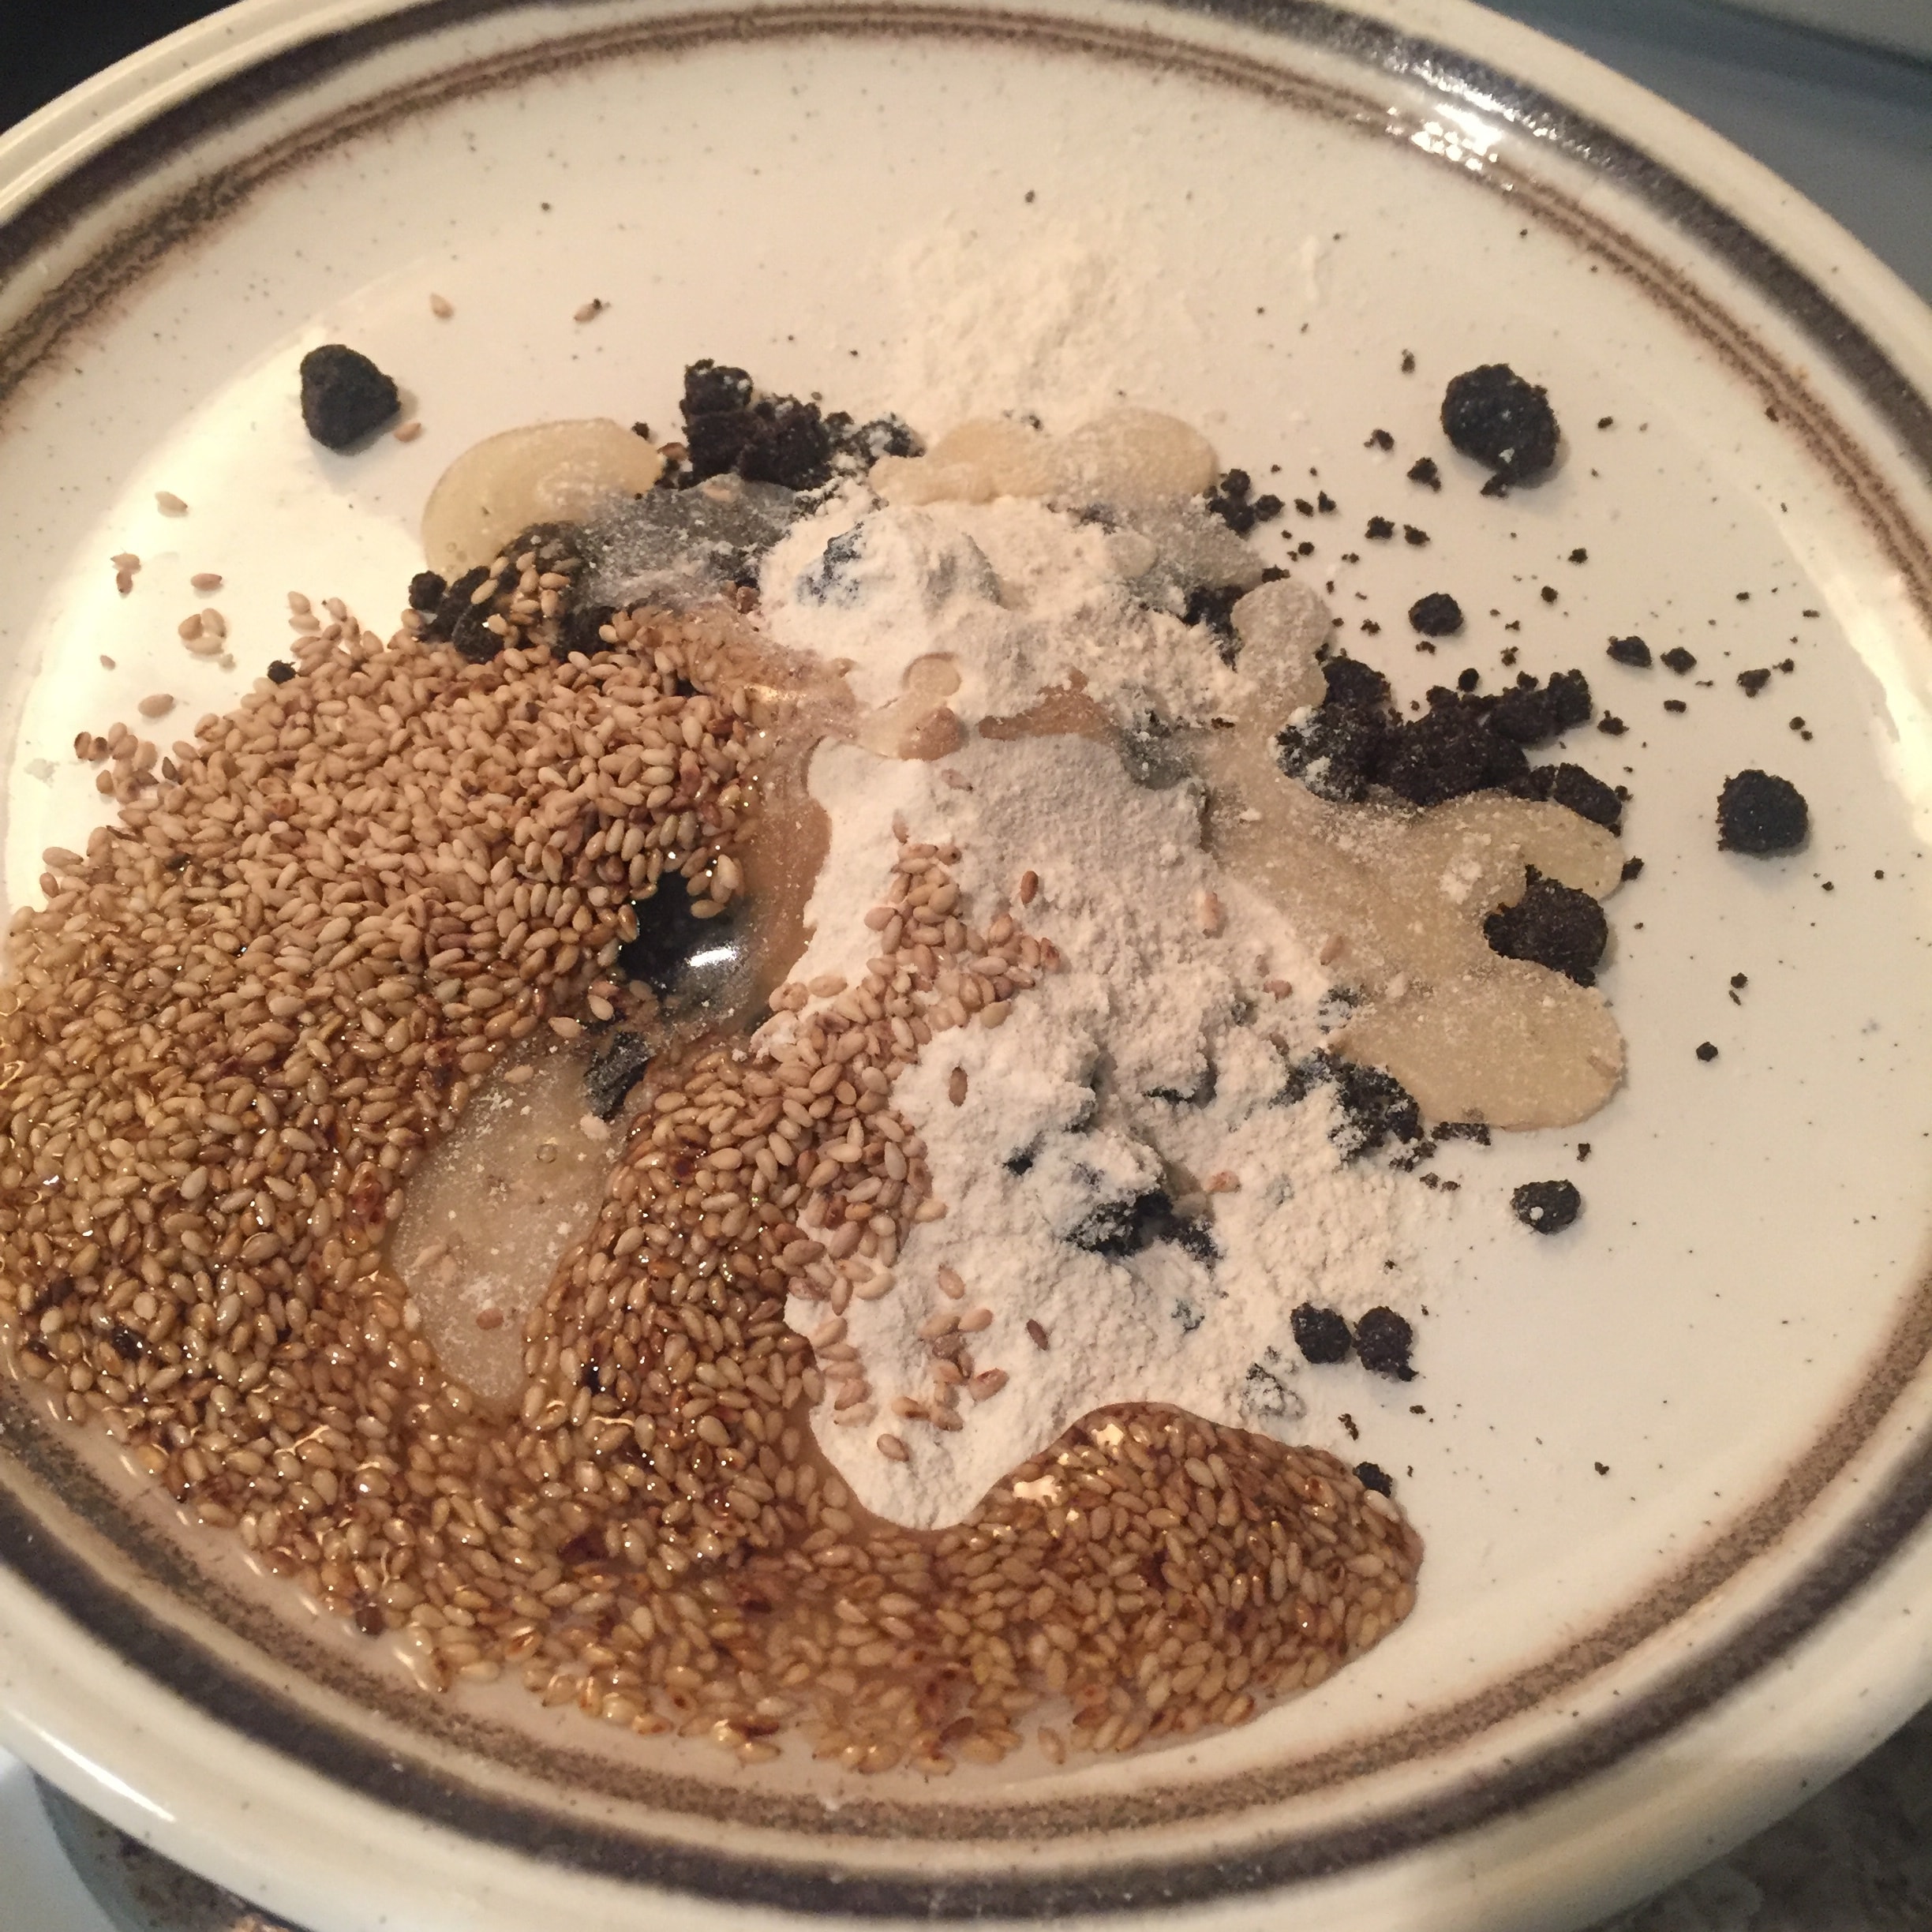
4. Stir fry the flour until it is slightly yellow, crush the brown sugar, add sesame seeds, add sesame paste, honey butter and water and stir well. If it is too dry, add an appropriate amount of water and adjust it to a state where it can form a mass. Cover with cling film and set aside.
This step is really indescribable...Oil+flour+brown sugar+honey, you can imagine how sticky the hands are, so I forgot to take pictures after kneading...on my hands It's all gooey.
The brown sugar I use is the old brown sugar brought from China. You can also use other brown sugar powder, brown sugar cubes, etc. You must crush it first! ! ! (I forgot to grind and I only grind it when I mix it...sticky hand)
After making the filling, I thought it was too sticky and hard to separate into small pieces, so I threw it in the freezer.
One more thing, it is recommended to fry a little more when frying the flour, because when the flour is poured out of the pot, there will be residues in the pot. I put 20g of flour into the pot yesterday and only 16g came out haha
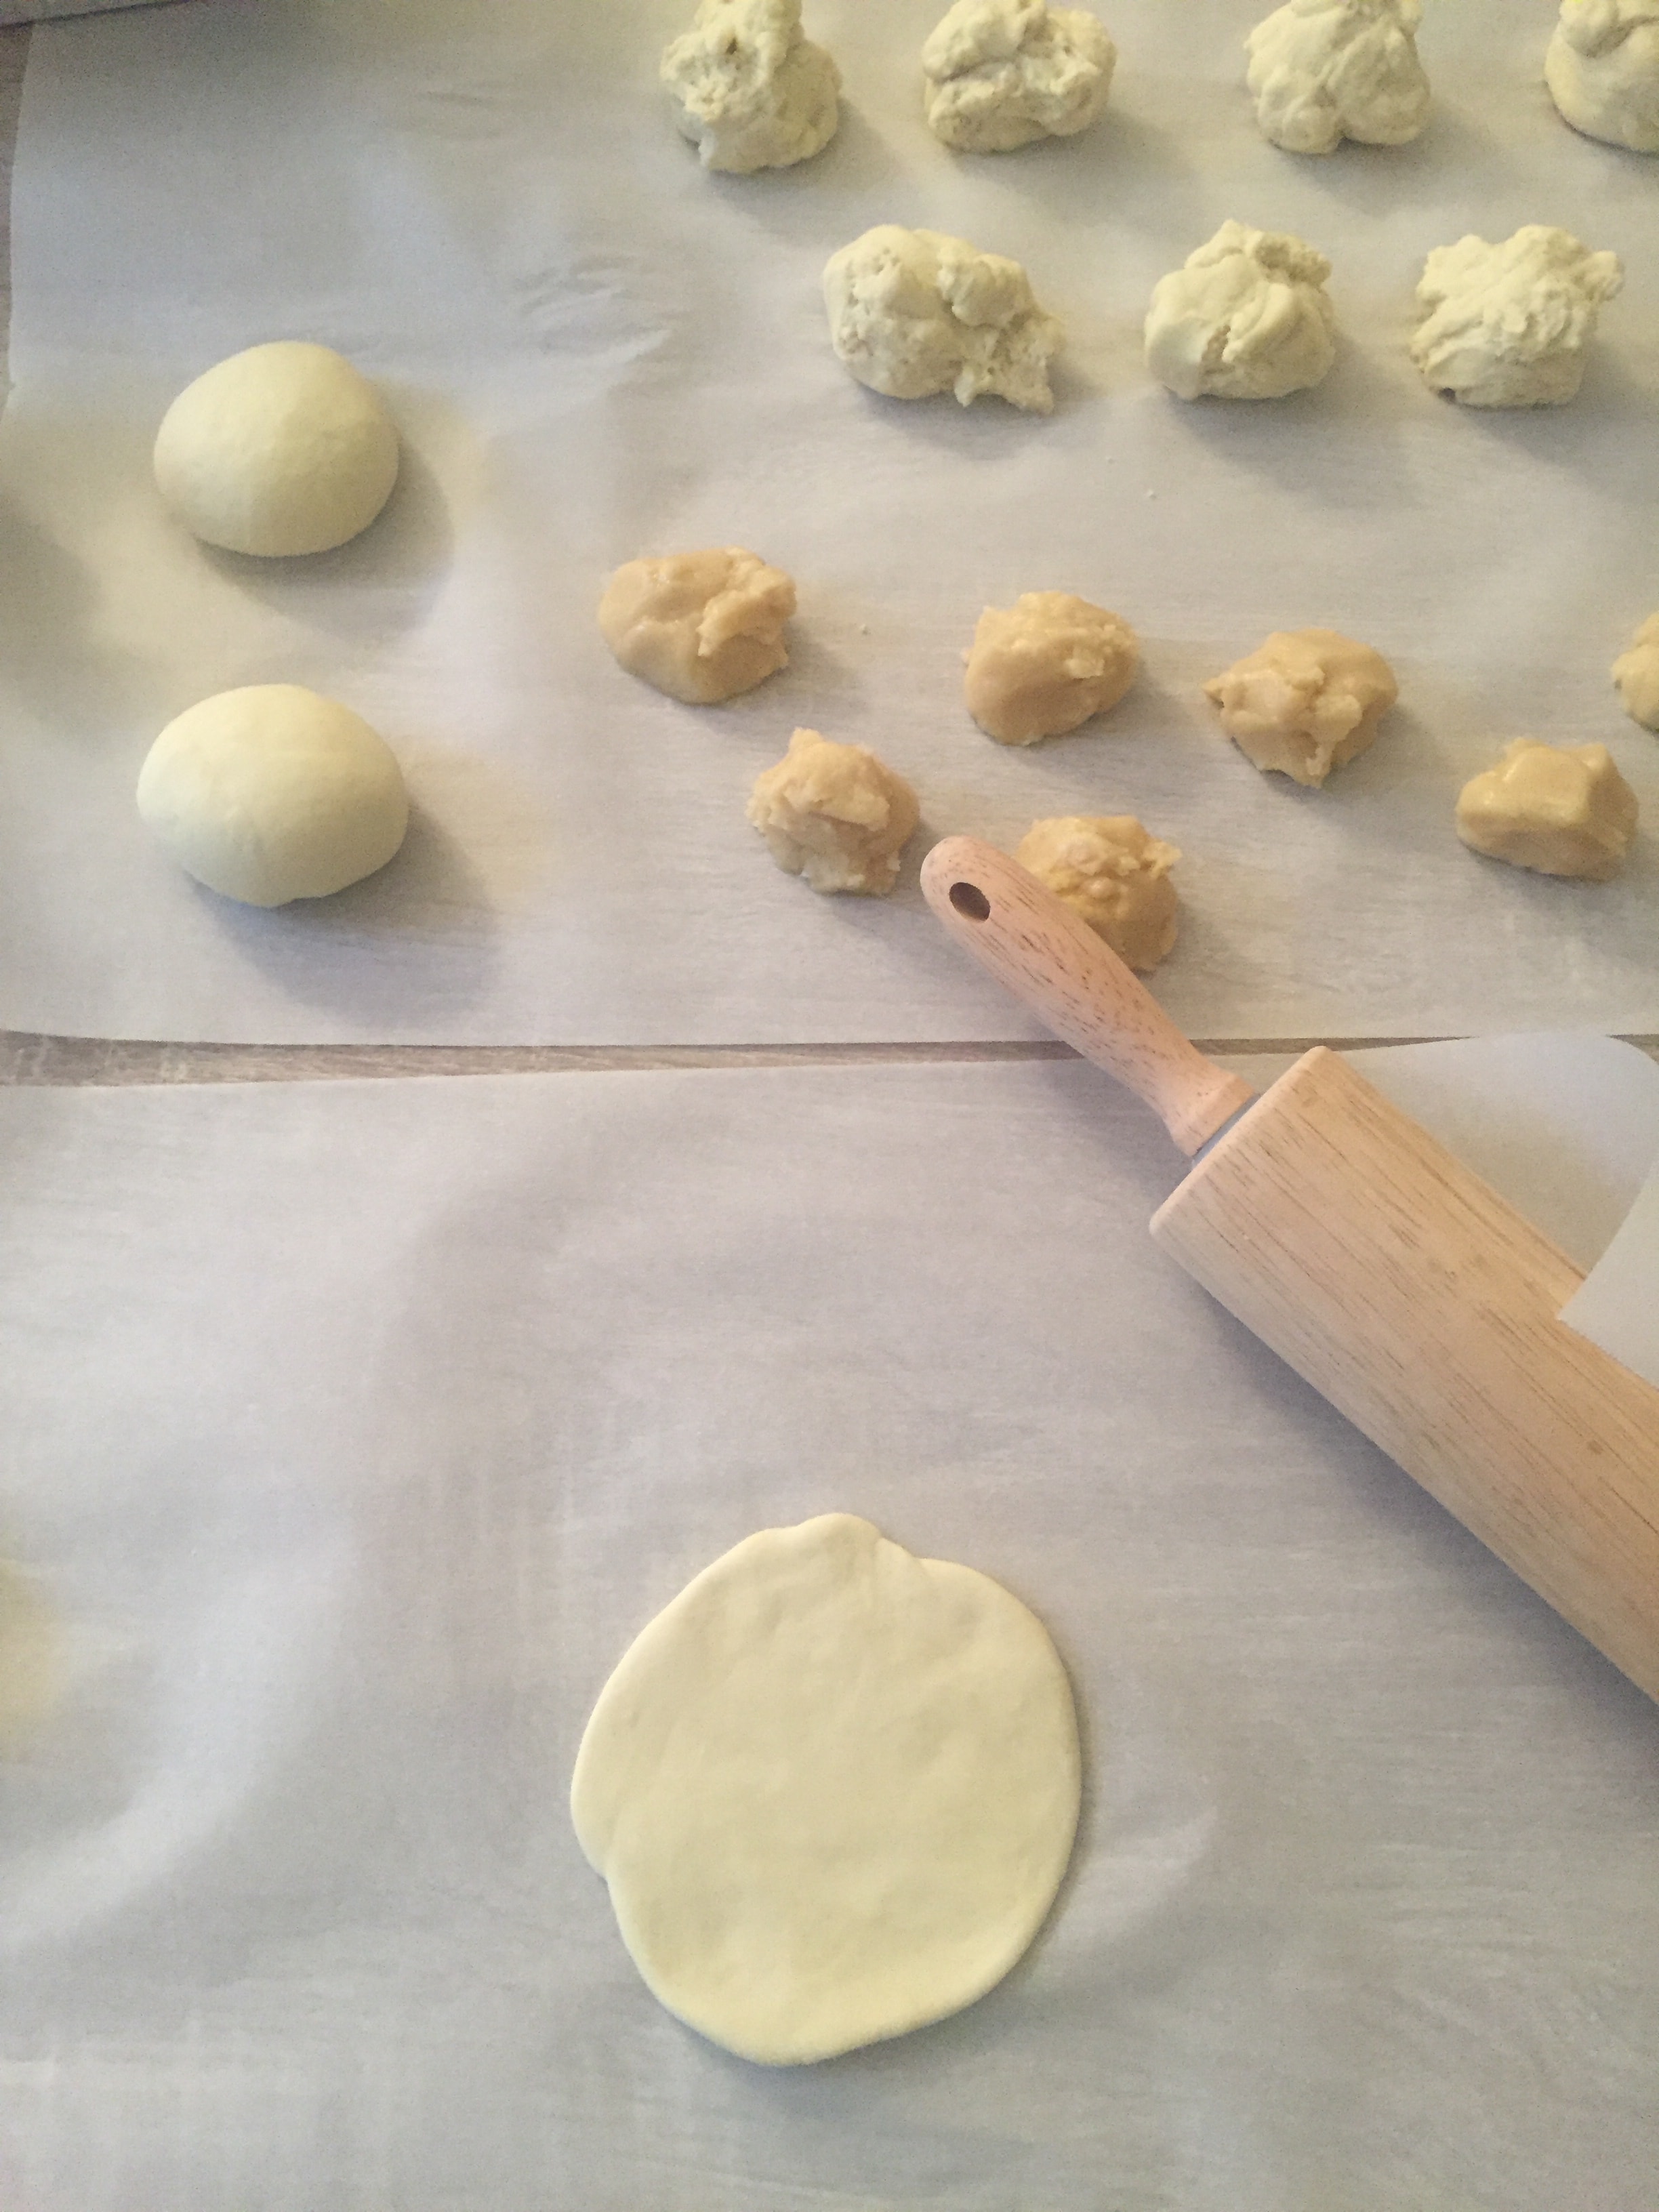
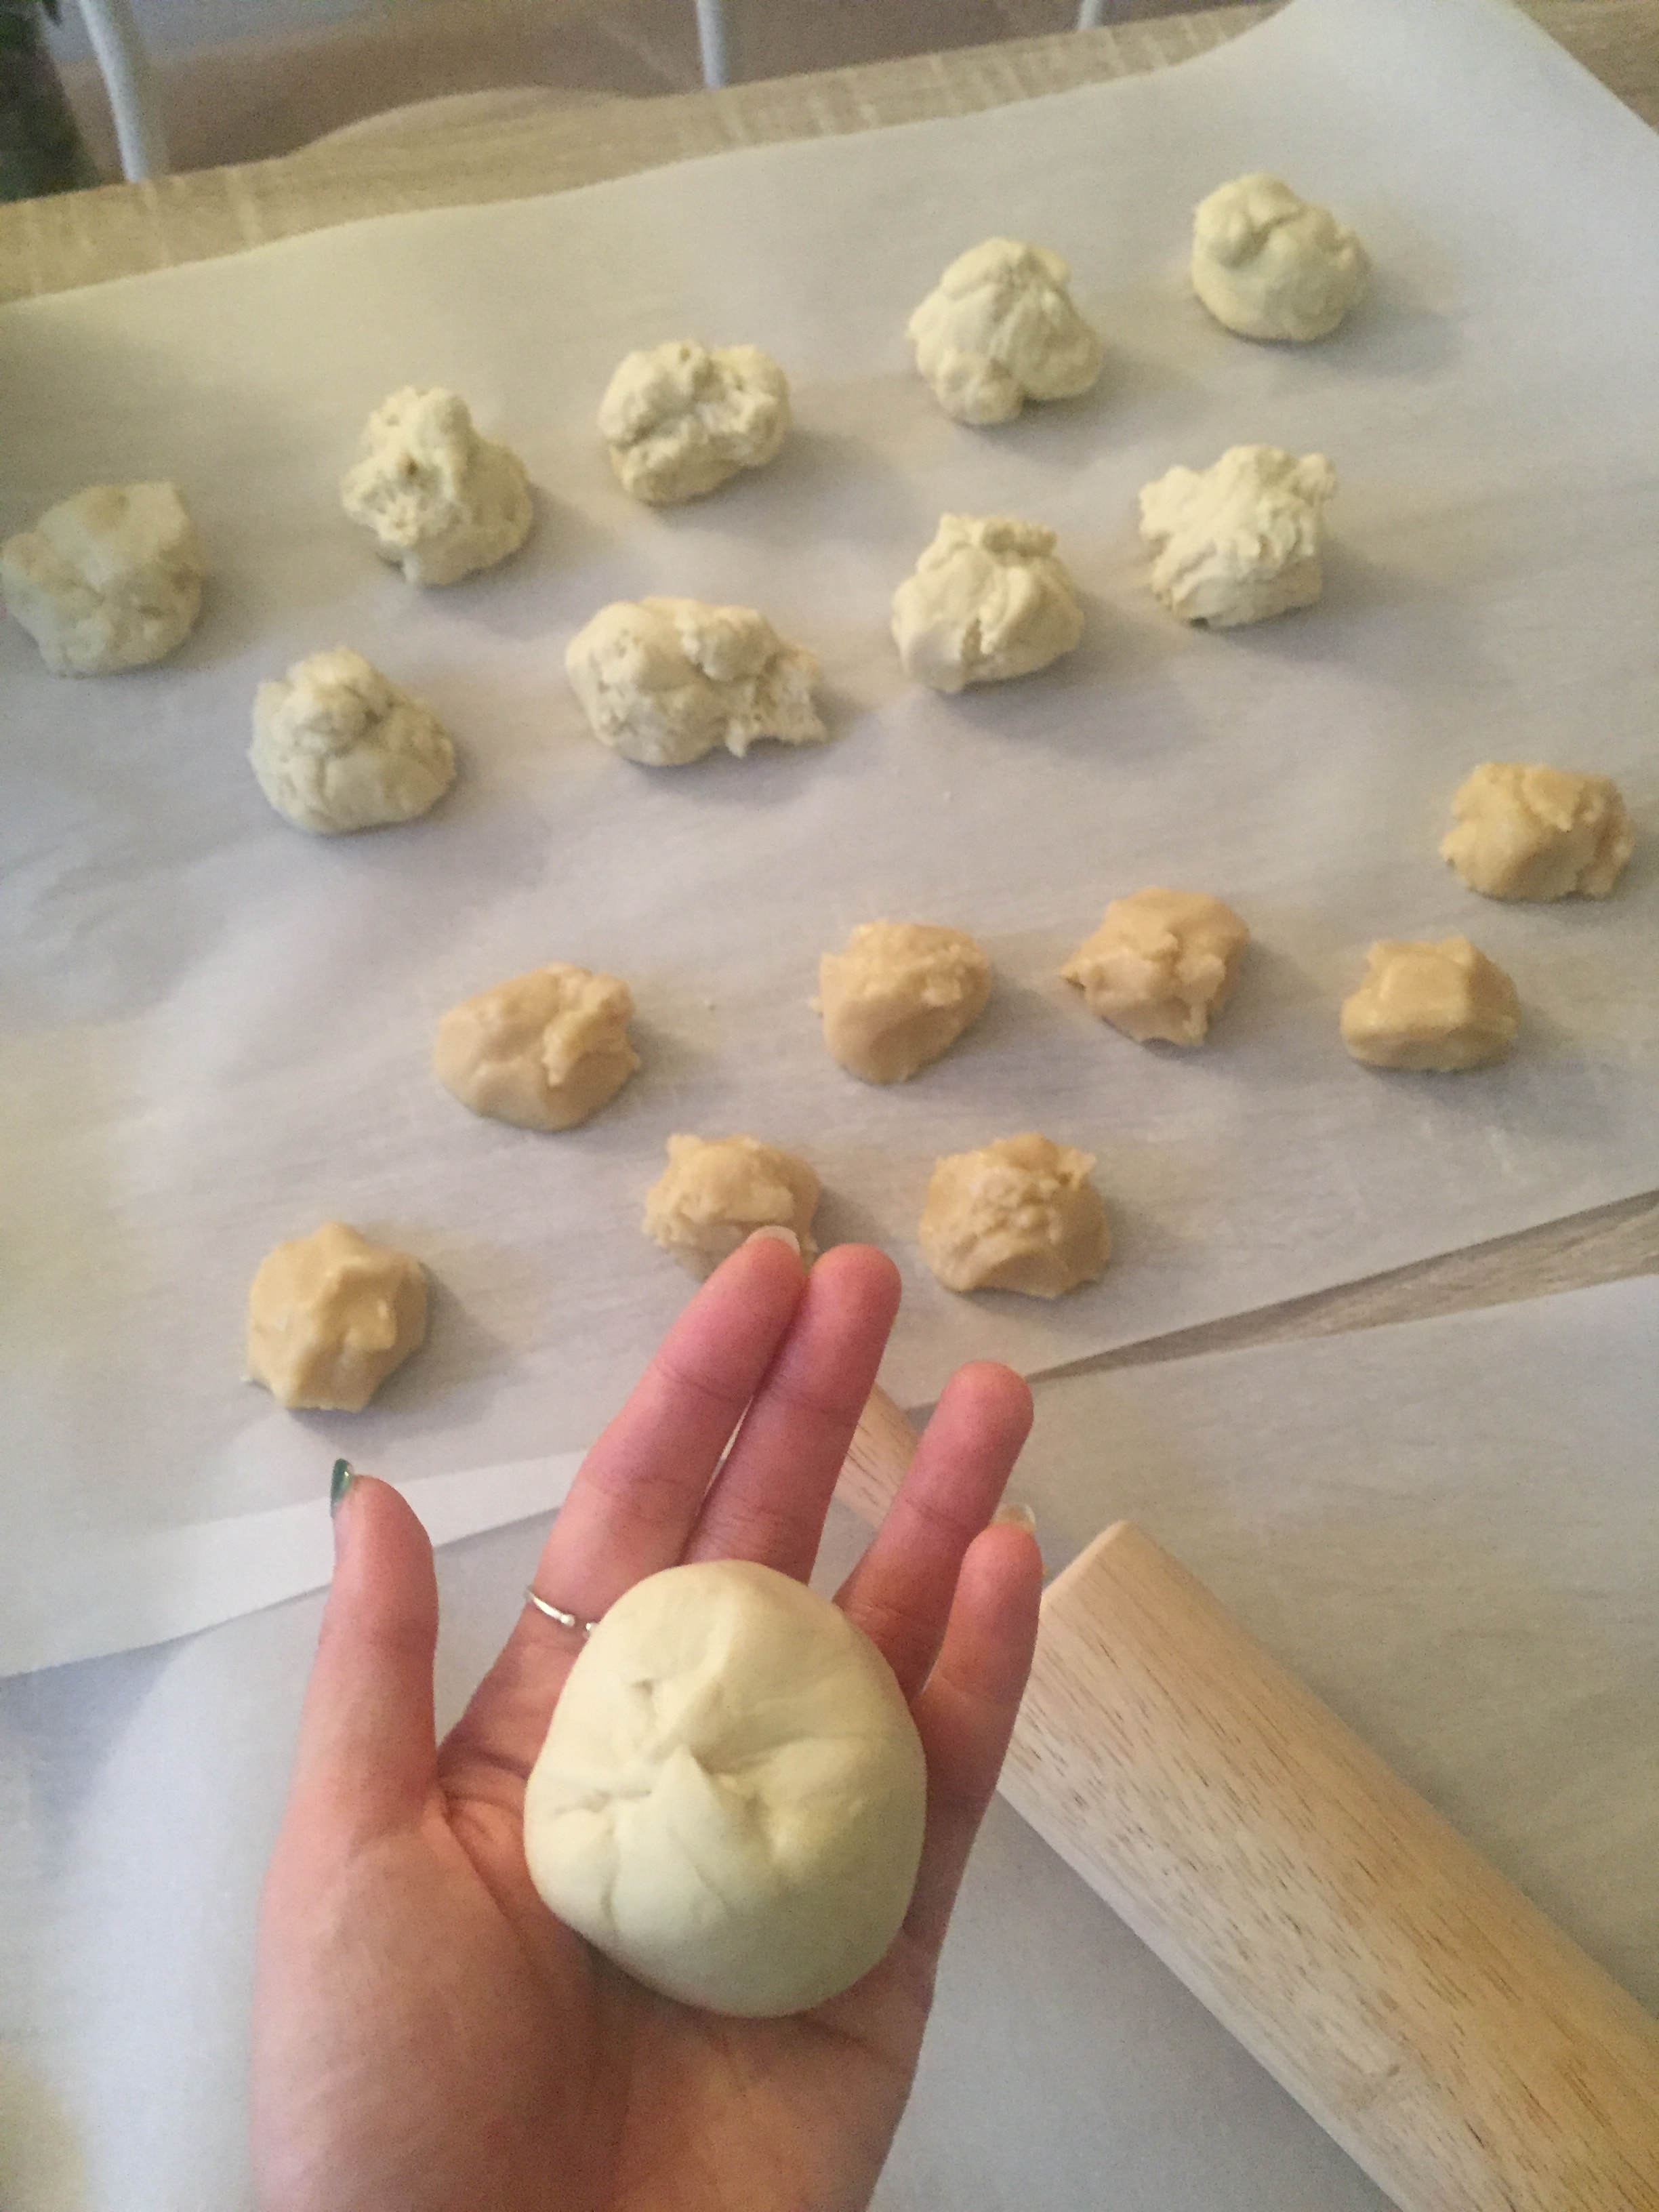
5. Divide the oil pastry and the pastry into ten small portions, use a rolling pin to roll out the oil pastry (just a little bigger than the pastry), and then wrap the pastry in the oil pastry.
***: I want to mention a little bit here. According to the above recipe, I made 470g of dough after waking up, and 240g of pastry. I think this ratio is a bit too large. I can only leave 300g~350 of dough for shortbread. , I feel that it will be more crispy.
Because the extensibility of the awakened oily dough is very good, so when you press it, they will fit together~ If you are afraid that the sealing is not good, roll out the oily dough a little bigger and then put the edges together and pinch it together /b>
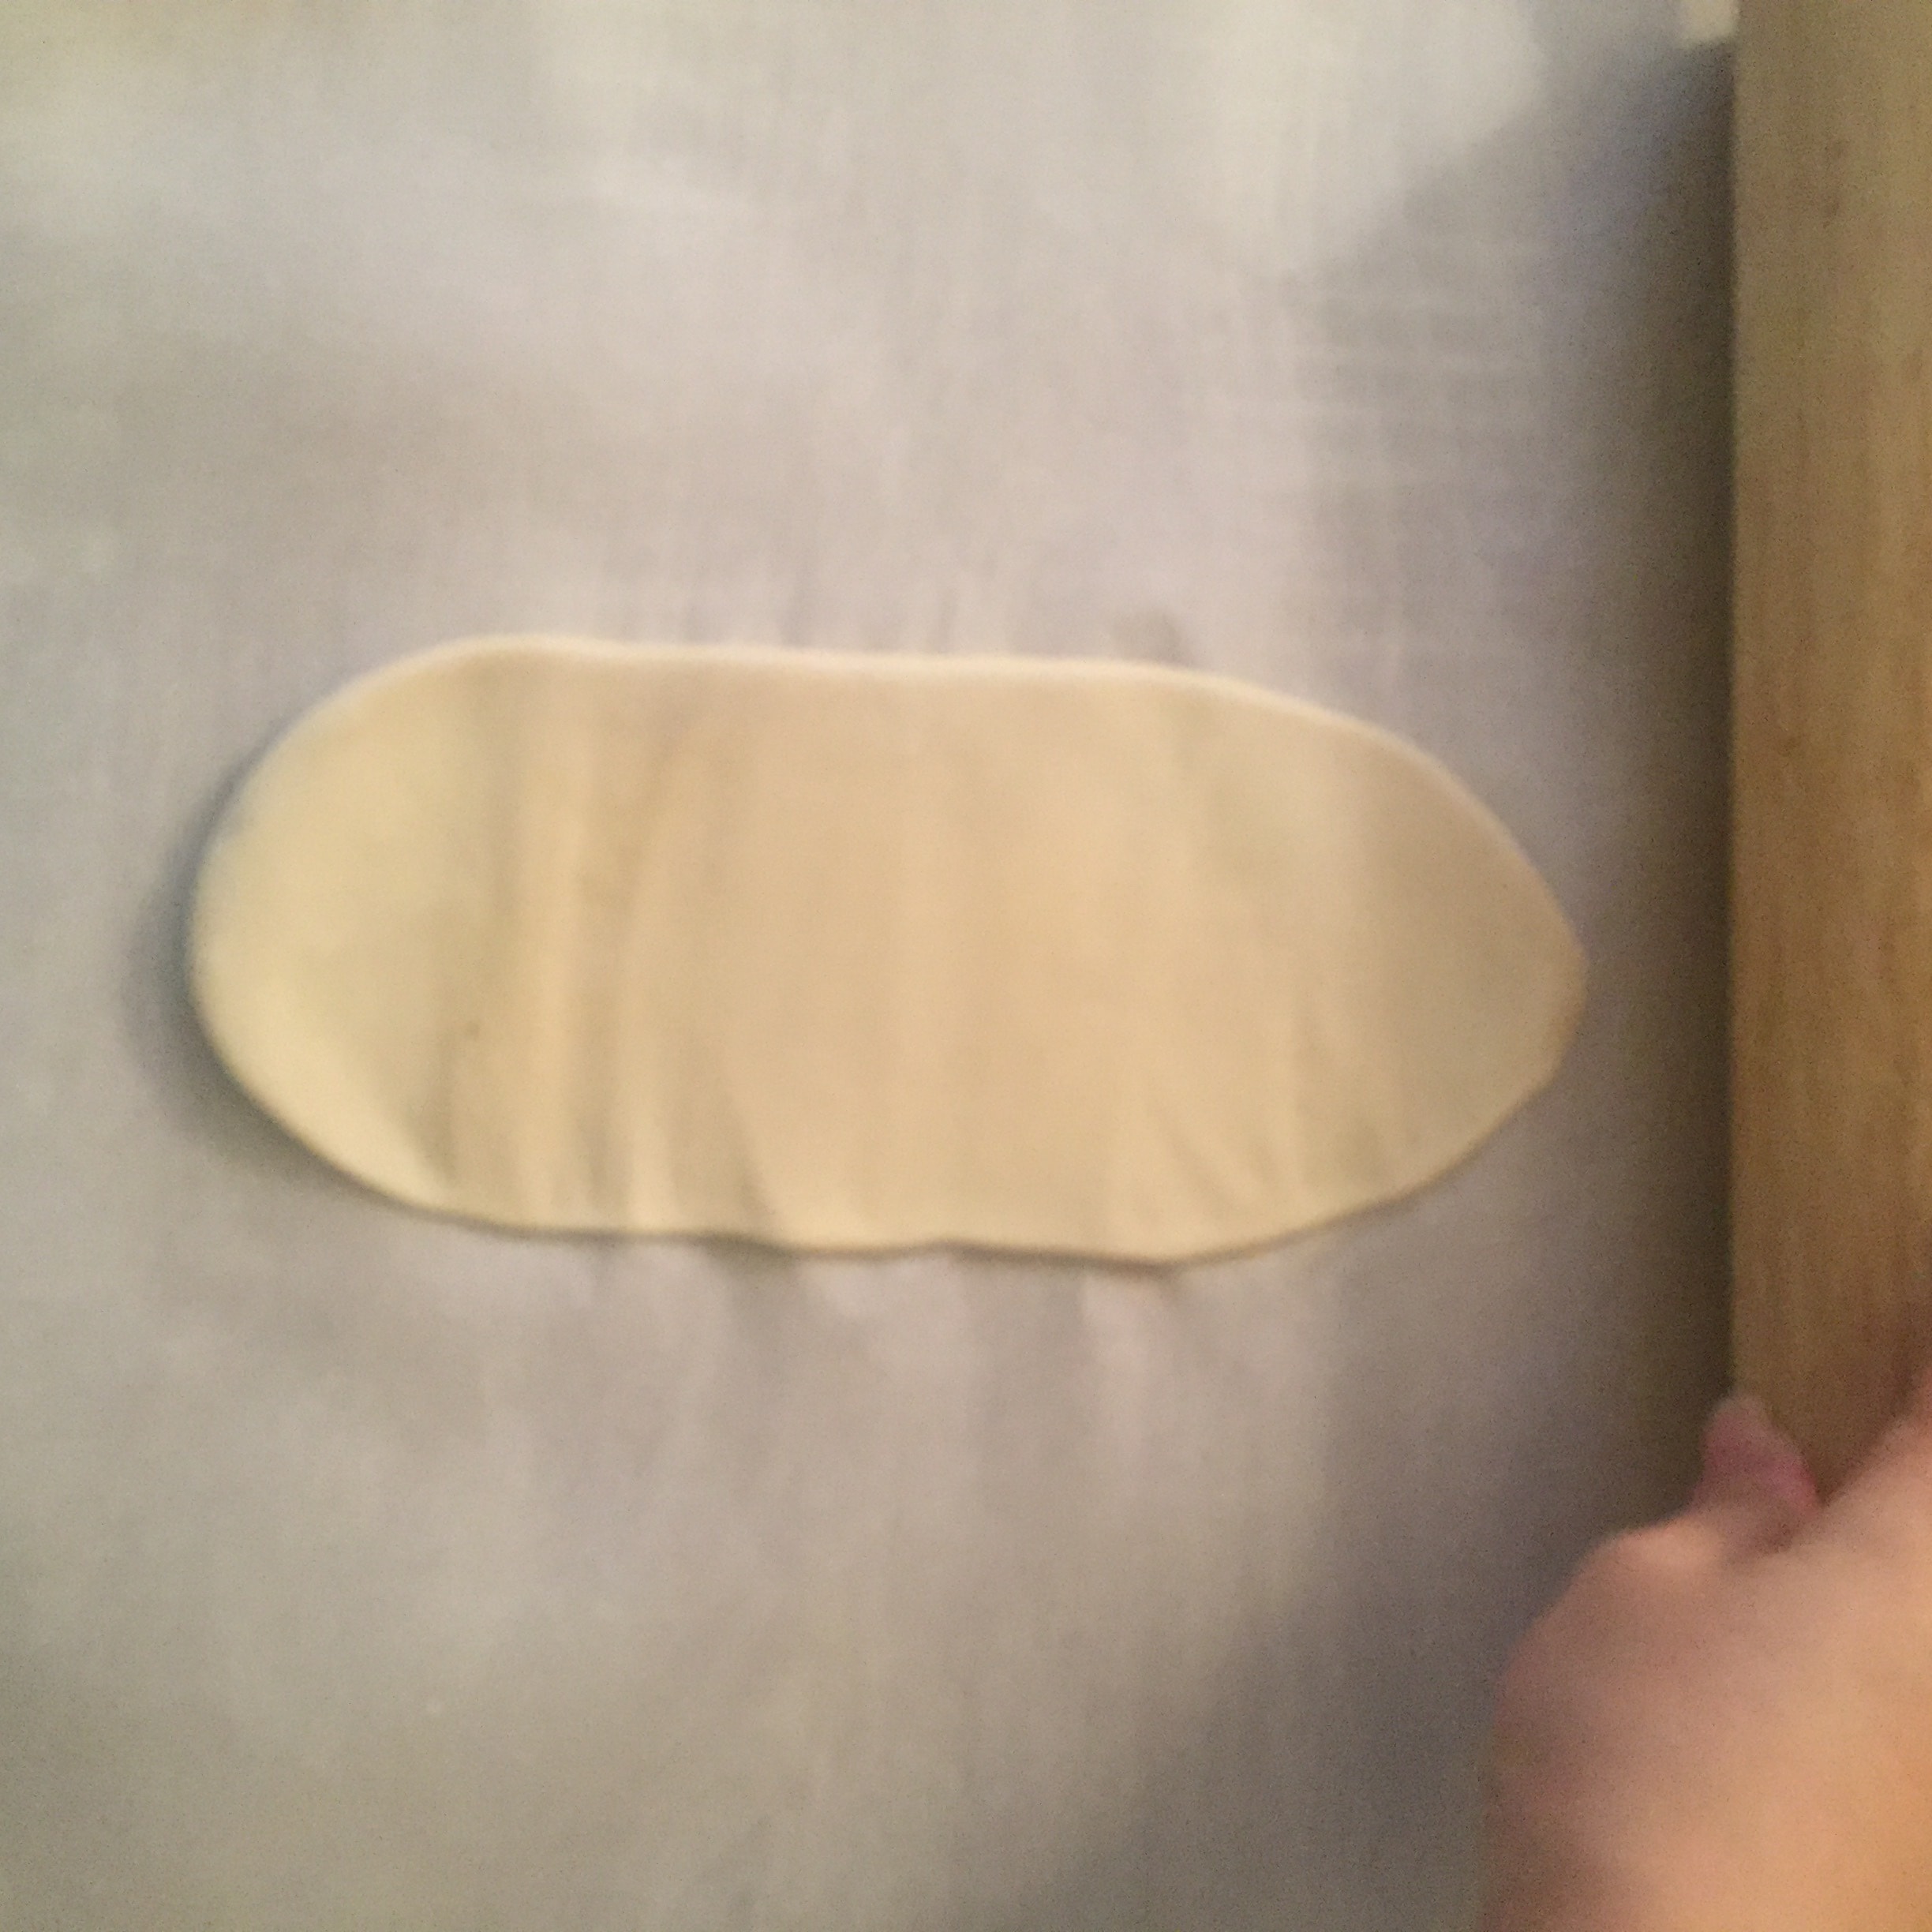
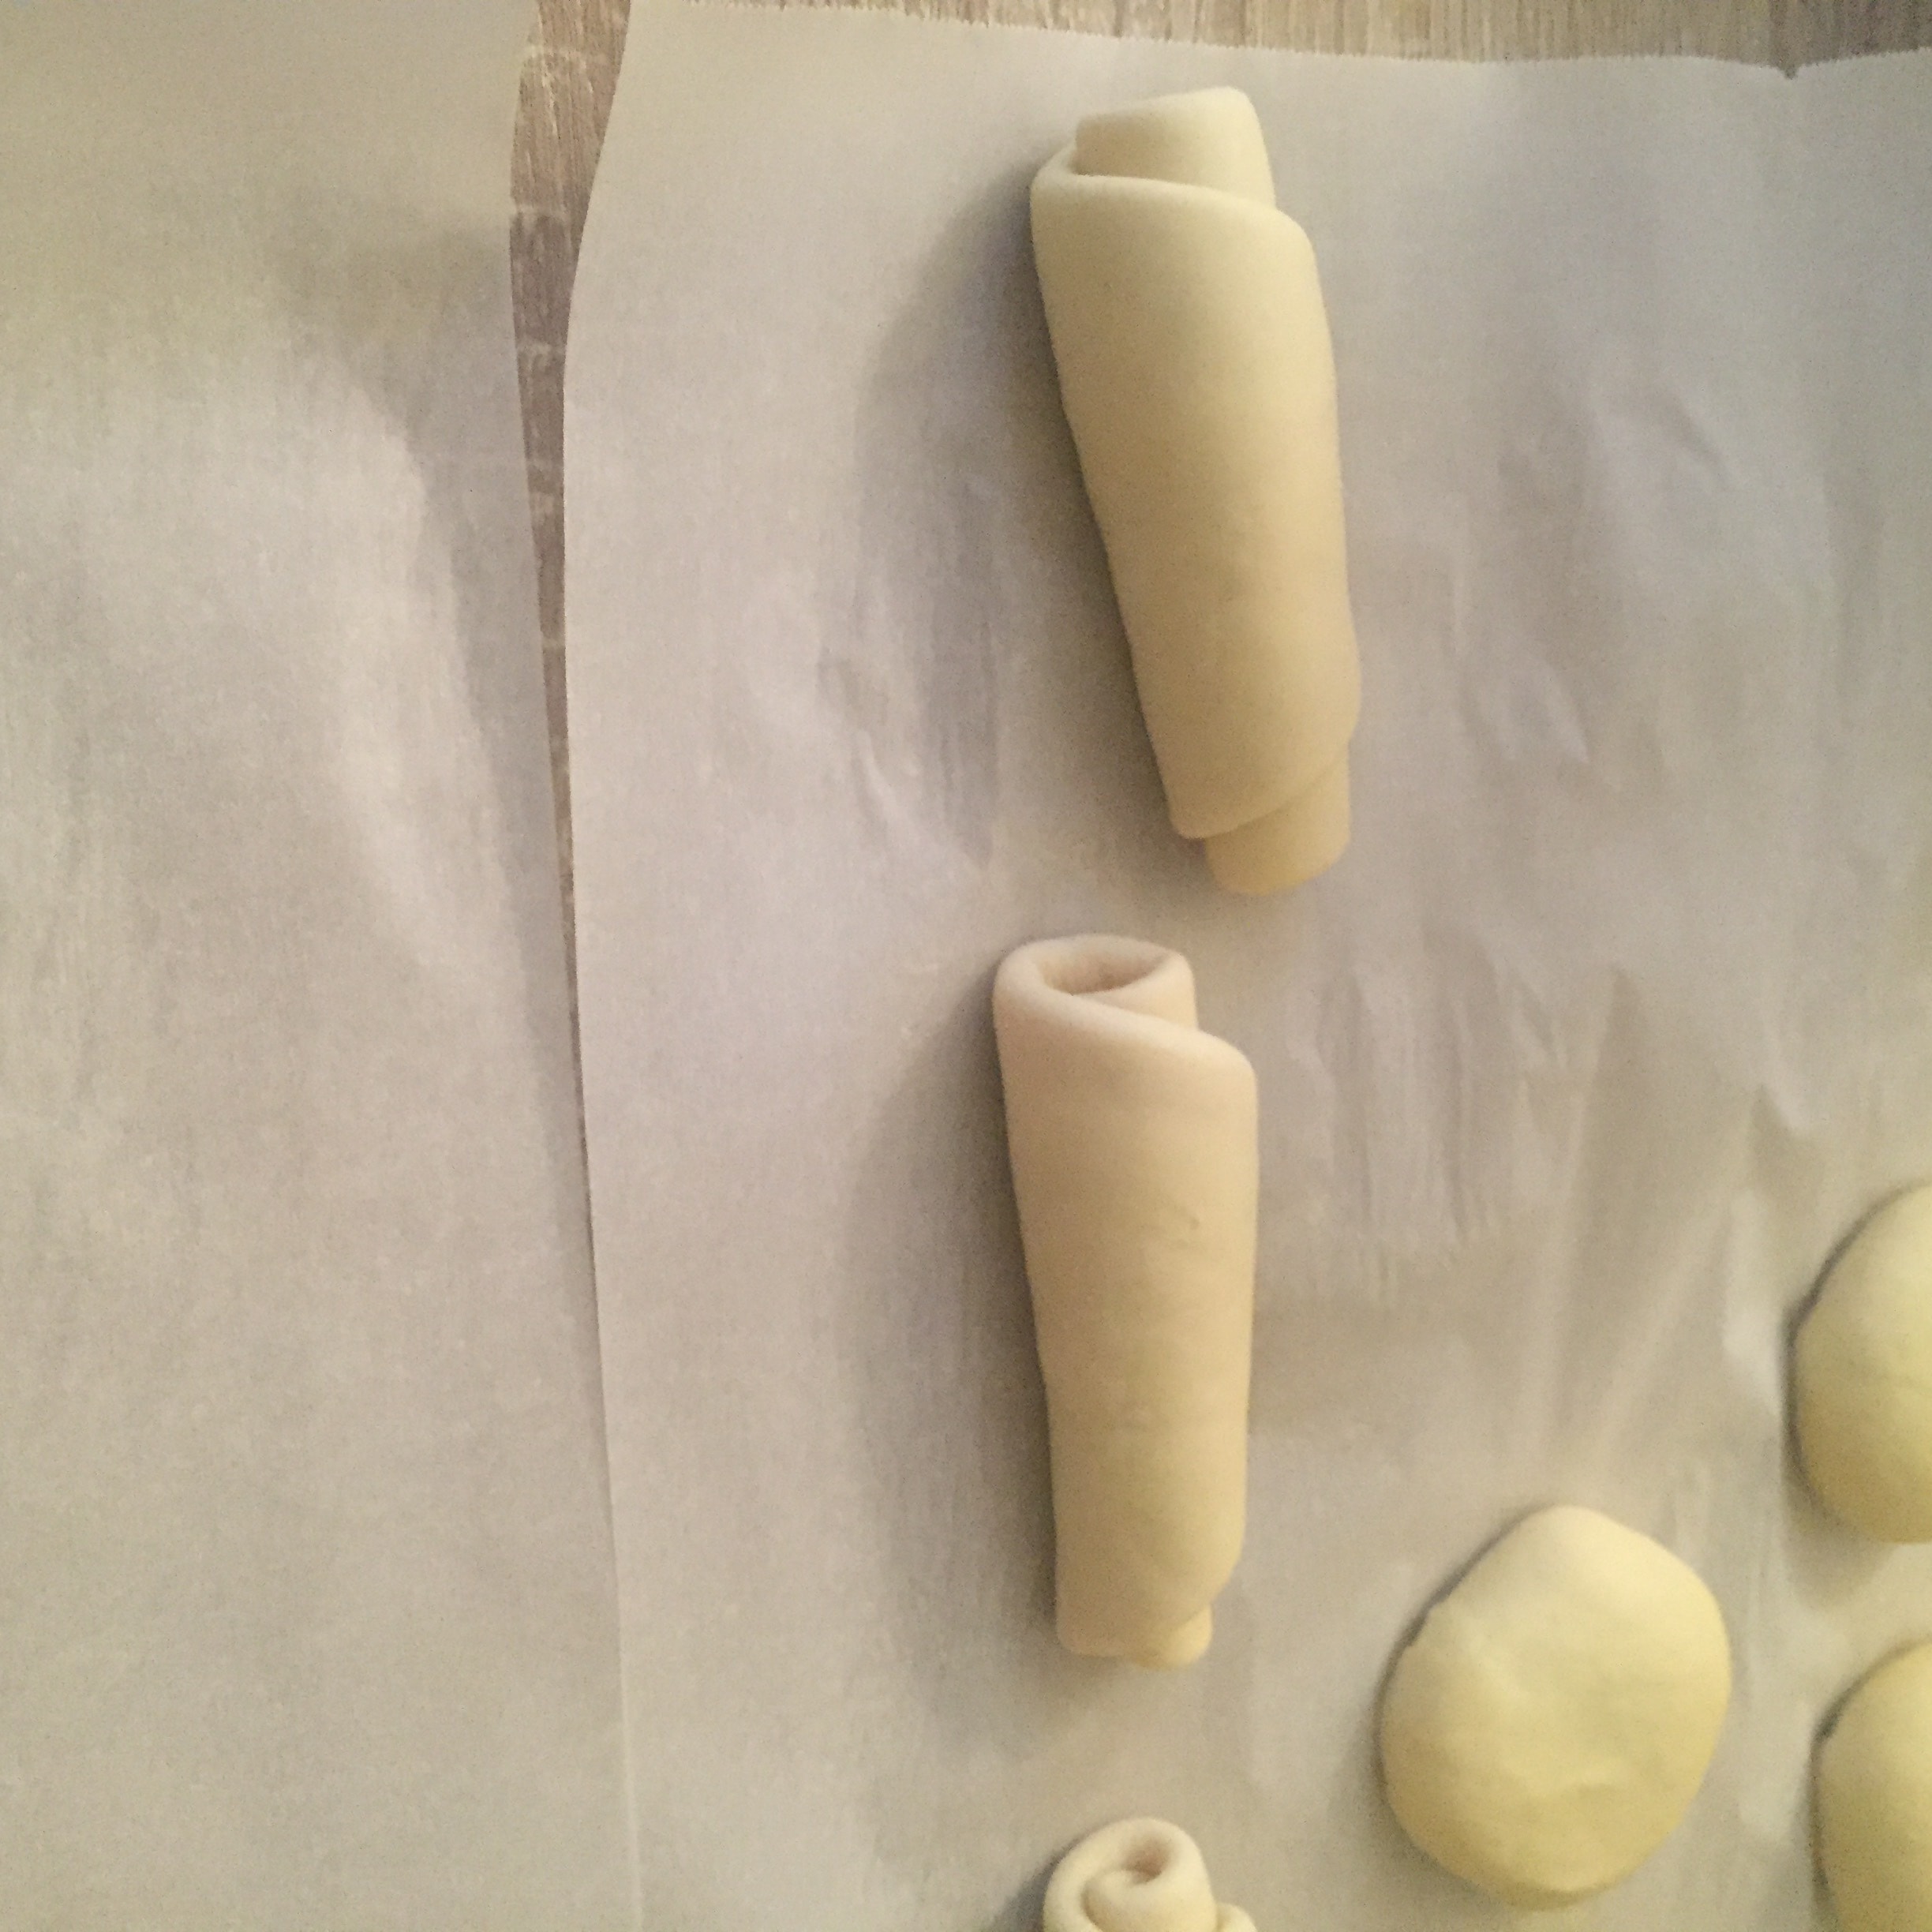
Then roll out into a ox tongue shape with the sealing side down, roll it up, and let it rest for 15 minutes with the sealing side down.
***: Be sure to cover with plastic wrap when relaxing! ! ! ! ! ! ! ! ! ! ! ! ! ! ! ! ! ! ! The central air conditioner at home is already dry and can no longer lose moisture _(:з」∠)_
I didn't cover the plastic wrap here, but since it took ten minutes after rolling out ten pieces one by one, the exposed ones were slightly discolored (hardened).
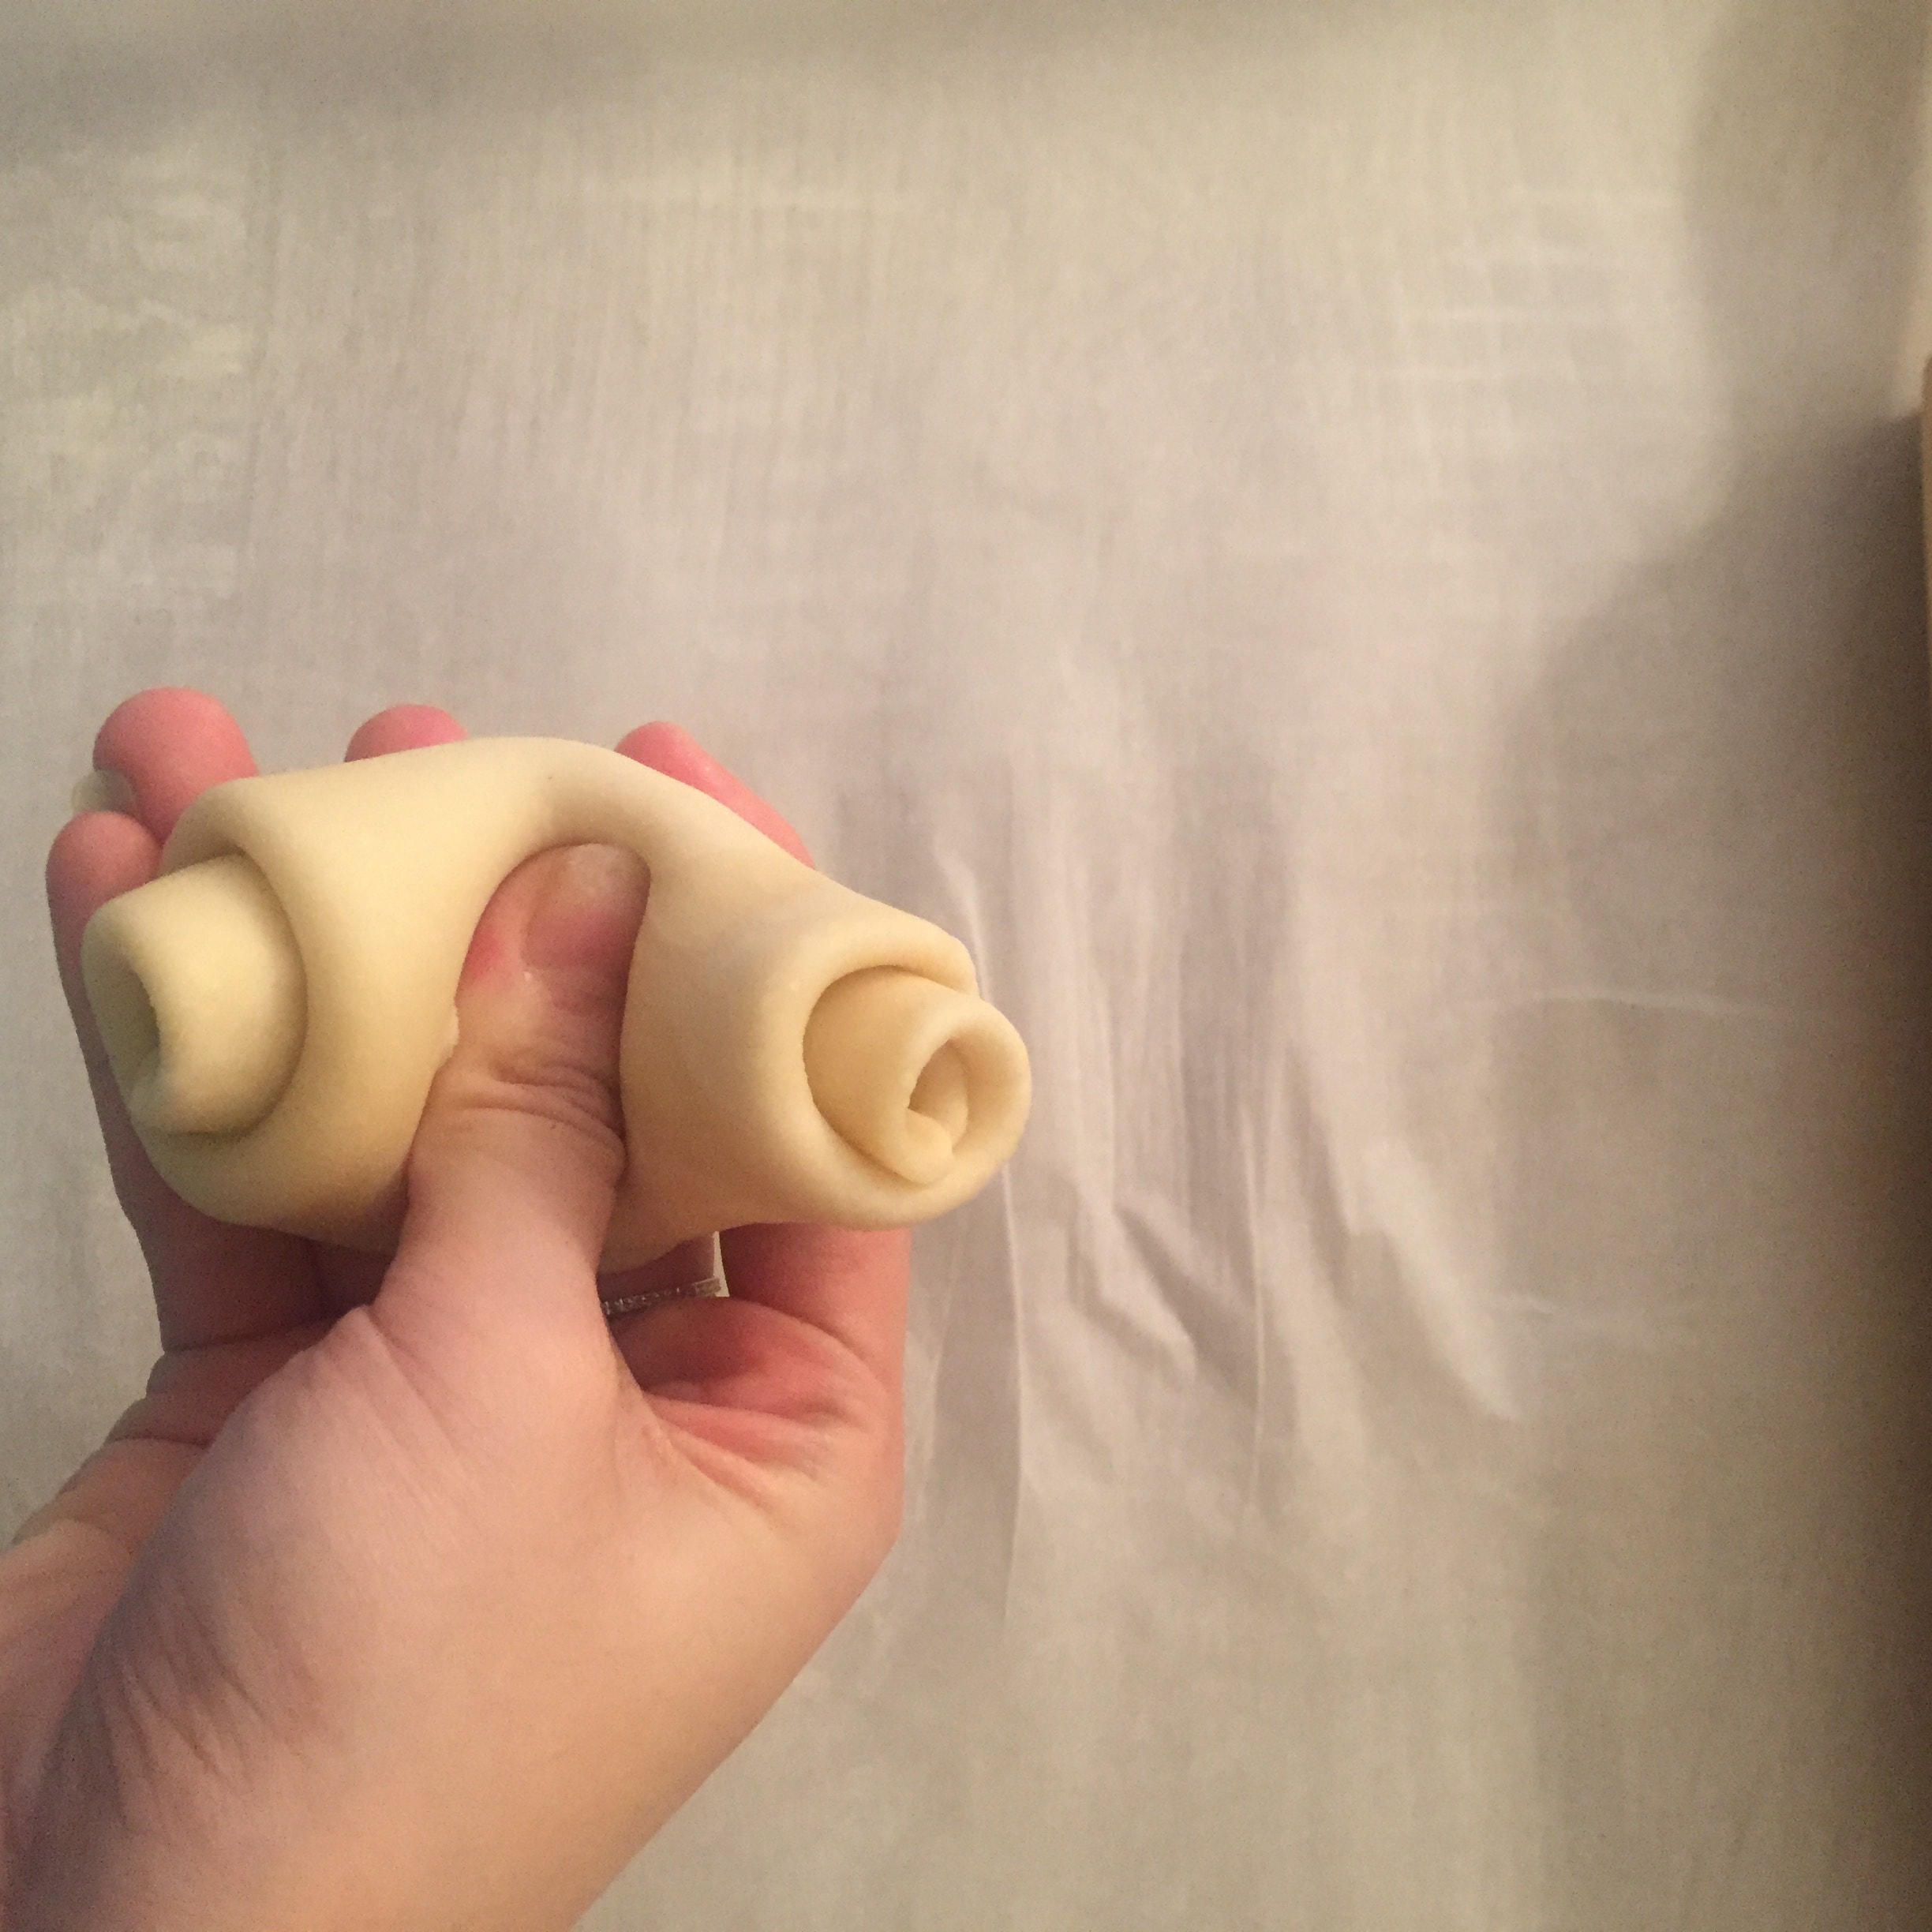
6. Roll out, roll up, relax. Roll out, roll up, relax. Three times in total. It's okay to be troublesome twice
Longer the more layers! Roll out as thin as possible! Press the flat dough first, then roll up and down from the middle of the dough, so that the skin is not so easy to break.
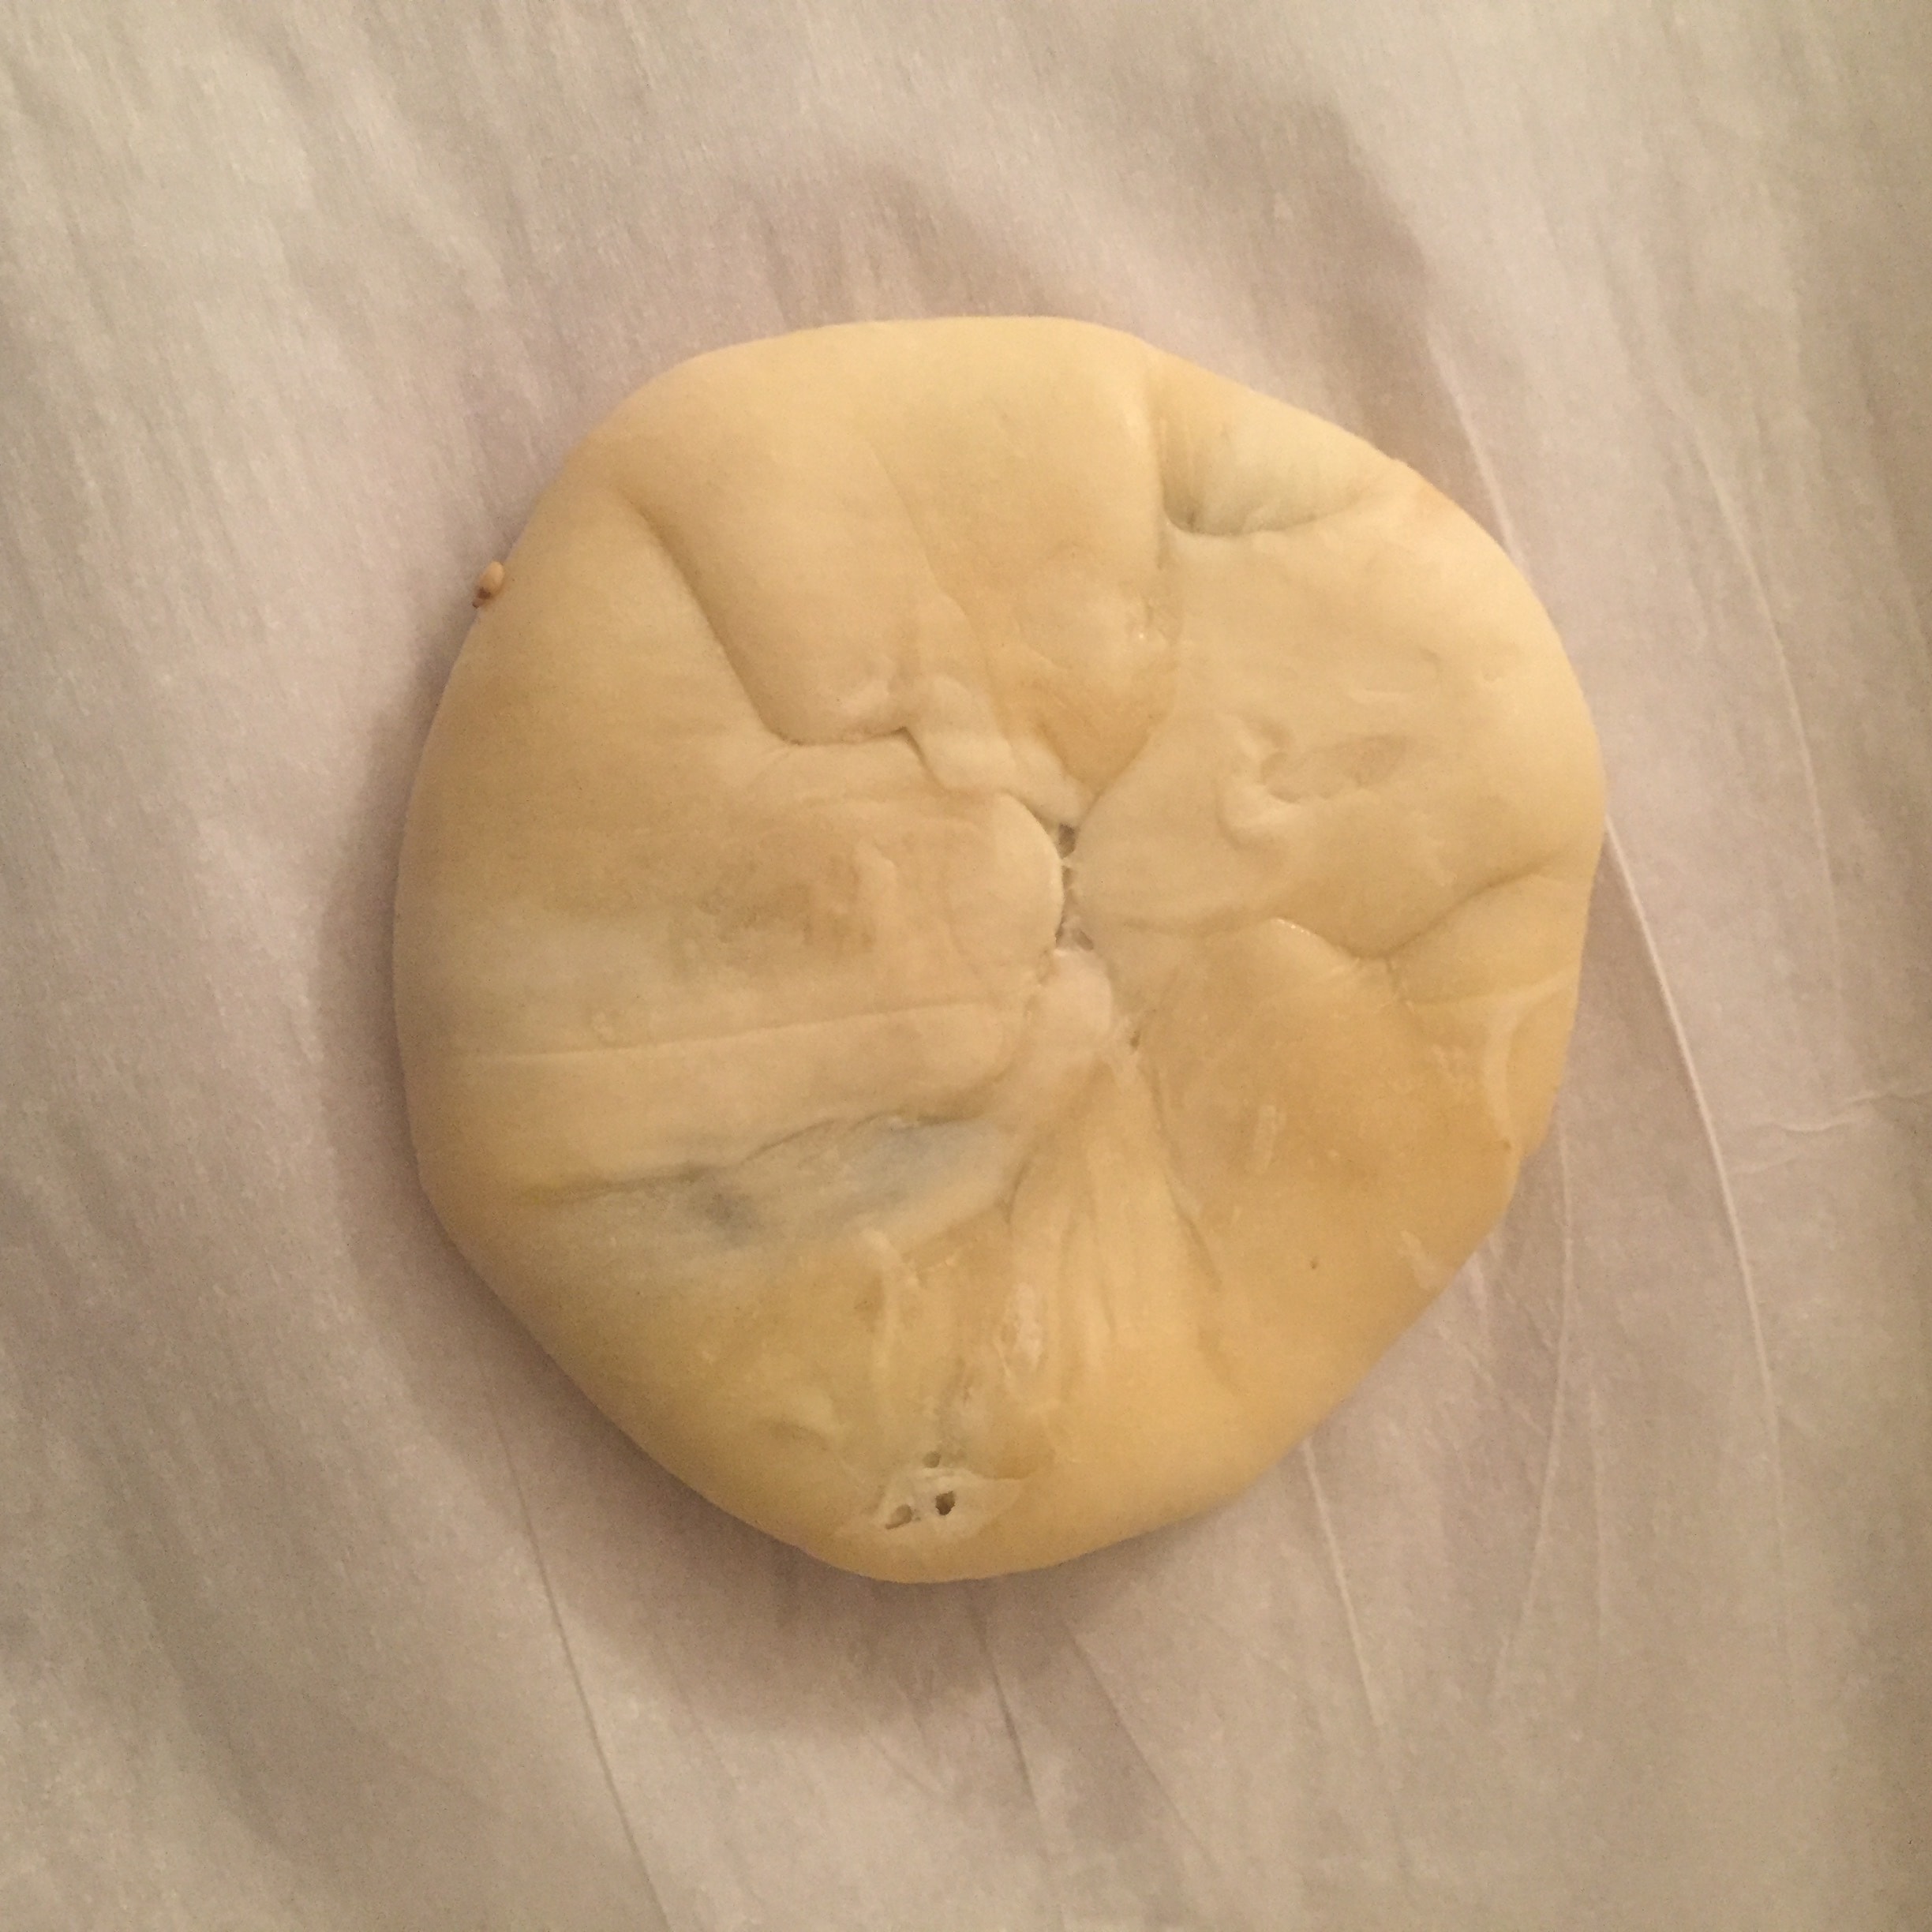
7. After rolling the dough for the last time, press both ends of the dough to the middle, roll out, wrap the brown sugar filling, the middle is thick and the two sides are thin, pinch the dough tightly with hands dipped in water.
***: The brown sugar filling has 120g, divided into ten equal parts. I think it is a little less than the oily skin and puff pastry, so some have two fillings inside.
I felt a little hard the third time I rolled the first dough because I didn't cover it with plastic wrap, so I only rolled the rest twice.
With the seal facing down, flatten the dough a little, then gently roll it out into an oval or round shape, making it thinner.
***: Make sure to roll it thin! ! ! ! ! ! ! ! ! ! ! ! ! ! ! !
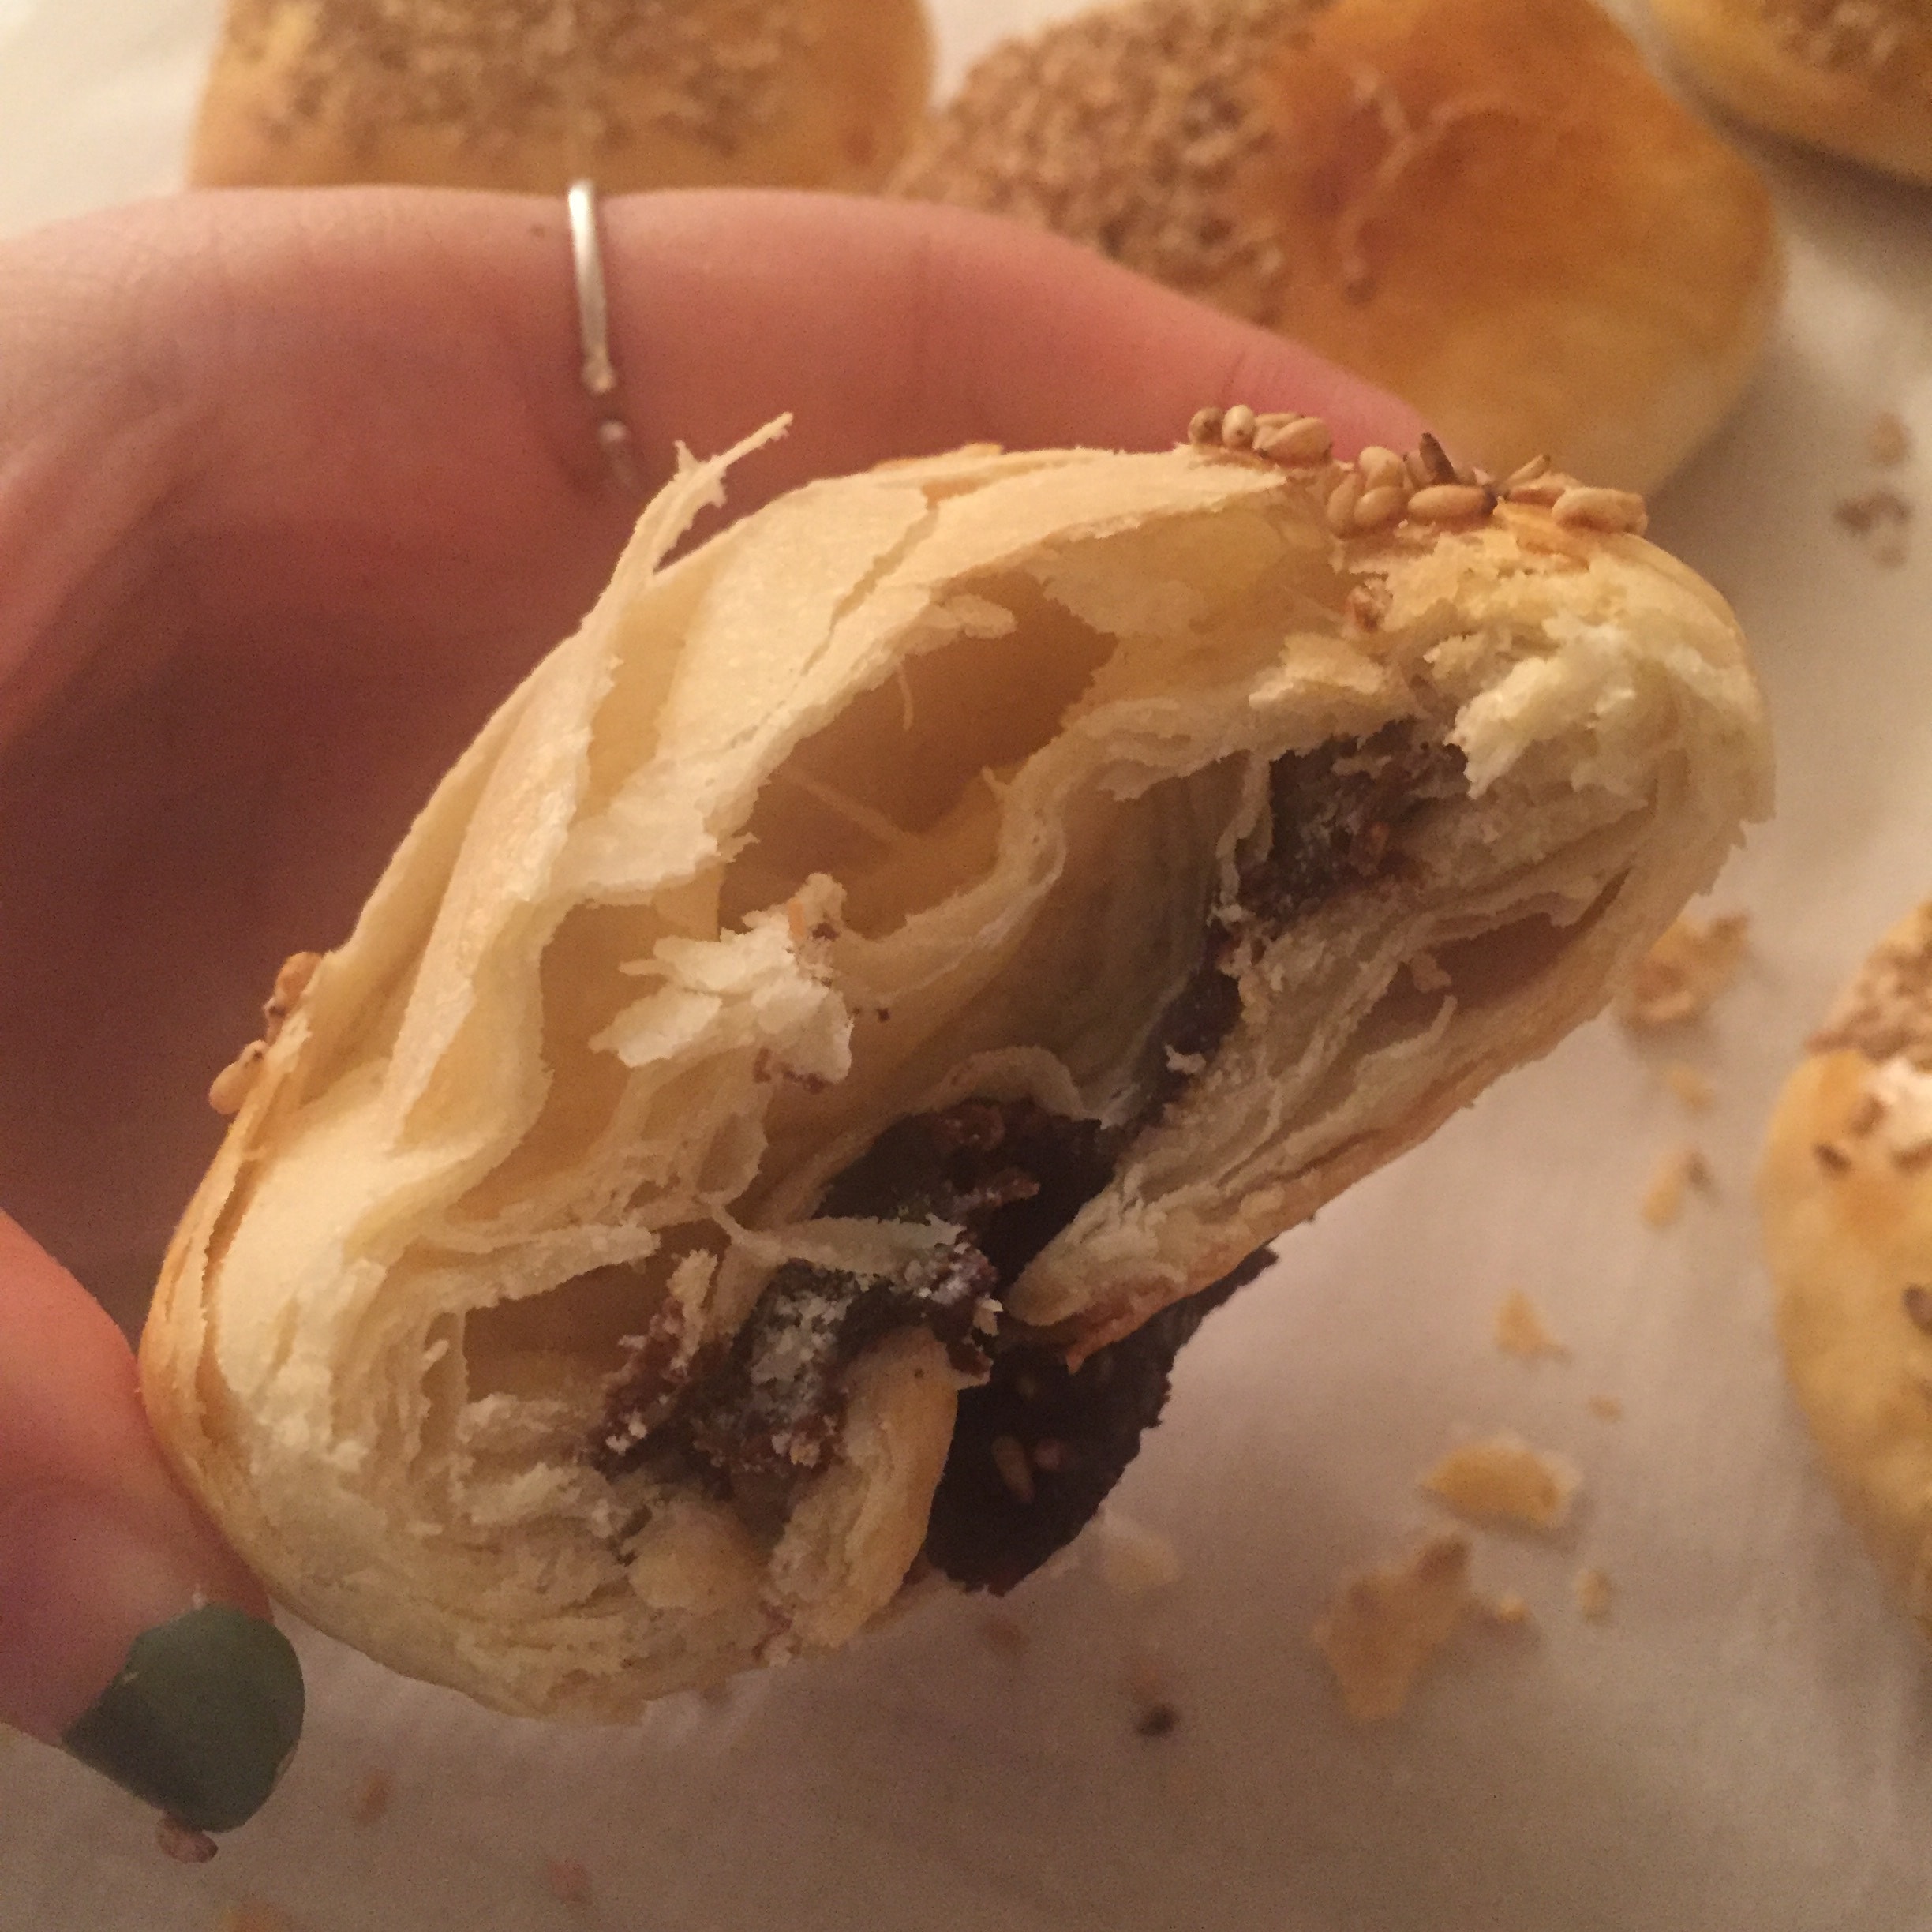
I just think my cake is too big and I didn't roll it too thin, so it's not crispy enough (I guess the reason why it didn't get to the middle)
This is probably the best seal yet.....
A few were not sealed, so I grabbed the other dough and patched it up (typically tearing down the east wall to make up the west wall...)
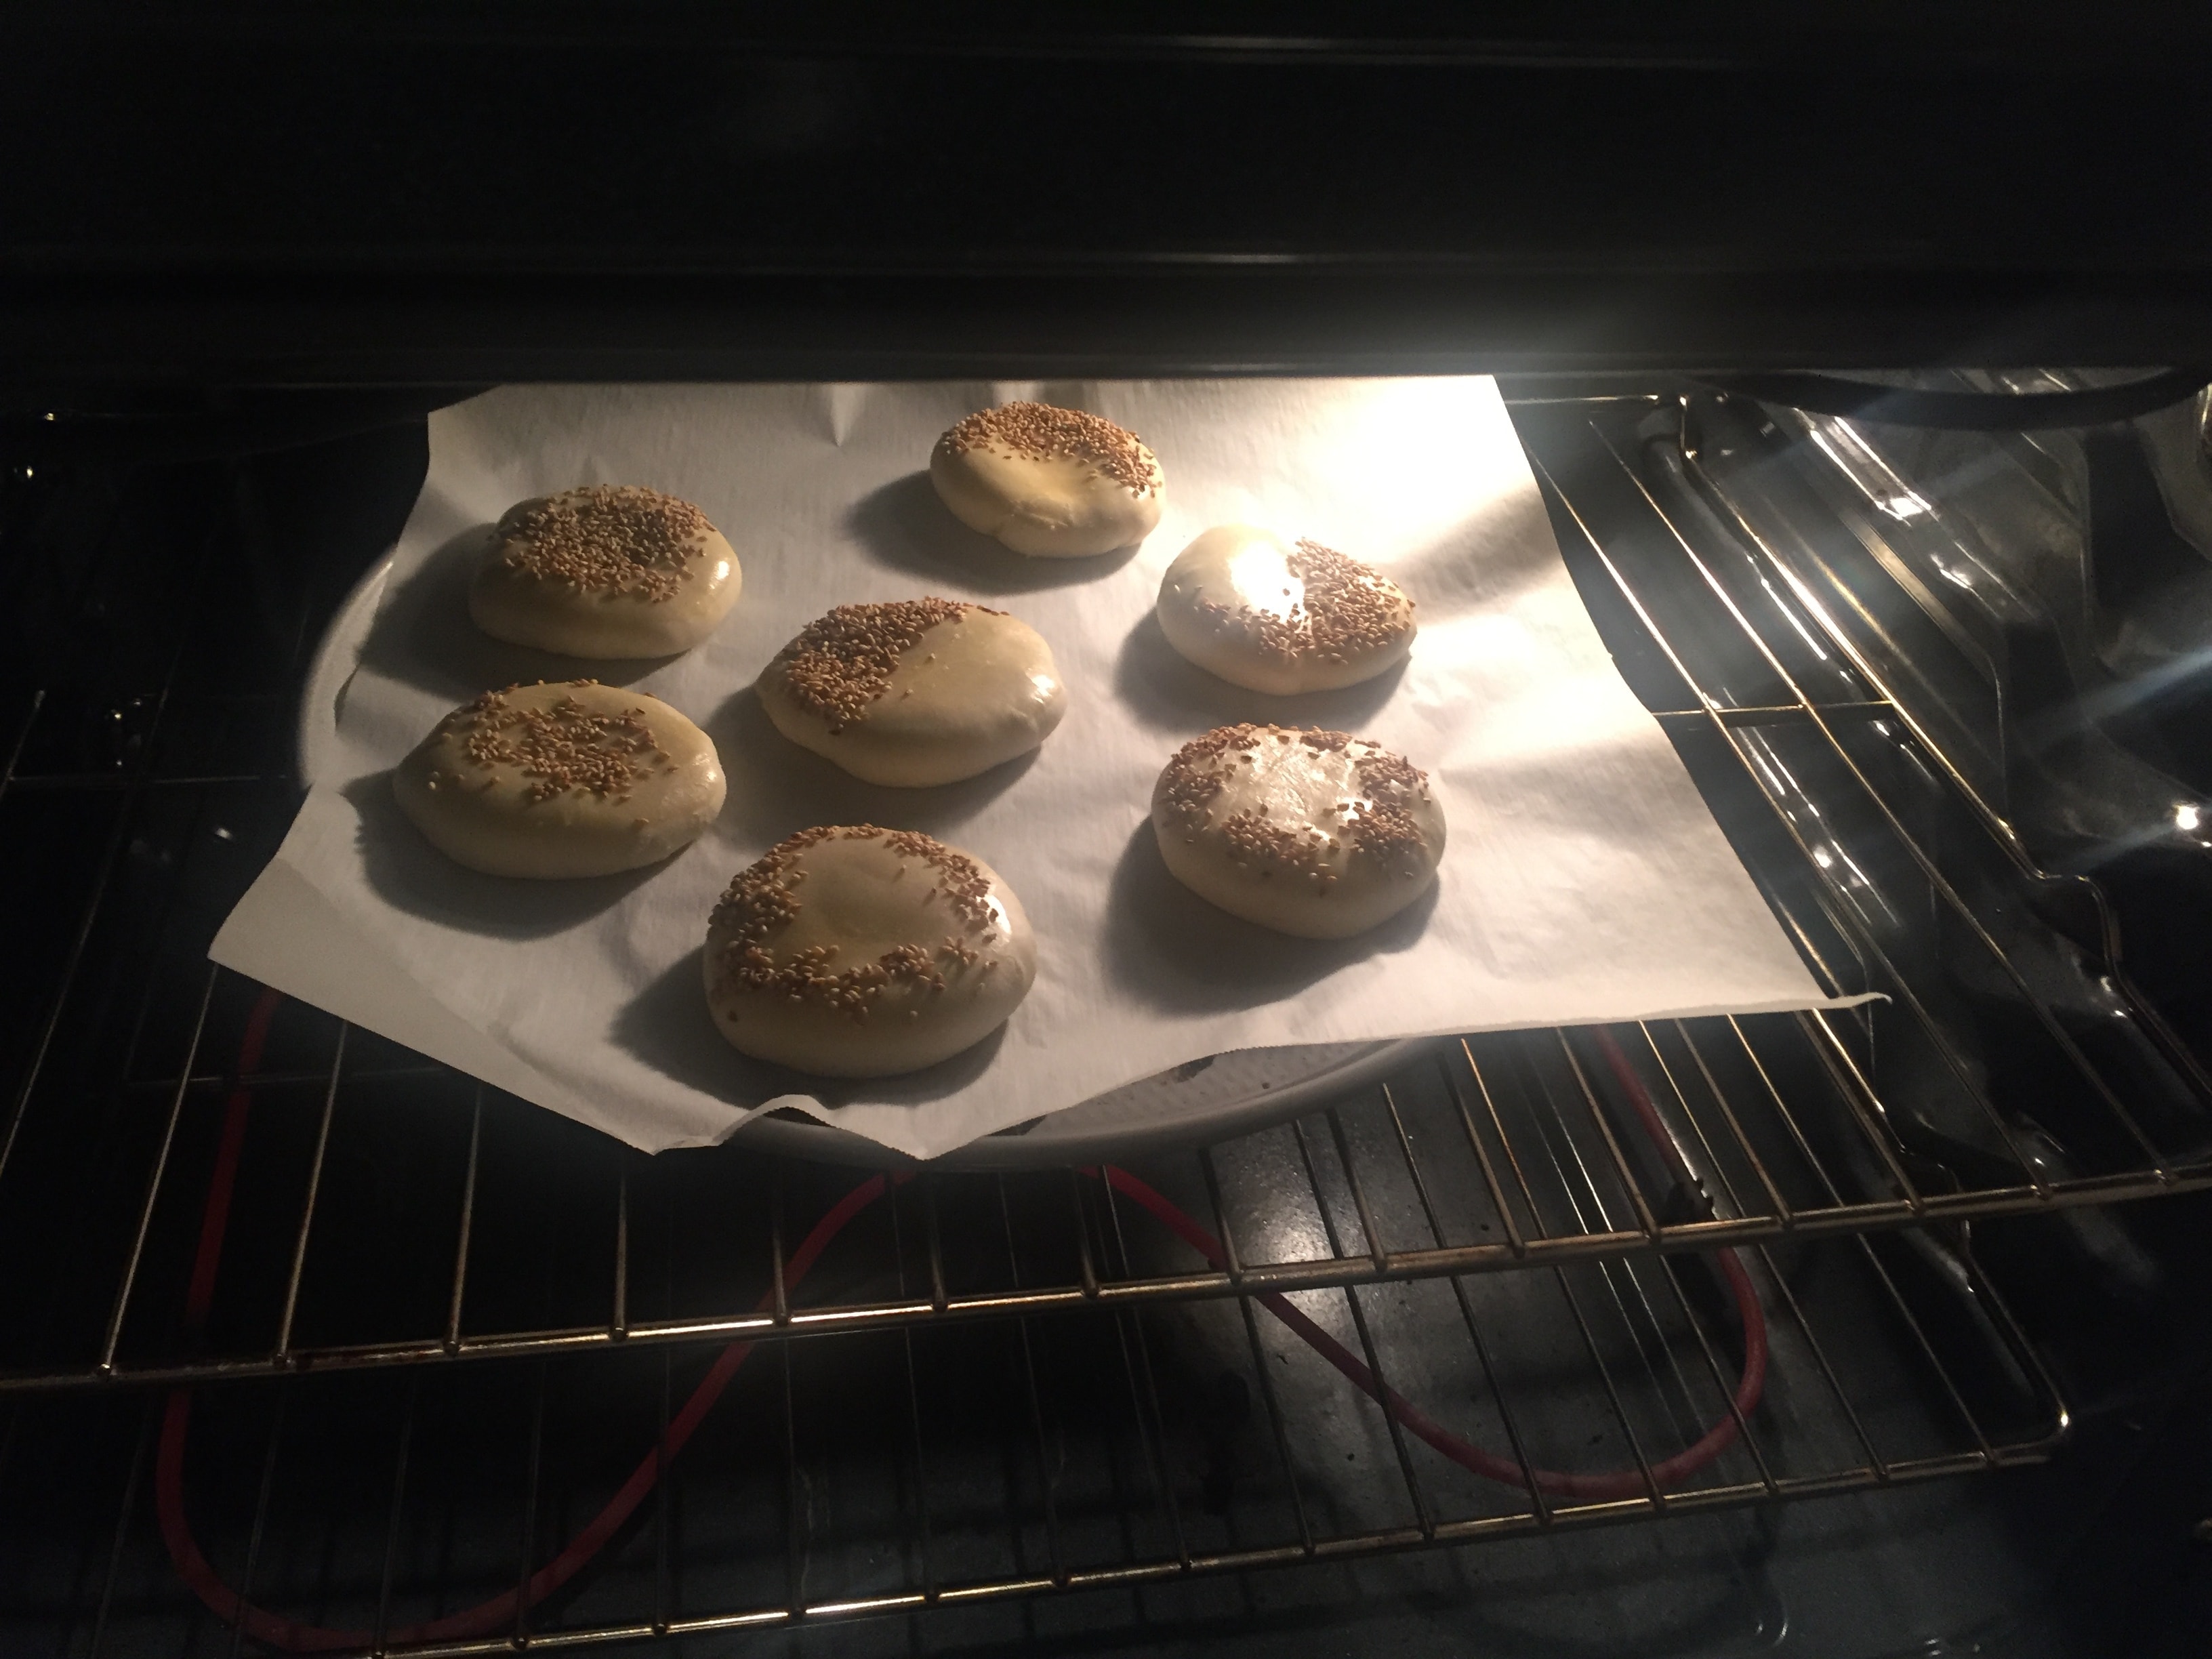
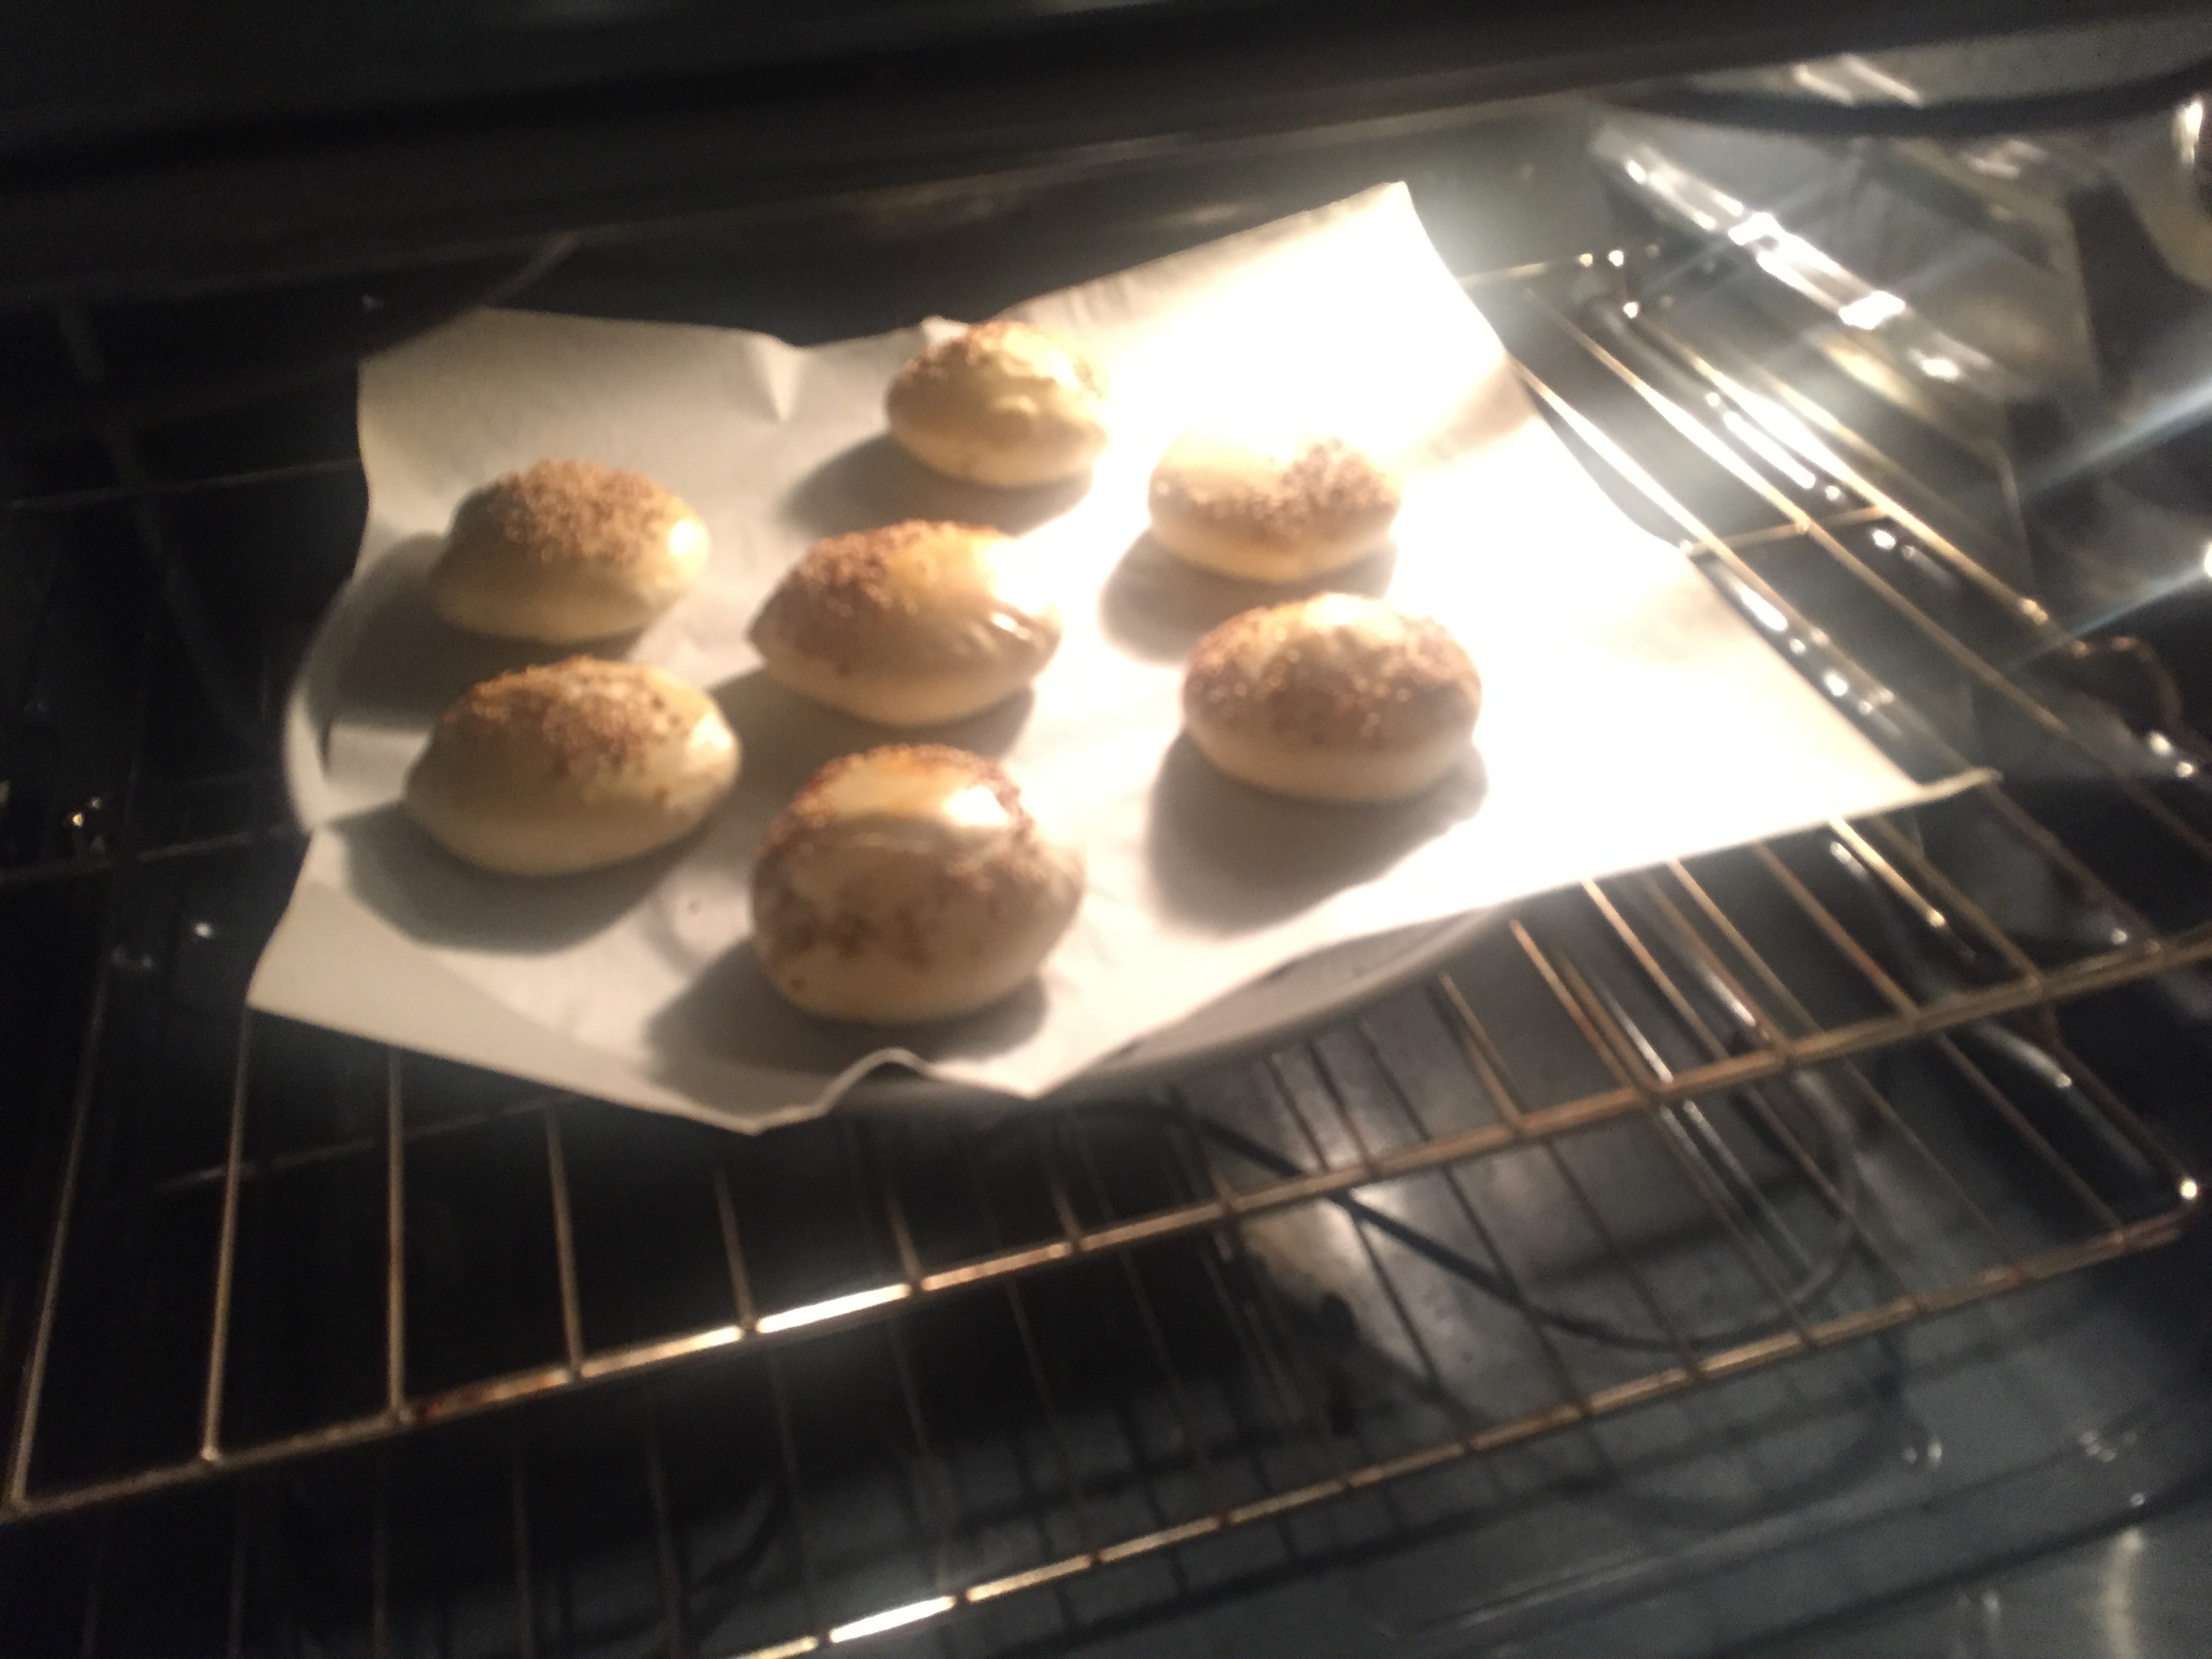
8. Brush with egg wash and sprinkle with sesame seeds. Bake in a preheated oven at 200 degrees for 20 minutes. It can be released~
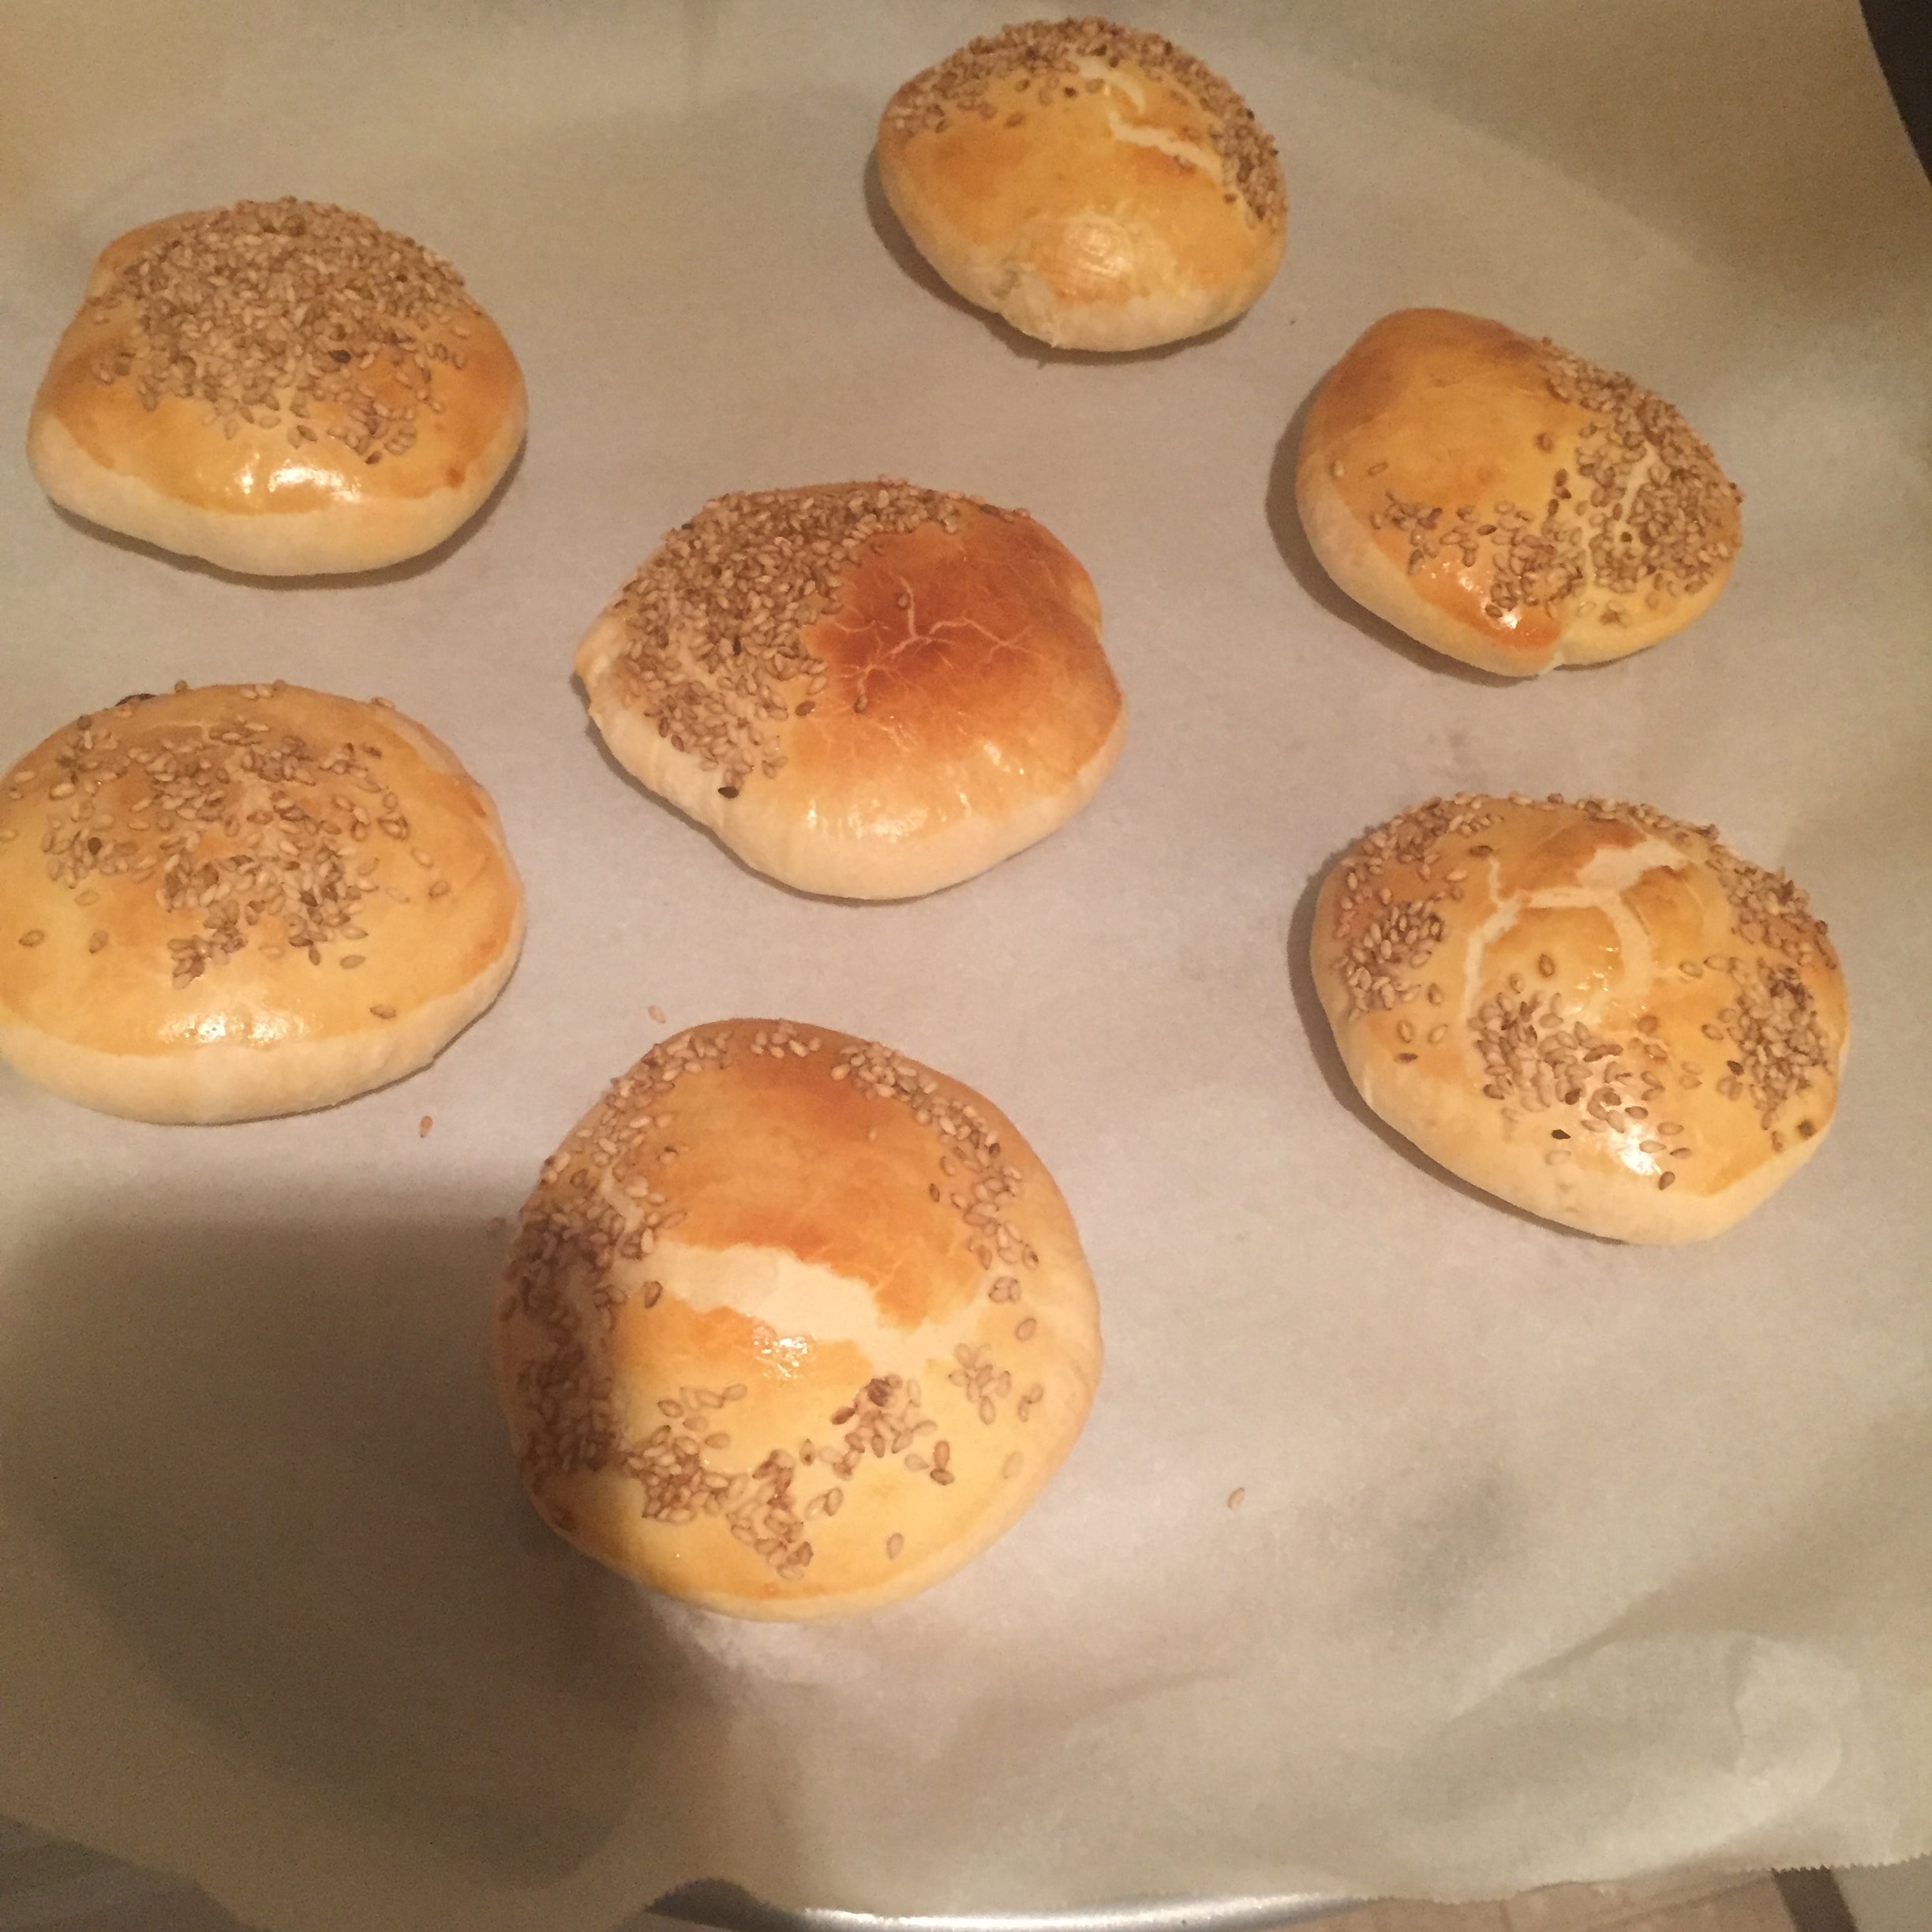
The shape is not very good-looking.... The one with half of the sesame seeds is two pieces of filling, the one with the outer ring is one piece of filling, and the one with all the sesame seeds is one and a half pieces.
The top is particularly bulging, probably because I didn't roll it thin... But in the end, I didn't feel that the filling was particularly bad. I haven't eaten the two pieces, so I can't say it. Not too much filling.
You ask me where do the extra crust ingredients go? Let's see you next time~ヾ(*Ő౪Ő*)


 Show Original