


Flour Transformation | Make Crispy and Silky Egg Tarts!
There are many new and innovative places for afternoon tea. But no matter how good it is to eat outside, it can’t compare to the sense of accomplishment of doing it yourself, and eating it with confidence is also in line with your own taste. (The point is to show off some cooking skills)
So today, I will teach you how to make the most classic afternoon tea egg tart in Hong Kong~With a cup of milk tea, it is a perfect typical Hong Kong-style afternoon tea~!
(Send it to the circle of friends and say that you did it, to render the atmosphere of a pleasant afternoon, I guess you can cheat a hundred likes ゚∀゚d)
Egg tarts are divided into Hong Kong style and Portuguese style. The Portuguese-style skin is like a butter bun, and the Hong Kong-style skin is divided into crispy butter cookie skin and crispy puff pastry. The Hong Kong-style tower liquid is cream-free, more fragrant, and has no dark spots.
I made my favorite cookie crust today(also The easiest.~
☀️_(ÒqÓ๑ゝ∠)Foreplay is over, let's do it!
======================:❥
(⸝⸝⸝ᵒ̴̶̷ ⌑ ᵒ̴̶̷⸝⸝⸝) ✨Let's make the tart crust first
This recipe can make12small(My skin is thin) , about 5 large. I think the sweetness is just right, my mother, who is not very sweet, thinks it is too sweet
Materials Required:
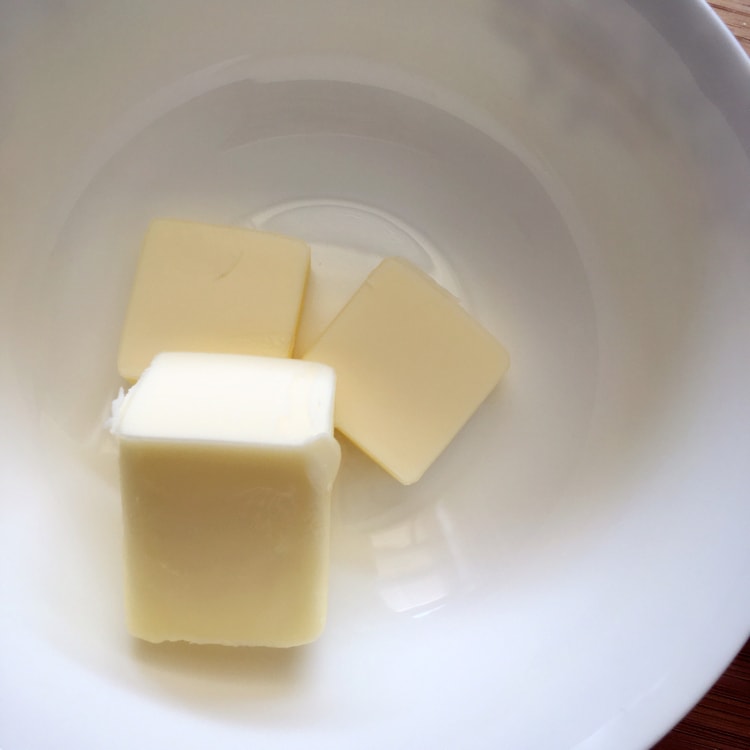
Butter70g
Sugar30g
eggs 1/4only
❥Let the butter soften at room temperature(or microwave20seconds)< /p>
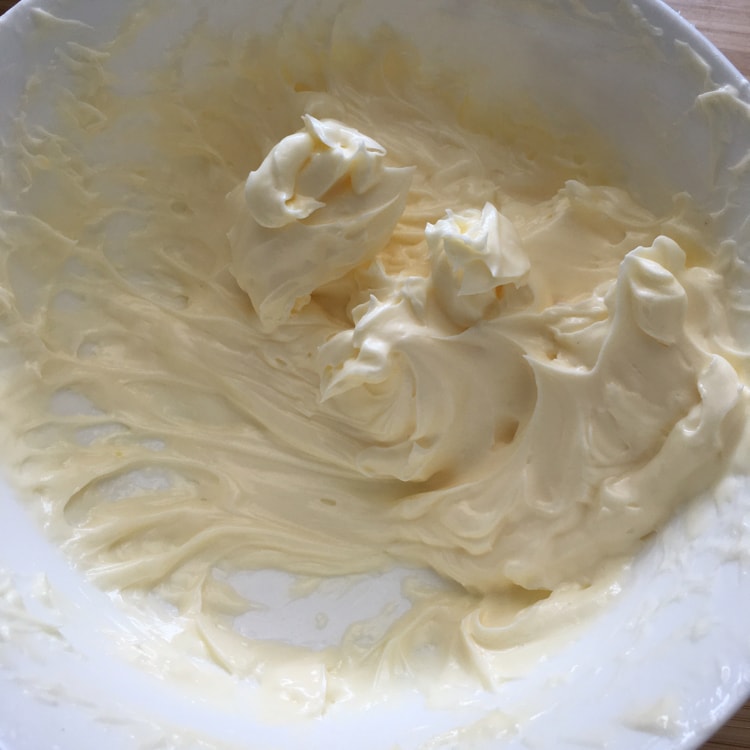
❥Whisk eggs until they turn white, add sugar and continue beating until the volume becomes larger and the butter turns white. Fully integrated
❥Add eggs and beat until fully incorporated
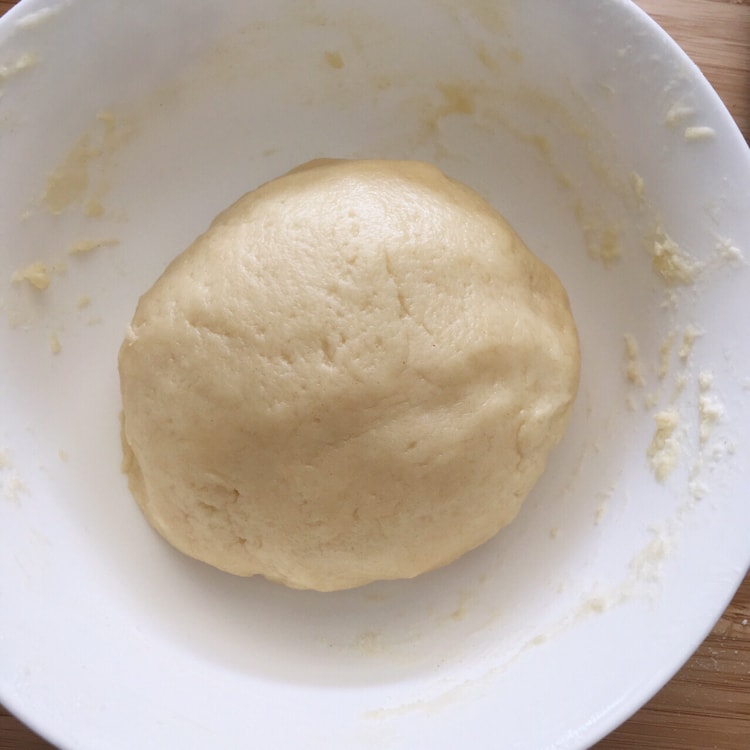
❥Add flour, mix well with a spoon or spatula, and knead by hand to form a dough
❥Cover with plastic wrap and refrigerate for an hour
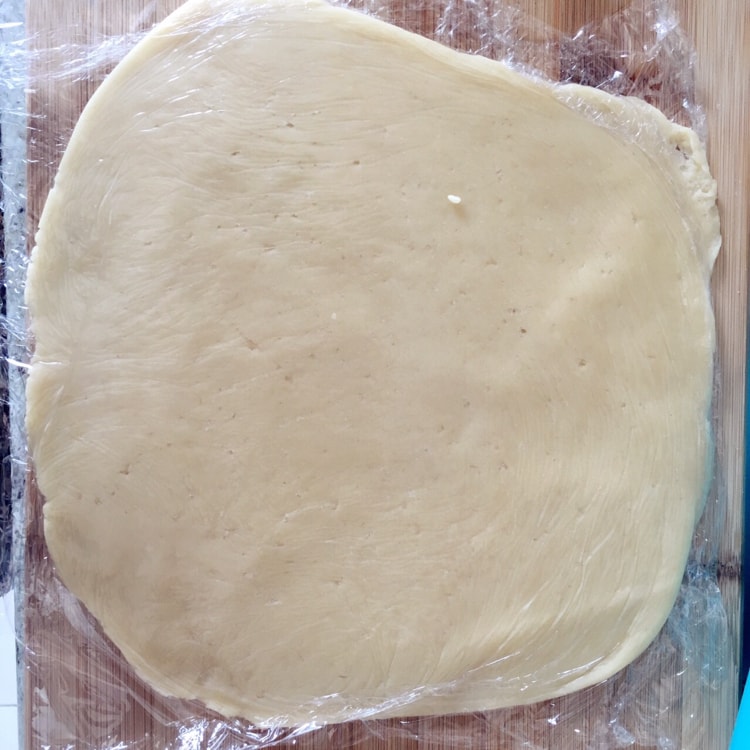
❥After an hour, take it out, put a piece of plastic wrap on the top and bottom, and roll it out into a thin layer.3mmThick
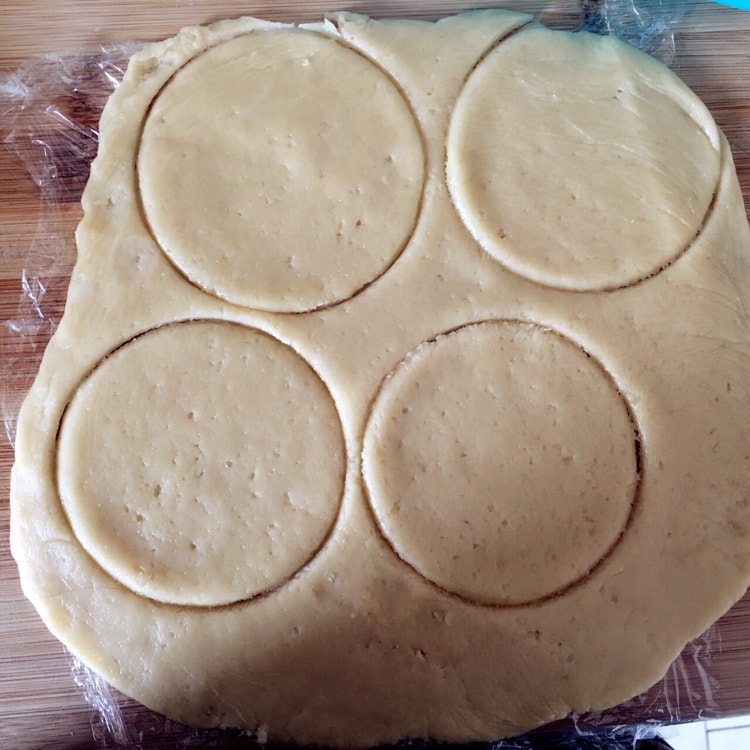
❥Find a round thing a little bigger than your mold and press the dough out into a circle.
Anything that is round, use your eyes that are good at spotting circles hahahaha(For example, my water glass), it doesn't matter if it is too big, just remove the excess crust along the edge of the mold Alright
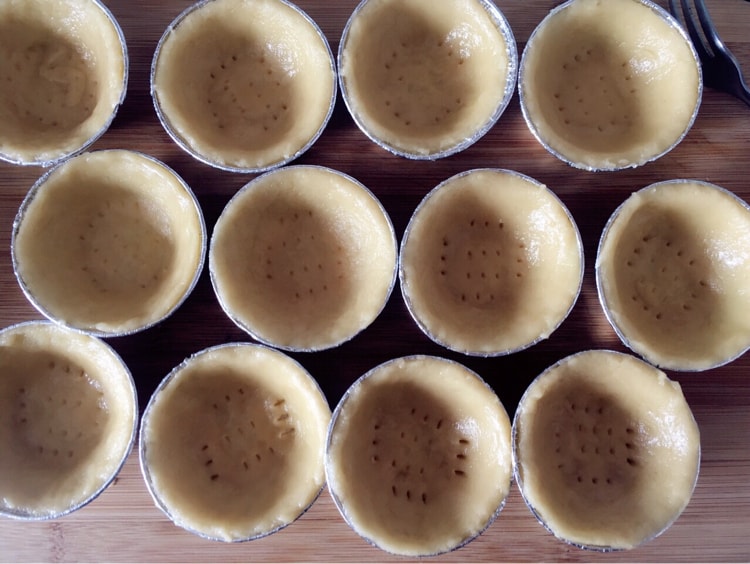
❥Press the crust and mold well, everywhere, especially the bottom edge, and use a fork to insert a fork into the bottom A few holes so the crust is ready~
(⸝⸝⸝ᵒ̴̶̷ ⌑ ᵒ̴̶̷⸝⸝⸝) ✨Let's make tart liquid super fast
Materials Required:
An evenly beaten egg
20gwhite sugar
75gWater
25gMilk
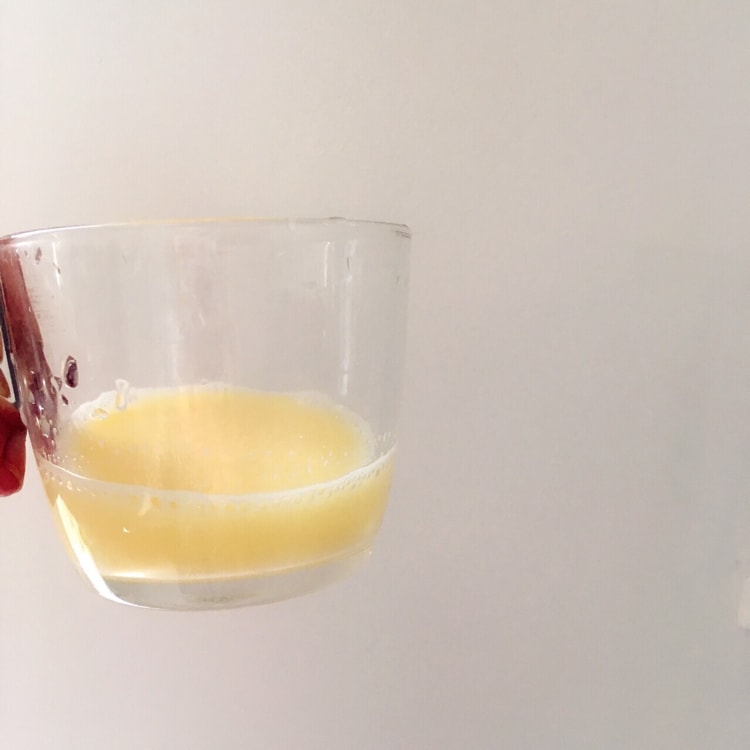
❥Cough, that is, mix all the ingredients evenly and filter them again, is it super simple, not surprised, not happy ! hahaha
Long this way
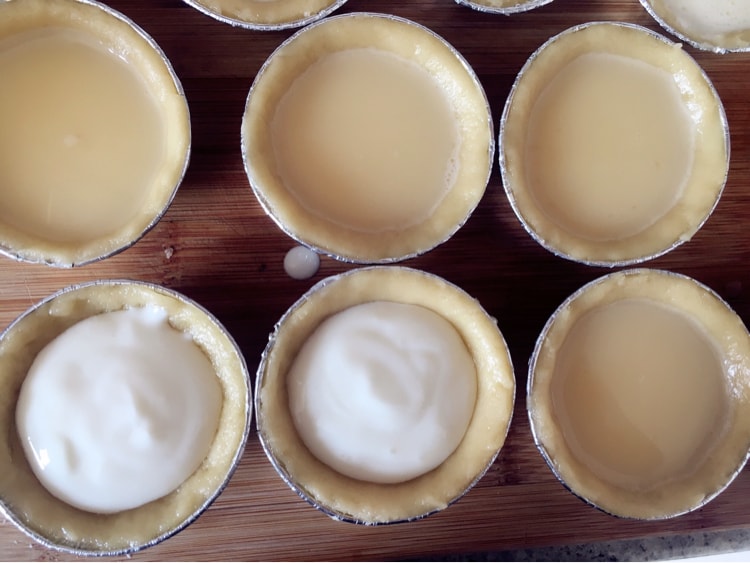
❥Pour the tart liquid into the tart shell,9 Full score
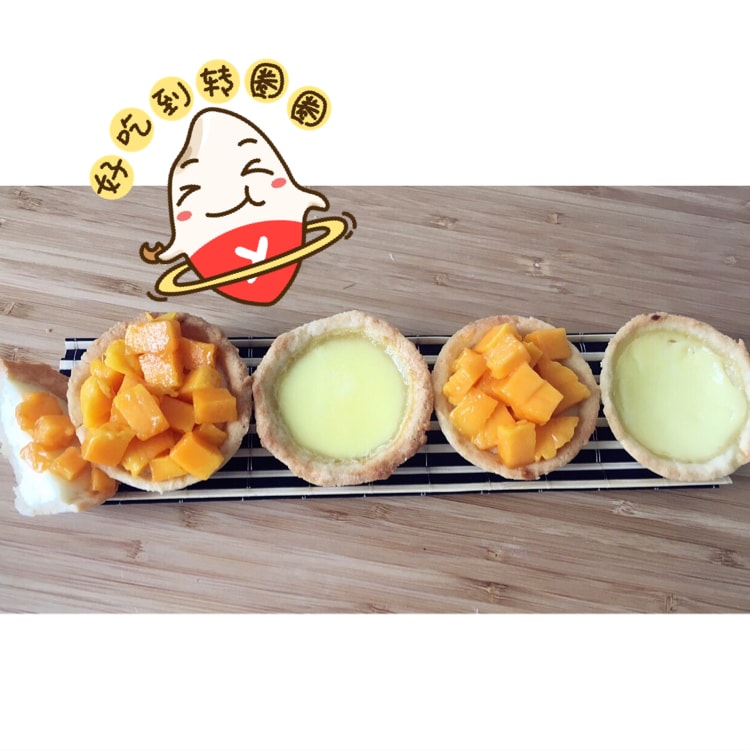
(The white one is cheese and yogurt tart, which is also super delicious, sweet and sour not greasy at all, I will teach you next time hee)
❥Put the tarts in the oven 165°C 329°F< span class="s2">,30min
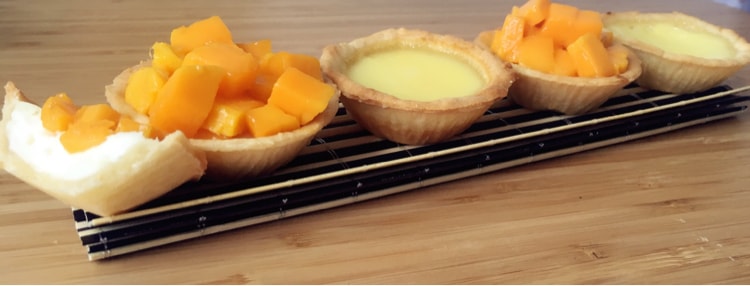
Beep, beep! Done!
Mango is a cheese and yogurt fruit tart, don't be jealous, hahaha, look at the egg tart first! Of course, you can also add it to egg tarts, or make the tart liquid into papaya-flavored, matcha-flavored, pure egg whites......As long as you like it!
It's delicious fresh from the oven! ! Start with the skin to get you ecstatic.
Two egg tarts and a cup of milk tea or strong tea, enjoy your afternoon.~😊
======================:❥
Okay~I hope you like this sharing, follow me and I will continue to share Fun, super tasty treats for you!
-Those who threatened to lose weightKk<3
 Show Original

面粉变身记 | 香脆丝滑的蛋挞自己做!
下午茶的好去处层出不穷,新意多端。可是外面吃的再怎么好,也比不上自己做的成就感,而且吃得放心也符合自己的口味。(重点是还能炫耀一番厨艺)
所以今天,我就来教大家做个香港最经典的下午茶蛋挞吧~配上一杯奶茶,就是个超完美的典型港式下午茶啦~!
(发到朋友圈说是你做的,渲染一下惬意午后的气氛,我猜你能骗一百个赞゚∀゚d)
蛋挞分港式和葡式两大派别。葡式的皮就像牛油包那样,港式的皮又分香脆的牛油曲奇皮和酥得掉渣的酥皮。港式的塔液不含奶油,更为清香,也没有黑斑。
今天我做的是我最喜欢的曲奇皮的(也最简单哦~
☀️_(ÒqÓ๑ゝ∠)前戏铺垫完了,开始做吧!
===================:❥
(⸝⸝⸝ᵒ̴̶̷ ⌑ ᵒ̴̶̷⸝⸝⸝)✨我们先来做挞皮
这个方子能做12个小的(我的皮挺薄的),大概5个大的。甜度我觉得刚好,我妈一个很不奢甜的人觉得太甜
需要的材料:
牛油70g
糖30g
中筋面粉100g
鸡蛋 1/4只
❥牛油室温放软(或者微波炉20秒)
❥用蛋抽打发变白以后加入糖,继续打打打打打,直到体积变大,黄油变白,充分融合
❥加入鸡蛋,打到完全融合
❥加入面粉,用勺子或者刮刀搅拌均匀以后用手揉成团
❥封上保鲜膜,放进冰箱冷藏一个小时
❥一个小时以后,把它拿出来,上下放一张保鲜膜,擀开成薄薄的大概3mm厚
❥找一个比你的模子大一点的圆形的东西,把面团按出圆。
就什么圆的东西,利用起你善于发现圆的眼睛啊哈哈哈哈(例如我的水杯),太大了也不要紧,把多余的饼皮沿着模子边缘去掉就好了
❥把饼皮和模子按压好,每个地方都要,尤其是底部的边缘,然后用叉子在底部插几个洞,这样饼皮就算准备好咯~
(⸝⸝⸝ᵒ̴̶̷ ⌑ ᵒ̴̶̷⸝⸝⸝)✨接着我们来超迅速得做挞液
需要的材料:
一个打发均匀的鸡蛋
20g白糖
75g水
25g牛奶
❥咳咳,就是,把所有材料搅拌均匀然后过滤一遍,是不是超级简单,惊不惊喜,开不开心!哈哈哈
长这样
❥把挞液倒入挞皮中,9分满
(白色的是乳酪酸奶挞,也超级好吃,酸酸甜甜一点都不腻,下次教你嘻嘻)
❥蛋挞放入烤箱中 165℃ 329℉,30分钟
噔噔噔蹬!完成啦!
芒果的是乳酪酸奶水果塔,别眼馋哈哈哈先看蛋挞!当然你也可以把它加到蛋挞上,也可以把挞液做成木瓜味的,抹茶味的,纯蛋白的......你喜欢就好!
新鲜出炉吃,简直太爽了!!从皮开始让你销魂。
两个蛋挞加上一杯奶茶或者浓茶,好好享受属于你的午后吧~😊
===================:❥
好啦~希望大家喜欢这个分享,关注我还会继续带给你有趣的,超好吃的美味哦!
-扬言要减肥的Kk<3


揪一酱
July 29, 2017
Finally found the organization! Where did you buy the mold? Yami?
终于找到组织了!模子在哪买的?亚米?