


Homemake Xiao Long Bao
I have wanted to make xiao long bao for a long time. I always wanted to wait until I bought a bread machine to start making it. In the end, I didn't buy a bread machine and I wanted to eat it, so I finally found it online. Recipes, and kneading techniques, let's get started😄😄
⚠️⚠️Because my mother-in-law made the meat filling in advance, I am not sure about the normal proportion, so I will introduce it to you a little here. one time! ⚠️⚠️

Materials:
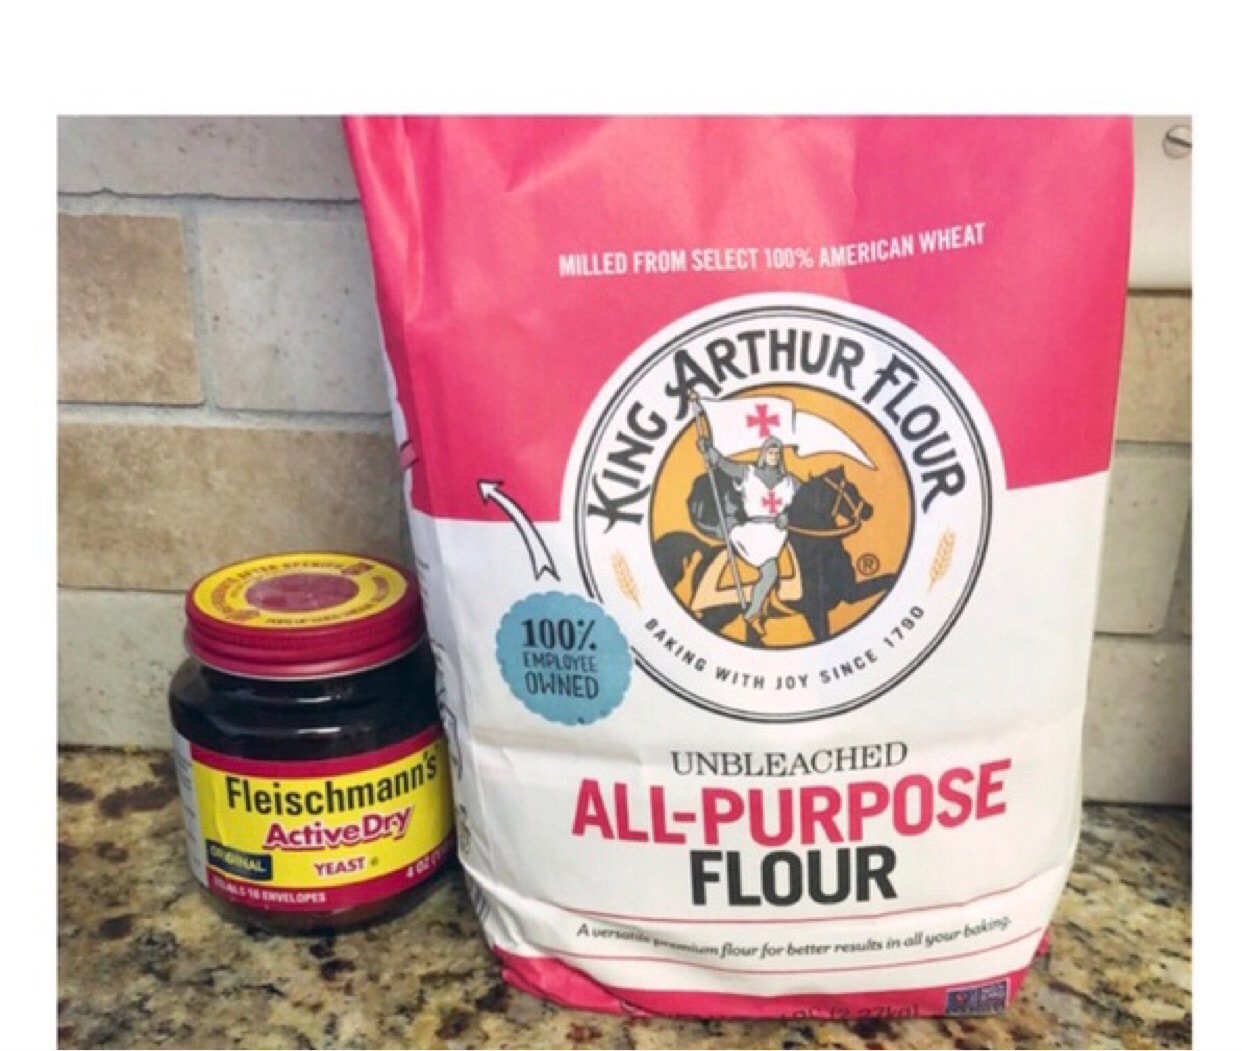
Flour500G
Yeast powder5g
Warm water305g
I'm sorry for the meat stuffing here, but I know that my mother-in-law probably put green onions, ginger, light soy sauce, dark soy sauce, cooking wine, salt, and a little sesame oil in it! You can take a look online too! Please forgive my negligence😄
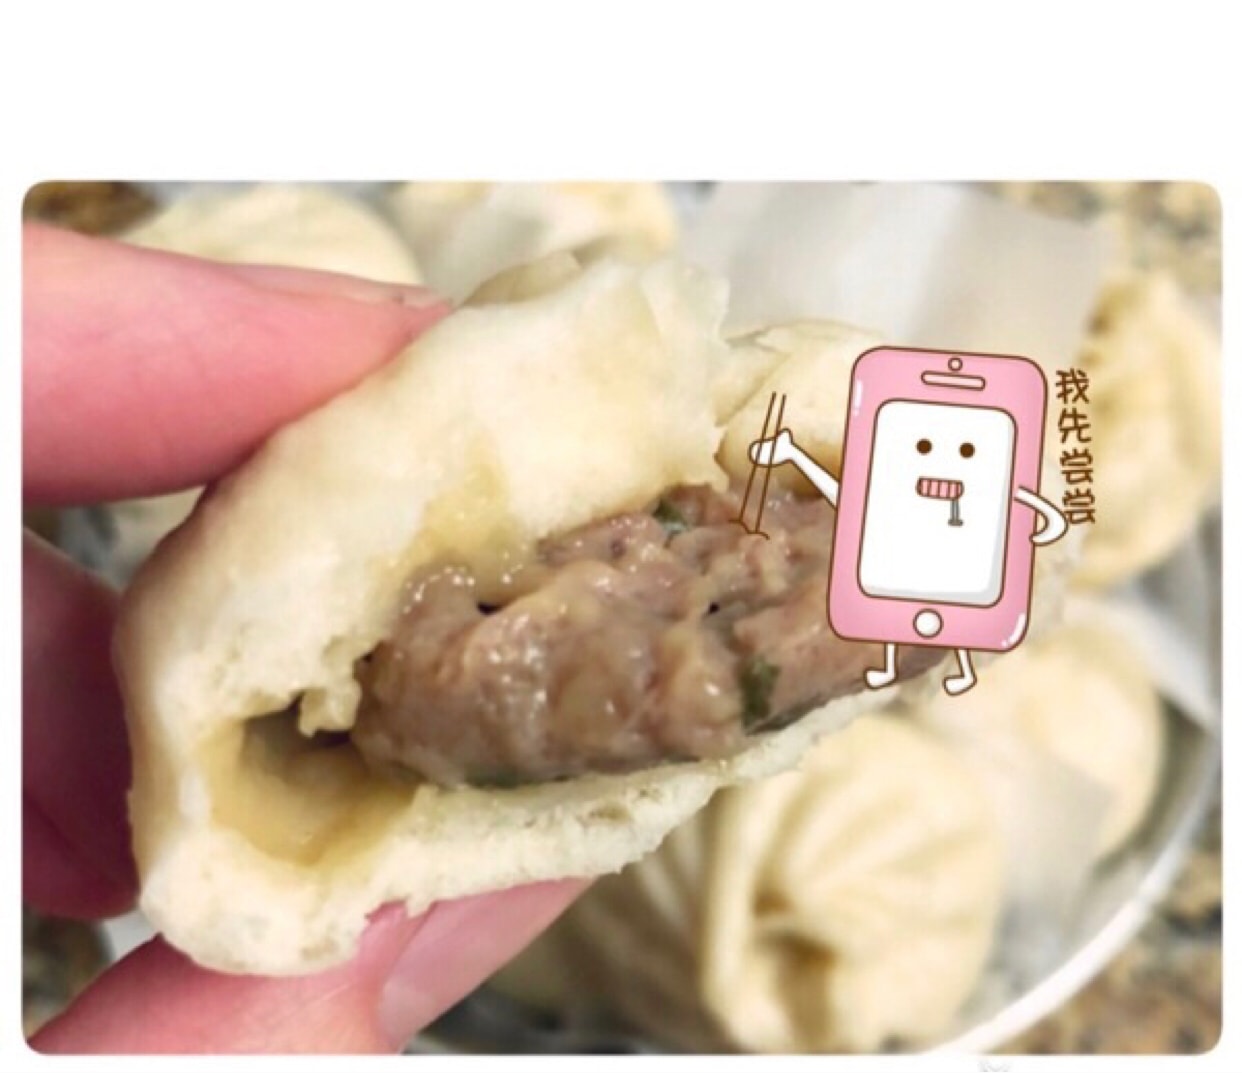
⚠️Xiaolongbao meat filling I like to be a little wet, I added a little more water to the meat filling made by my mother-in-law, because I think the juicy meat filling will be absorbed into the bag, and the bag will have a special taste. This is purely personal preference⚠️
Get started:
Pour some warm water into the yeast powder and let it ferment for a while in advance. I will ferment it in about 5.7minutes. Then pour in the flour and stir, then slowly add other warm water, remember not to pour it all at once, because the water consumption of different brands of flour is different, so stir a little bit, and at the end, see if you need to add or reduce water. quantity!
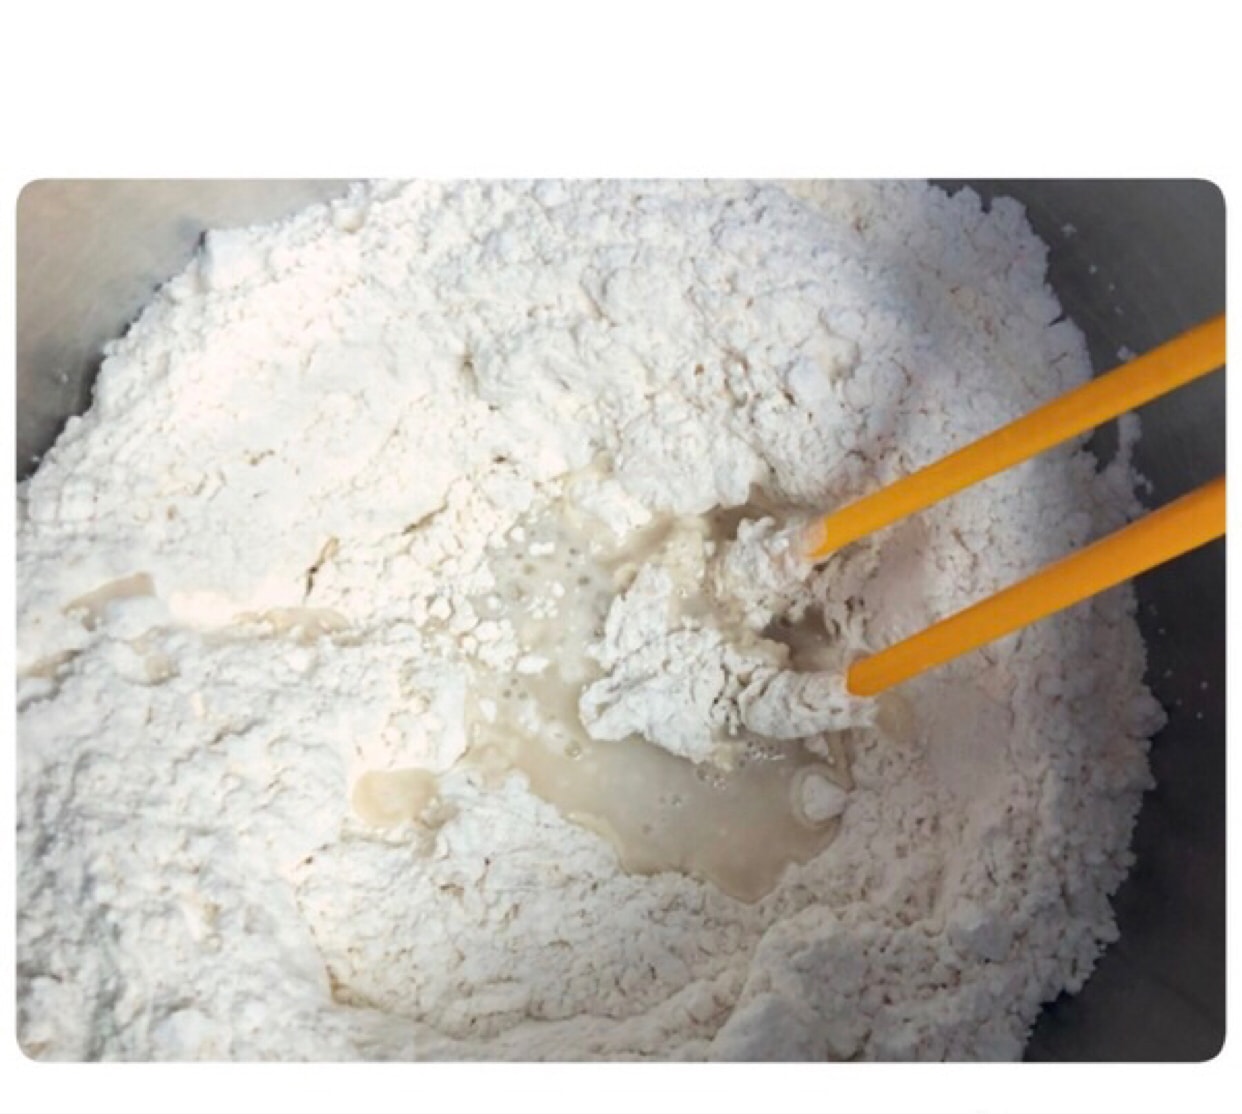
After mixing, you can start kneading the dough. I specially go to knead the doughYouTubeSearched above, after reading everyone's kneading techniques, I came up with a general summary!
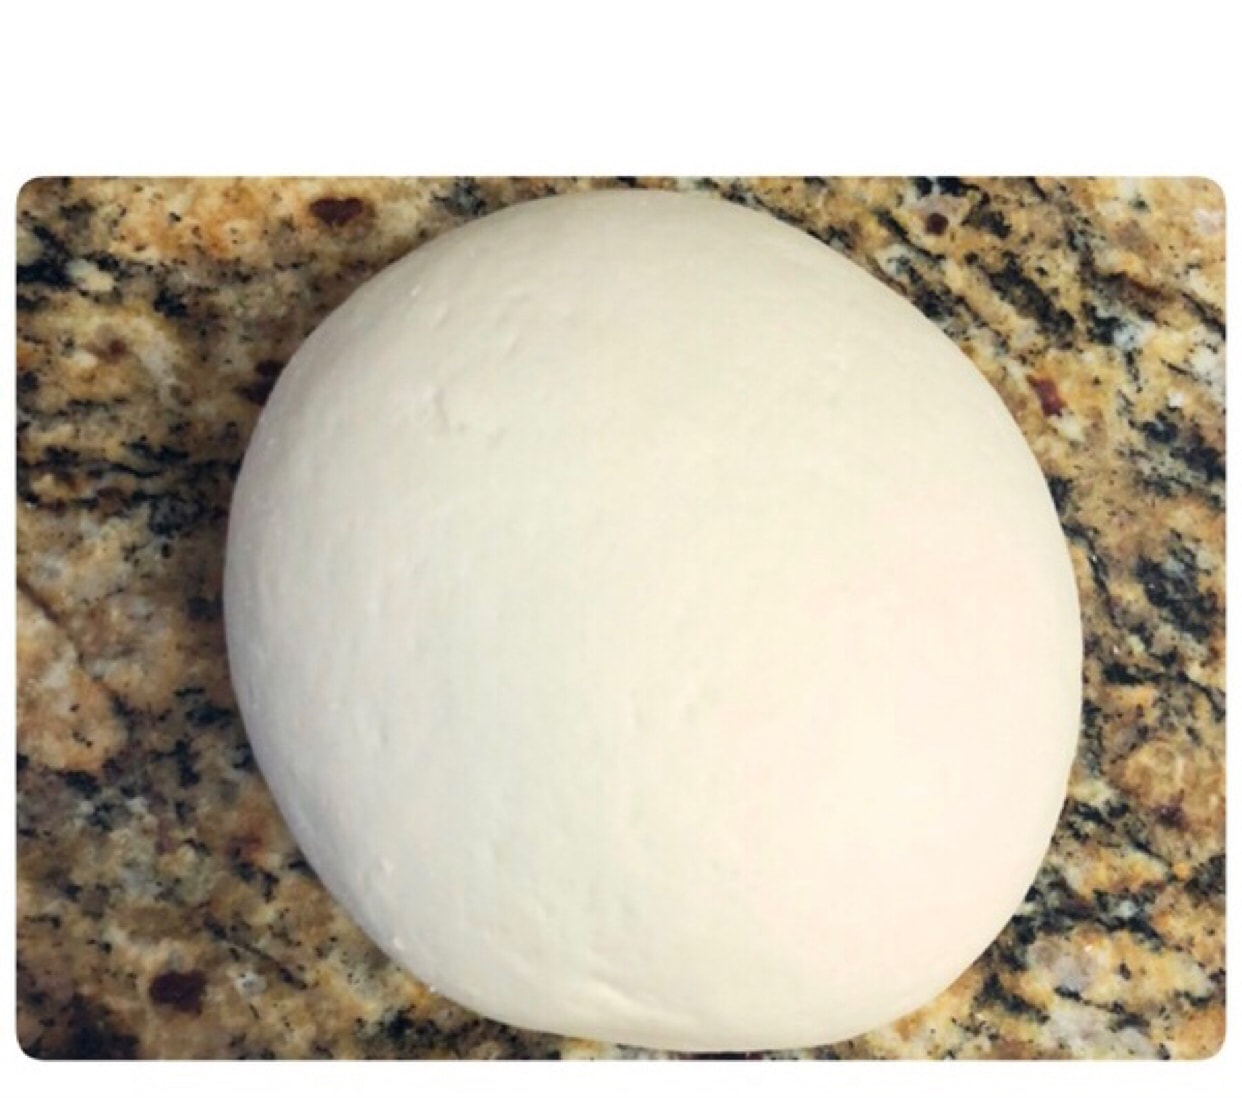
Remember to knead until it is sanguang, not sticky, this is hand light! Do not stick to the pot, pot light! Knead the flour until it is very smooth! Your three lights are done! Knead into a round ball!
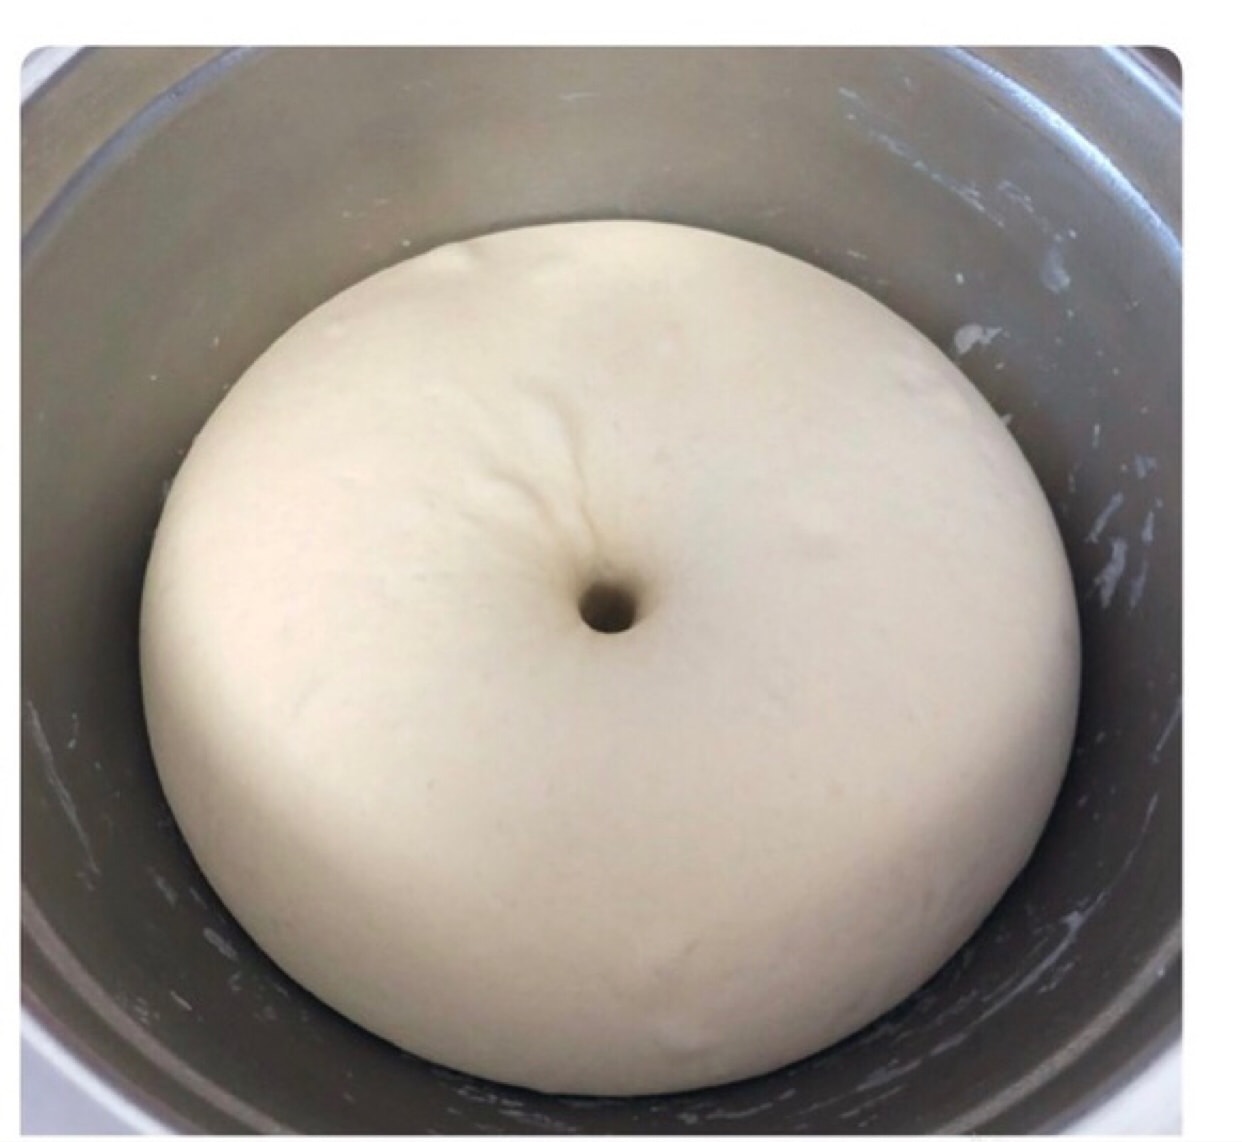
Put it in a bowl and cover with plastic wrap! Fermentation is on!
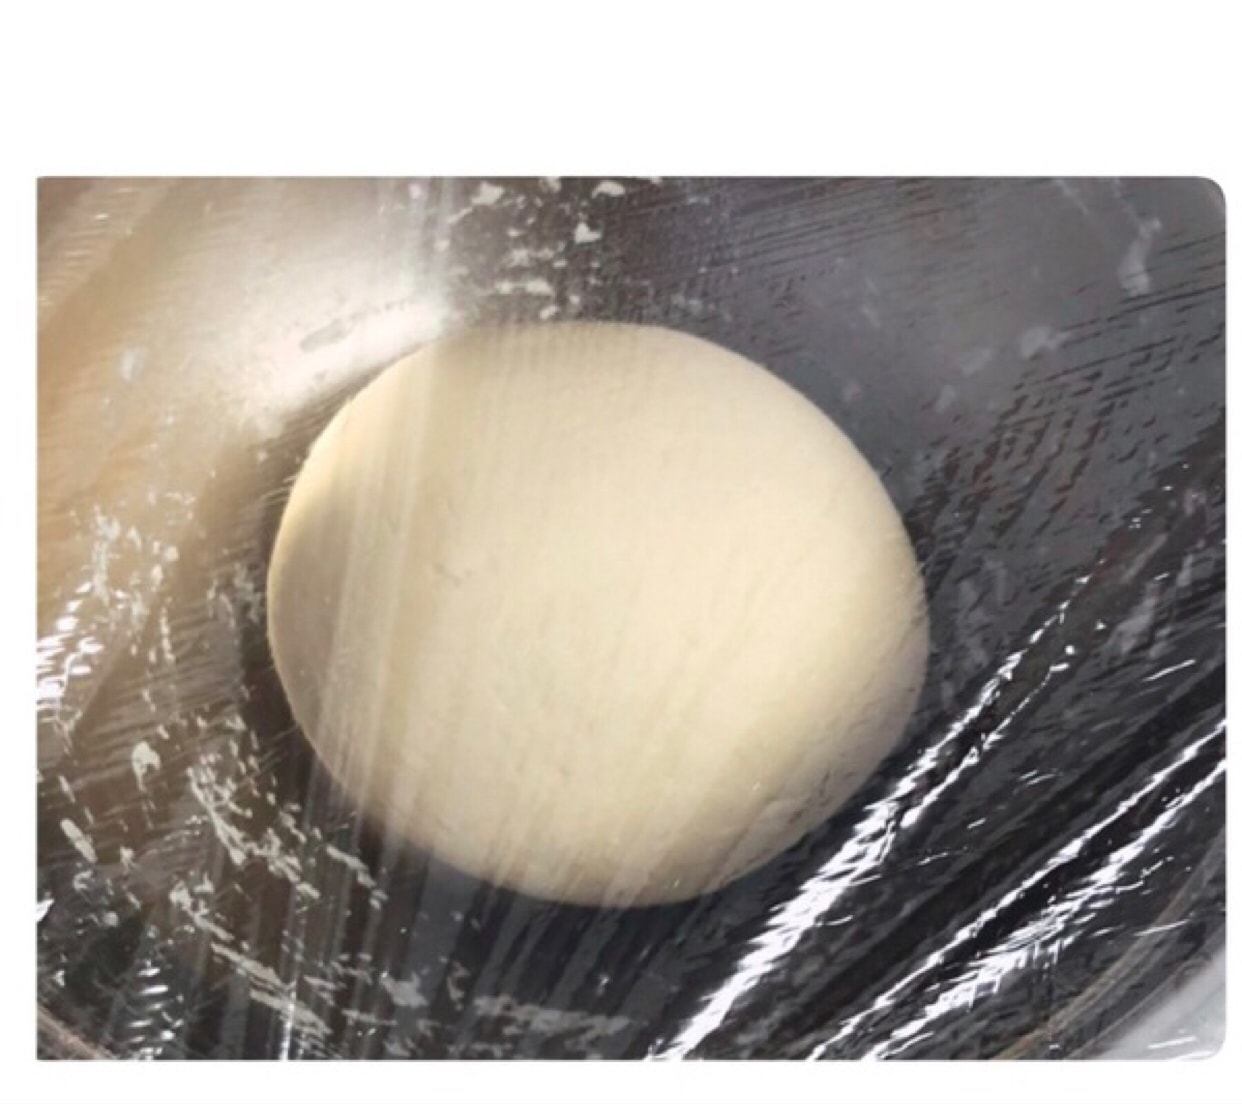
Fermented, about 2hours, to observe, the noodles ferment until Twice the size, rub your fingers in, won't spring back, won't stick to your fingers, so it's ready!
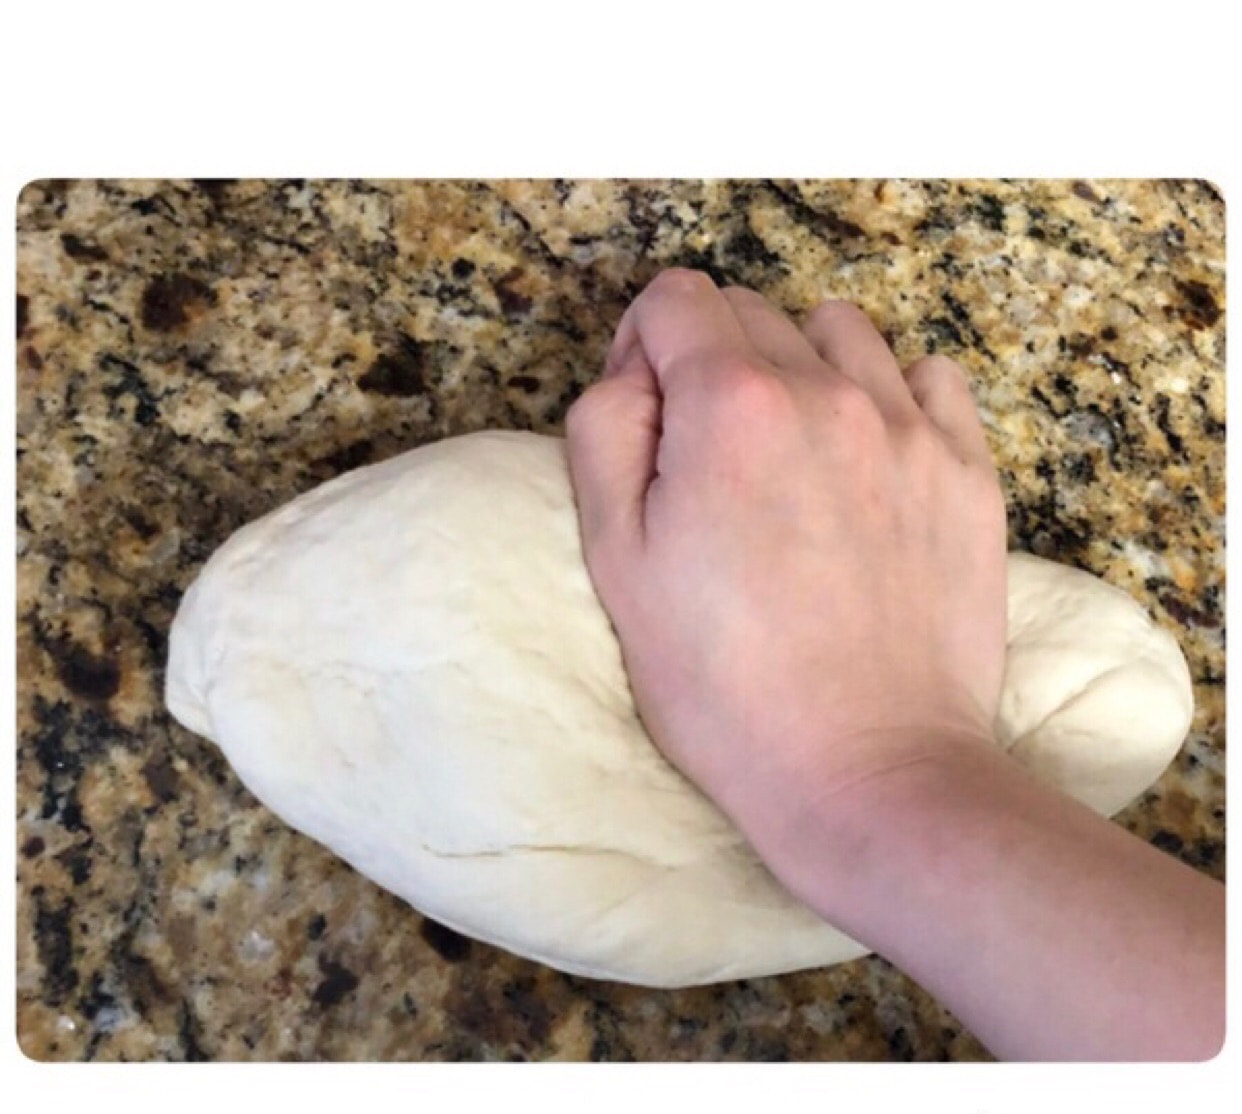
Take out the dough and start to exhaust, just knead the dough for a while
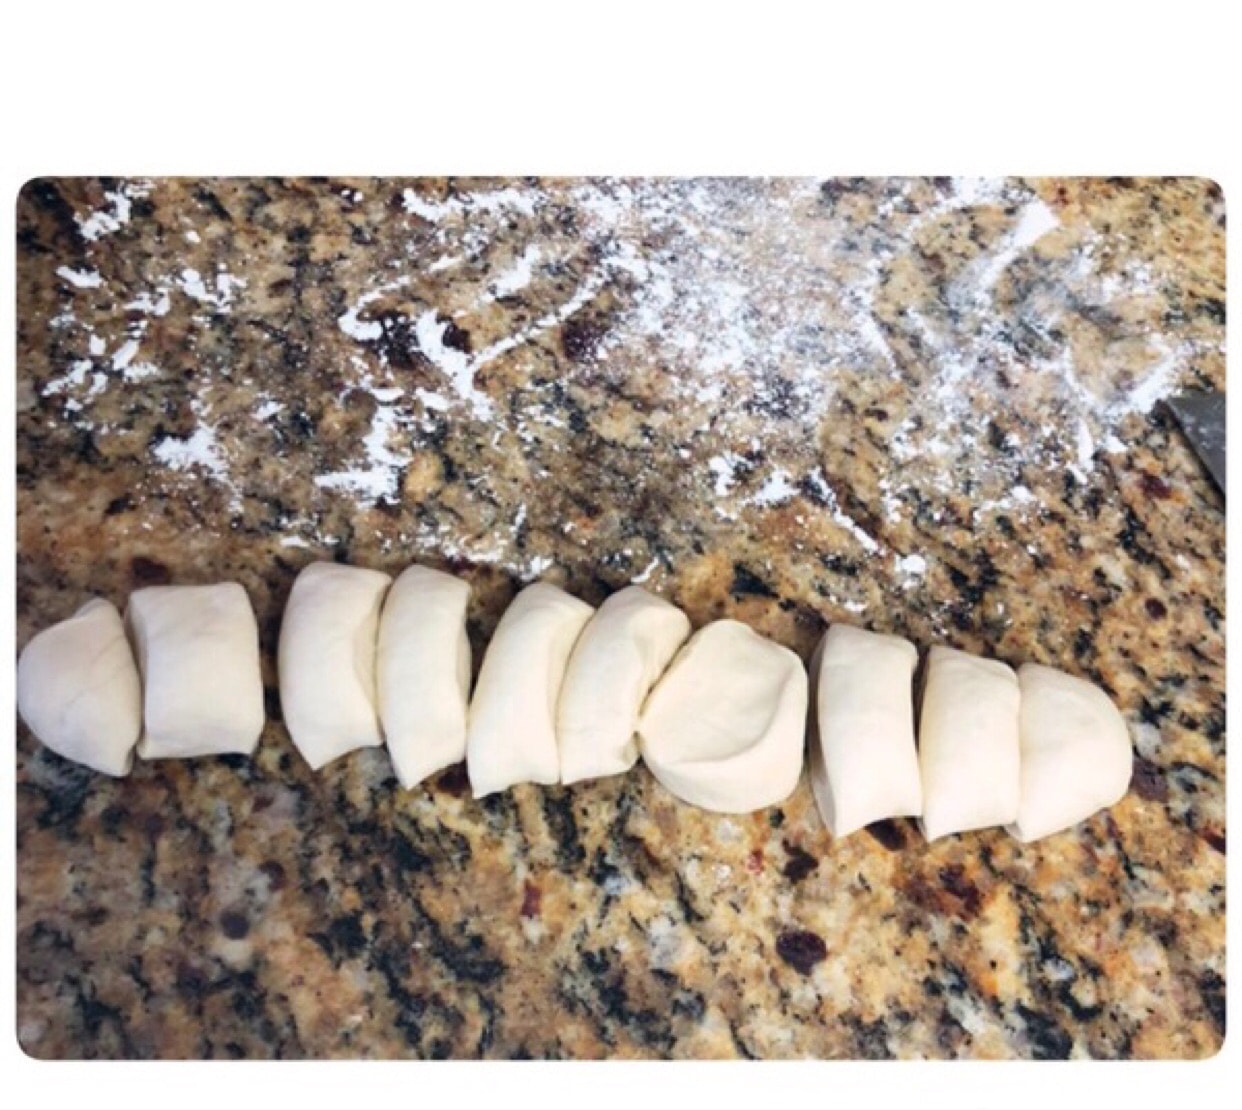
Cut out a little bit, then roll it into a long strip, and cut it down one by one!
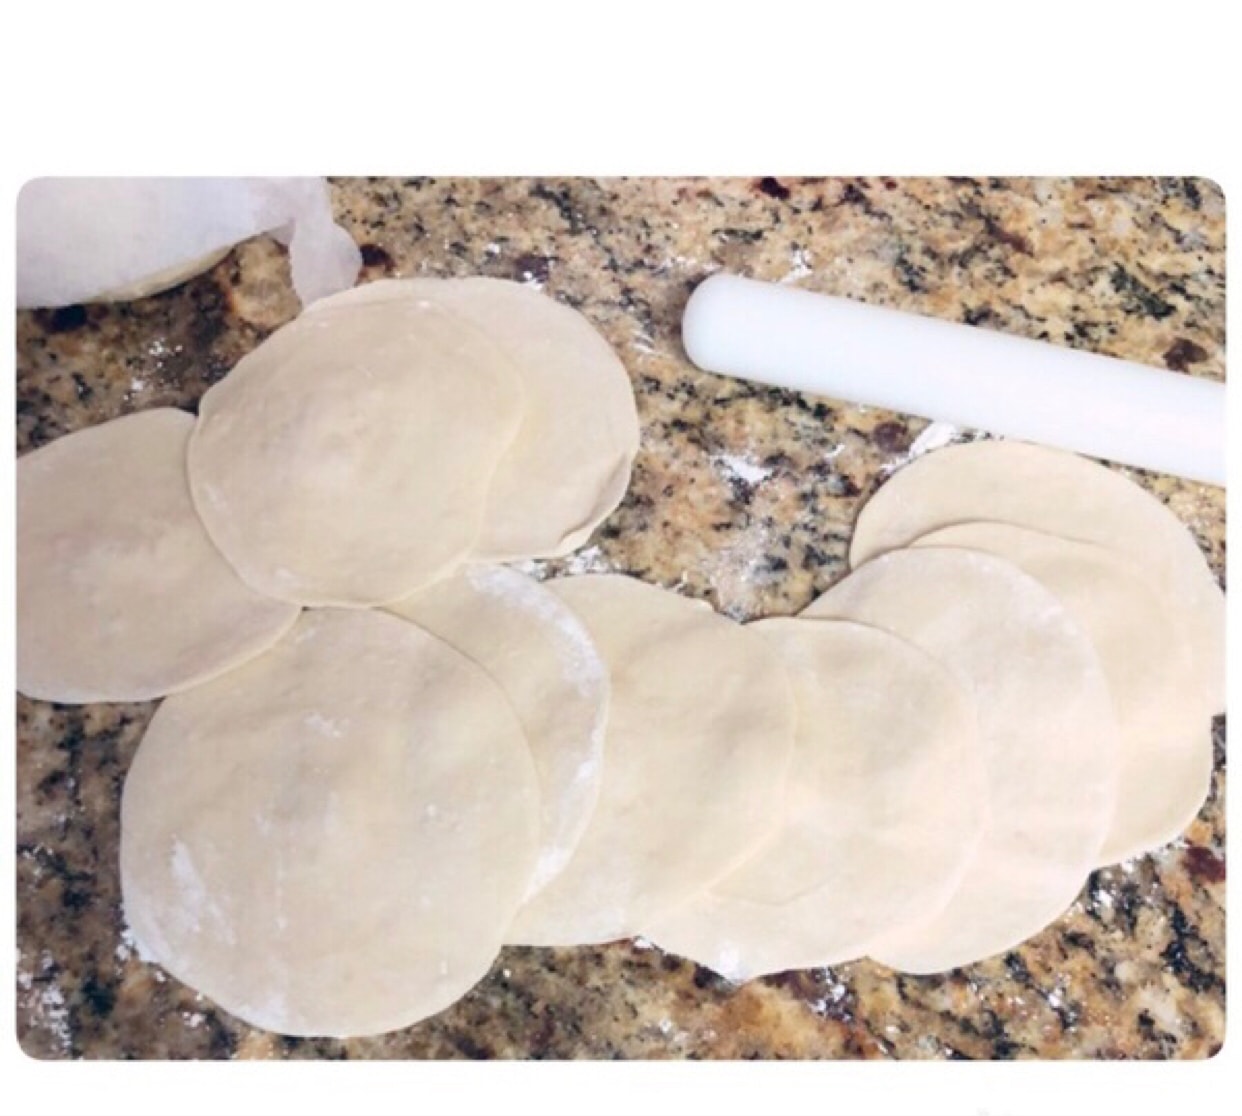
Sprinkle some flour on the countertop to prevent it from sticking to the countertop. After rolling out the dough, sprinkle some flour between each dough, otherwise some will stick when you pick it up. together!
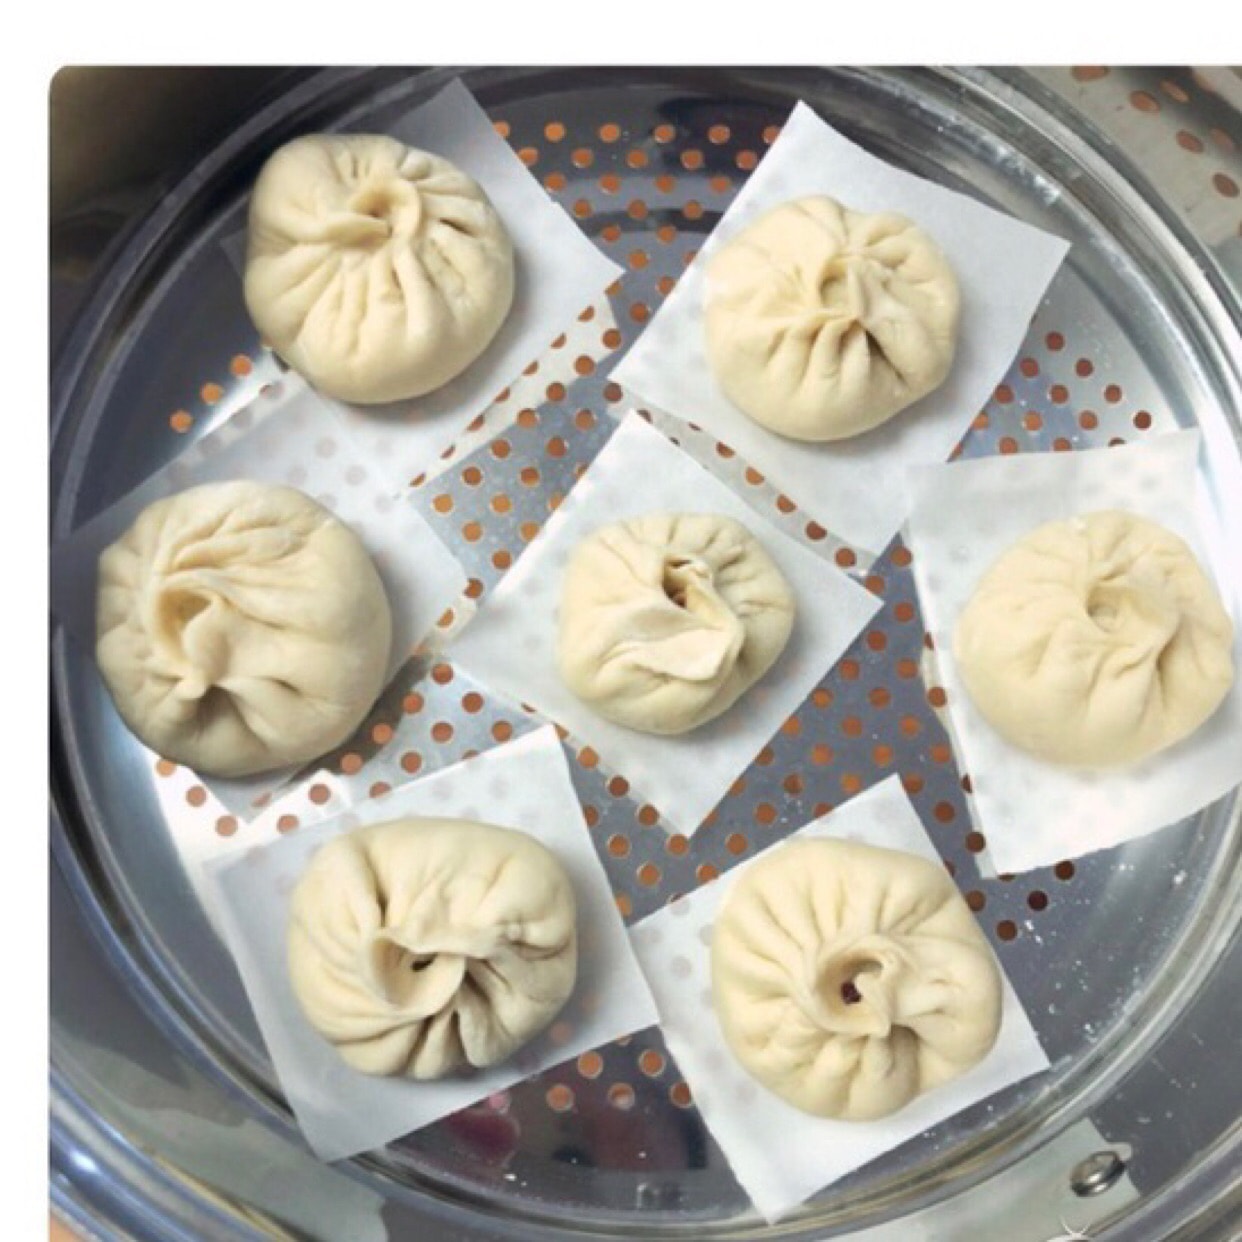
The method of wrapping is alsoYouTubeWatch what you learned above, and I pack a little bit Ugly, because it is really not often packaged, and needs to be improved! I dare not teach you how to pack here, for fear of being laughed at by everyone! Because I'm a newbie myself😂
One of the great gods said that after wrapping it up, cover it with a wet towel and wake up15 minutes, it works better! You can boil the water in the pot first, and continue to pack the xiaolongbao
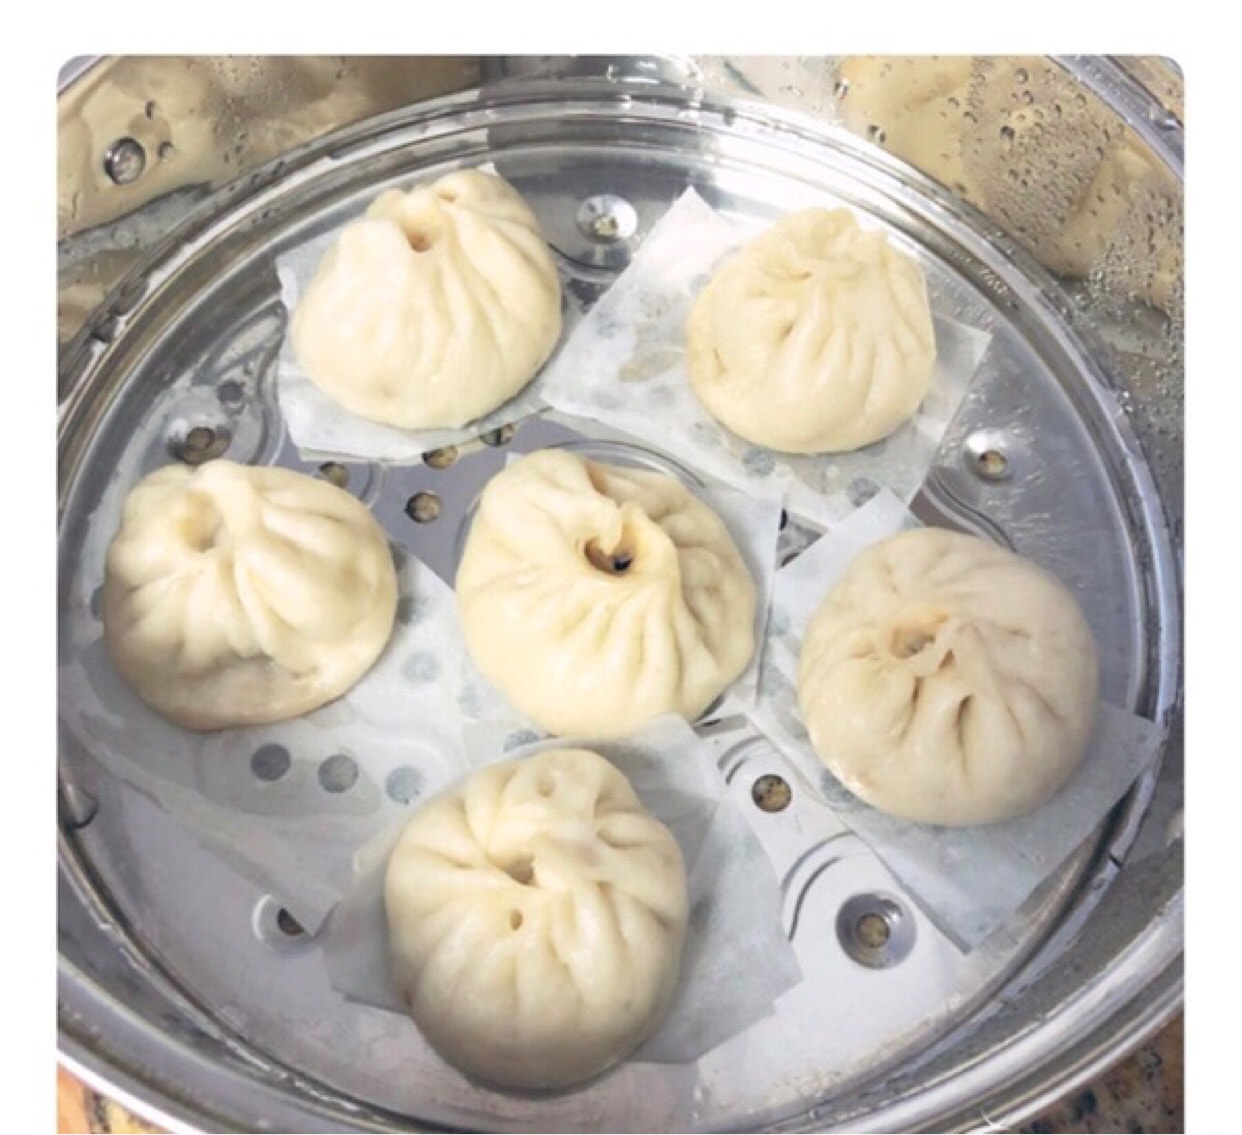
Once everything is ready, steam15minutes! Remember to remember here, don’t open it immediately after steaming, the xiaolongbao will shrink. After steaming, take a chopstick and place it between the lid and the pot, so that the heat will slowly dissipate and the bun will not shrink!
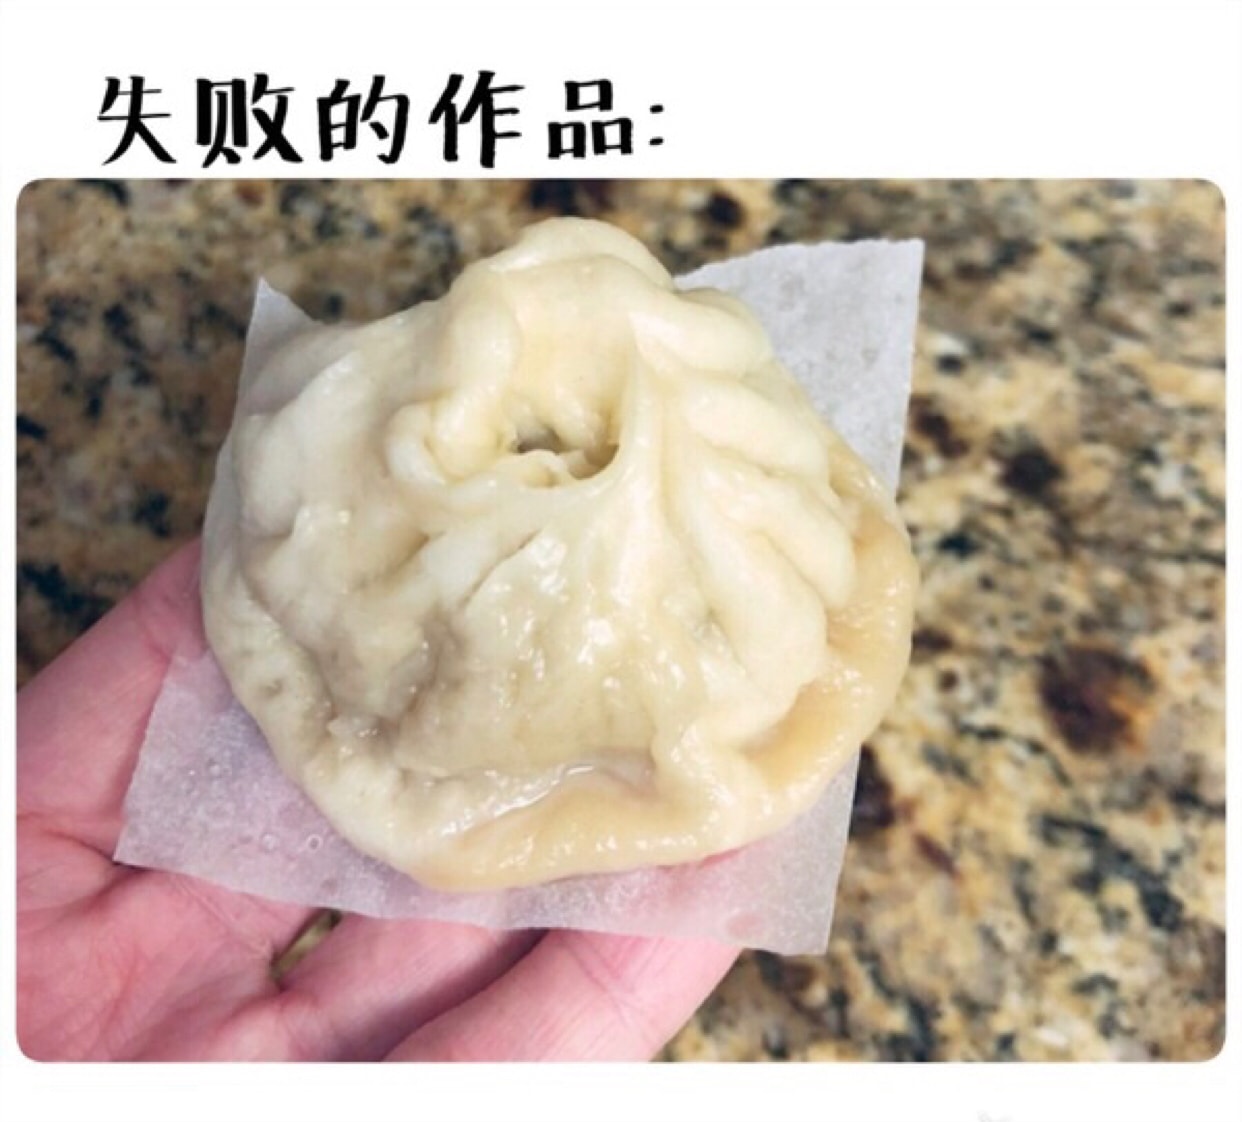
Failures:
This is the first time I saw the buns inside the pot were very beautiful and fluffy. I was so excited that I was so excited that I immediately opened the lid and the buns retracted immediately before I remembered! Don't be like me everyone!
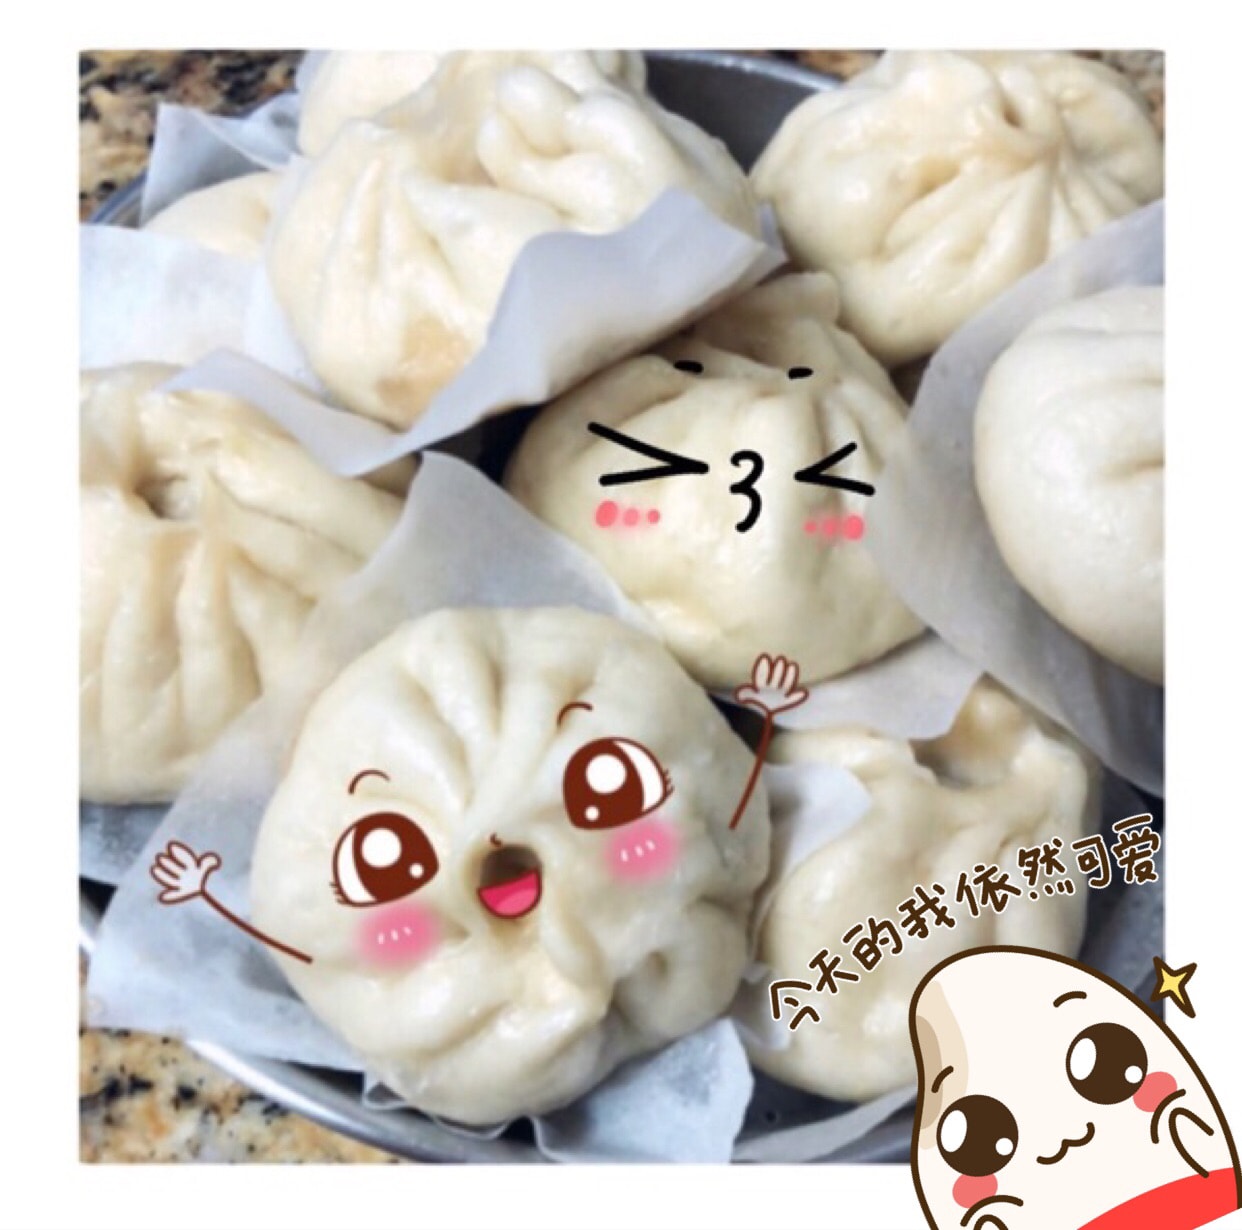
The juicy mincemeat is too delicious to eat one, I have to eat one every time I come out of the pot! So that was the day I ate the most buns! Satisfaction is enough!
The End
The first is the first time to make steamed buns, so the great gods who have read it, please be sure to Give me your opinion, this time is not the most satisfying one I have done, but I will work harder to watch the articles of the great gods and make progress😄
Actually, I prefer to eat vegetable buns, because my family likes to eat xiaolongbao, so I made xiaolongbao first! Next time try my ❤️'s vegetable bag😄 span>
 Show Original

Homemake 小笼包
想做小笼包很久很久了,本来一直想等买了面包机就开始做,最终面包机还没买又带着想吃的心,最终还是上网找了食谱,和揉面手法,那就开始吧😄😄
⚠️⚠️这里肉馅部分因为是婆婆提前做好了,所以正常比例我不确定,这里就稍微跟大家介绍一下!⚠️⚠️

材料:
面粉500G
酵母粉5g
温水305g
肉馅部分先在这里对不起大家了,但是知道婆婆大概在里面放了葱,姜,生抽,老抽,料酒,盐,一点芝麻油!大家可以上网也稍微看看!请原谅我的疏忽😄
⚠️小笼包肉馅我喜欢湿一点点,在婆婆做的肉馅里面我多加了一点点水,因为我觉得这样肉馅有汁才会吸收到包里面去,包也会特别的有味道,这纯属个人爱好⚠️

开始制作:
拿点温水把酵母粉倒进去,提前发酵一会,我大概在5.7分钟左右,发酵好之后倒进面粉搅拌,然后慢慢加入其他的温水,记住不要一次全倒进去,因为不同牌子的面粉用水量不一样,所以一点点搅拌,到最后看下还需要不要加加减减水的量!

搅拌好之后就可以开始揉面了,揉面的手法我是特地去YouTube上面搜索,看了大家的揉面手法之后,自己大概的总结之后揉出来的!
切记要揉到三光,不粘手,这是手光!不粘盆,盆光!面粉揉到非常光滑!你的三光就搞定啦!揉成一颗圆圆的球!

放进盆里,盖上保鲜膜!开的发酵啦!

发酵了,大概2个小时,要观察一下,面发酵到两倍大,手指搓进去,不会回弹,不粘手指,这样就是ready了!

拿出面团,开始排气,就是在揉一会的面

切一点出来,然后搓成长长一条之后,大概下大小就一个个切下来!

在台面撒点粉以防等下粘台面,把面皮擀好了之后记的每个面皮之间撒点粉,不然等下拿起来有的就会粘在一起了!

包的手法也是YouTube上面观看大家学的,我包的有点丑,因为真的不经常包,还需要改进!这里我不敢教大家怎么包,怕被大家取笑!因为我自己也是个新手😂
某个大神们说包好之后,盖上湿毛巾在醒15分钟,这样效果更好!锅里可以先把水烧开,继续包小笼包

一切准备好之后,大概蒸15分钟就搞定了!这里切记切记切记,蒸好之后不要马上就打开,小笼包会回缩,蒸好拿根筷子放在盖子和锅子中间,这样热气慢慢散掉,包子就不会回缩了!

失败作品:
这是我第一锅当时看见里面的包子很漂亮,很蓬松,高兴到冲昏头脑,直接打开锅盖之后,包子立马回缩才记起来!大家可不要变成我这样!

多汁的肉馅好吃到一个不行,每锅出锅,我都要吃一个!所以那天我吃了最多包子的一天!满足满足到一个不行!


The End
第一 次做包子,所以看完的大神们,请一定要给我意见,这次不算是做的最满意的一次,但是会更努力去观看大神们的文章,去进步😄
其实更喜欢吃菜包,因为家里人喜欢吃小笼包才先做了小笼包!下次要试试我❤️的菜包包😄